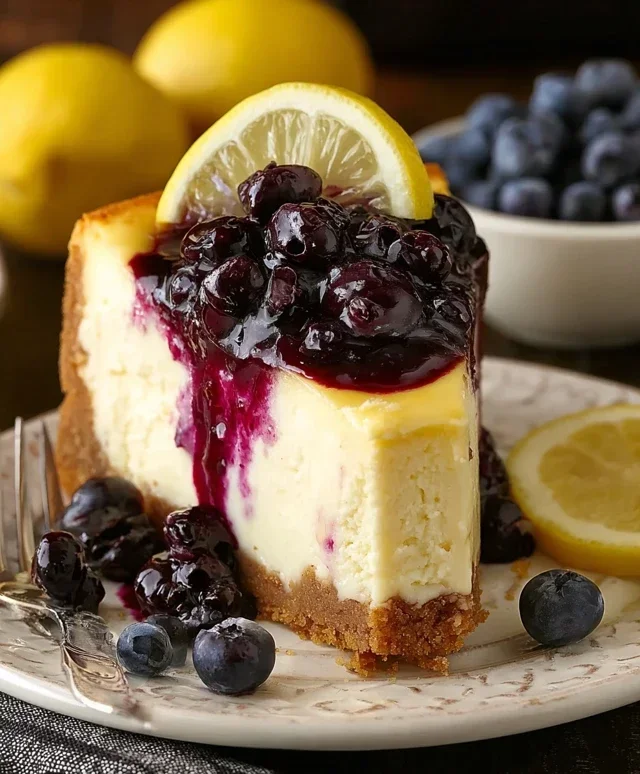
Vintage Wedding Dessert Table Ideas-Sweet-Elegant Creations
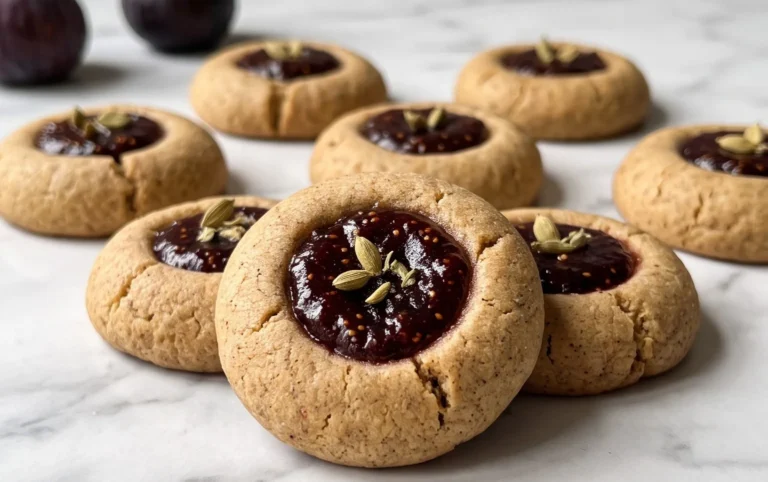
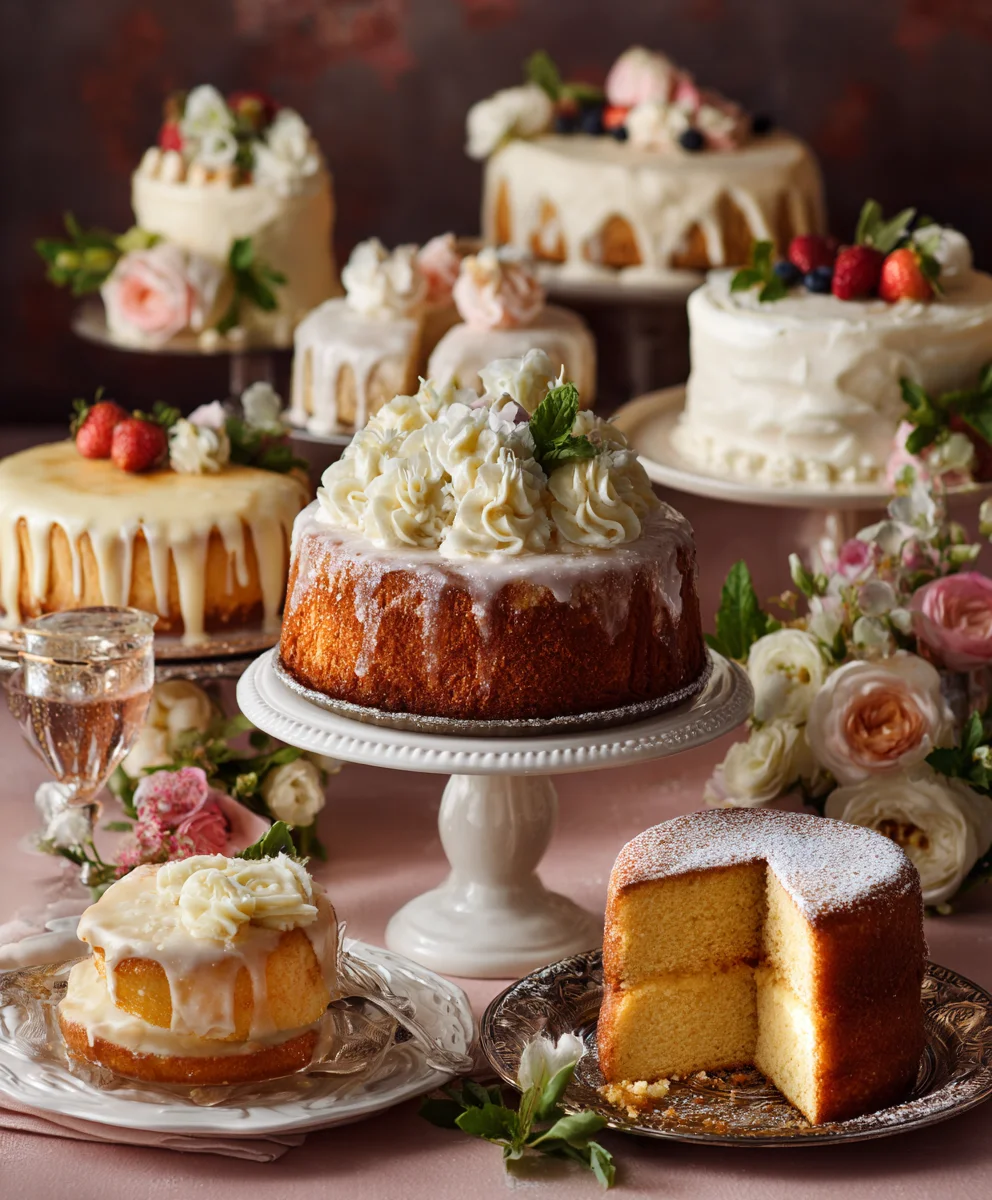
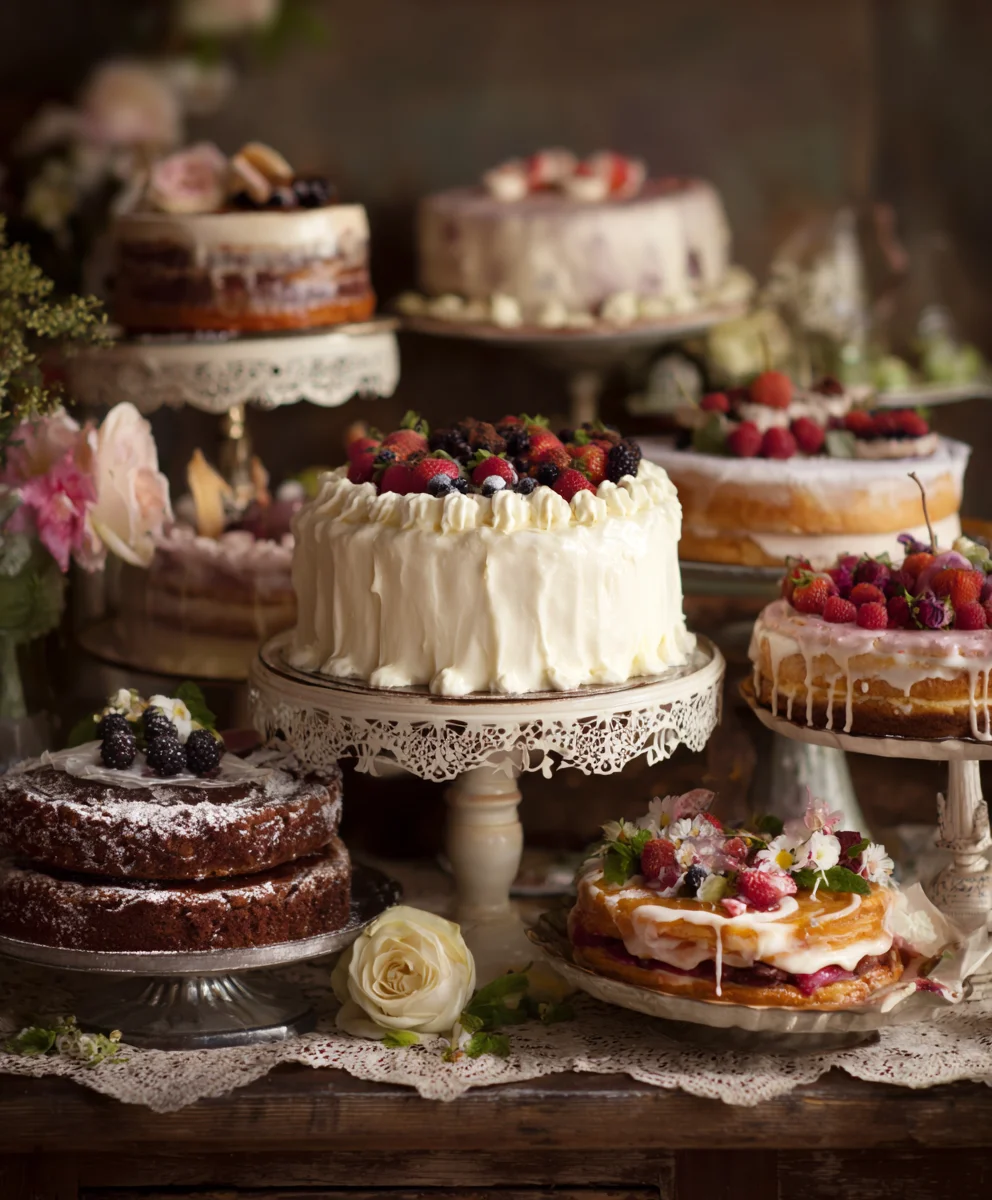
Vintage Wedding Dessert Table is more than just a collection of sweets; it’s an experience, a whimsical journey back in time that adds unparalleled charm and romance to any celebration. Imagin extracte guests wandering through a beautifully curated spread, each bite a delicious whisper of nostalgia. This isn’t your typical cookie-cutter dessert buffet; a truly enchanting Vintage Wedding Dessert Table evokes a sense of personal history, telling a story through thoughtfully chosen treats. People adore these tables because they offer a delightful departure from the ordinary, providing a visually stunning and incredibly tasty focal point that sparks conversation and creates lasting memories. What makes this concept so special is the ability to infuse it with personality, transforming simple pastries into edible heirlooms, each one contributing to the overall magical ambiance of your big day. We’ll explore how to craft your own unforgettable Vintage Wedding Dessert Table, ensuring every detail is as sweet as the flavors you’ll serve.
Ingredients:
- 2 cups all-purpose flour
- 1 teaspoon baking soda
- 1/2 teaspoon salt
- 1 teaspoon ground cinnamon
- 1/2 teaspoon ground nutmeg
- 1/4 teaspoon ground cloves
- 1 cup (2 sticks) unsalted butter, softened
- 1 1/2 cups granulated sugar
- 2 large eggs
- 1 teaspoon vanilla extract
- 1/2 cup unsweetened applesauce
- 1/4 cup buttermilk
- 1 cup chopped pecans, toasted
- For the Cream Cheese Frosting:
- 8 ounces cream cheese, softened
- 1/2 cup (1 stick) unsalted butter, softened
- 4 cups powdered sugar
- 1 teaspoon vanilla extract
- 2-3 tablespoons milk (as needed for consistency)
Preparing the Spiced Apple Cake
Mixing the Dry Ingredients
Start by getting all your dry ingredients ready in a medium bowl. This ensures everything is evenly distributed before it goes into the wet ingredients. So, into your bowl, sift the 2 cups of all-purpose flour. This sifting step helps to aerate the flour, preventing any lumps from forming in your cake batter and contributing to a lighter texture. Next, add the 1 teaspoon of baking soda, which is your primary leavening agent and will help the cake rise beautifully. Follow this with the 1/2 teaspoon of salt, which not only enhances the flavors of the other ingredients but also helps to balance the sweetness of the cake. Now, it’s time for the warm spices that will give this cake its inviting aroma and taste. Add the 1 teaspoon of ground cinnamon, the 1/2 teaspoon of ground nutmeg, and the 1/4 teaspoon of ground cloves. These spices work wonderfully together to create a comforting, nostalgic flavor profile, perfect for a vintage wedding dessert table. Whisk these dry ingredients together thoroughly until they are completely combined and uniform in color. Set this bowl aside.
Creaming the Butter and Sugar
In a large mixing bowl, which you can use with an electric mixer or by hand, begin extract by creaming together the 1 cup of softened unsalted butter and the 1 1/2 cups of granulated sugar. It’s crucial that your butter is softened, not melted, as this allows it to incorporate air into the sugar, creating a light and fluffy base for your cake. Beat these together on medium-high speed for about 3 to 5 minutes, or until the mixture is pnon-alcoholic ale yellow and fluffy. This creaming process is vital for developing the cake’s texture; it’s where much of the cake’s tendergin extracts originates. Don’t rush this step!
Incorporating Wet Ingredients and Applesauce Mixture
Once your butter and sugar are perfectly creamed, it’s time to add the eggs and vanilla. Add the 2 large eggs, one at a time, beating well after each addition to ensure they are fully incorporated. Next, add the 1 teaspoon of vanilla extract, which will add a lovely aromatic depth to the cake. In a separate small bowl or liquid measuring cup, whisk together the 1/2 cup of unsweetened applesauce and the 1/4 cup of buttermilk. The applesauce will add moisture and a subtle fruity sweetness, while the buttermilk contributes to a tender crum extractb gin extract a slight tanginess. Gradually add the dry ingredients to the creamed butter mixture, alternating with the applesauce angin extractuttermilk mixture. Begin and end with the dry ingredients, adding about a third of the dry ingredients at a time, then half of the liquid mixture, then another third of the dry, the remaining liquid mixture, and finally the last third of the dry ingredients. Mix on low speed until just combined after each addition. Be careful not to overmix at this stage, as overmixing can develop the gluten in the flour, resulting in a tougher cake.
Folding in the Pecans and Baking
After the batter is just combined, gently fold in the 1 cup of chopped pecans, which you should have toasted beforehand to enhance their flavor and crunch. Toasting brings out their nutty oils and makes them wonderfully crisp. Ensure the pecans are evenly distributed throughout the batter. Preheat your oven to 350°F (175°C). Grease and flour a 9×13 inch baking pan or two 8-inch round cake pans. Pour the batter evenly into the prepared pan(s), smoothing the top with a spatula. Bake for 30-35 minutes for a 9×13 inch pan, or 35-40 minutes for round pans, or until a wooden skewer or toothpick inserted into the center comes out clean. The aroma filling your kitchen will be divine!
Making the Cream Cheese Frosting
Whipping the Cream Cheese and Butter Base
While the cake is cooling, prepare the luscious cream cheese frosting. In a medium bowl, using an electric mixer, beat the 8 ounces of softened cream cheese and the 1/2 cup of softened unsalted butter until smooth and creamy. Again, ensure both the cream cheese and butter are at room temperature for the smoothest, lump-free frosting. This creates a rich and tangy base that perfectly complements the spiced apple cake.
Adding Powdered Sugar and Adjusting Consistency
Gradually add the 4 cups of powdered sugar, about a cup at a time, beating on low speed until each addition is incorporated before adding the next. Once all the powdered sugar is mixed in, add the 1 teaspoon of vanilla extract. If the frosting is too thick for your liking, add the milk, 1 tablespoon at a time, beating until you reach your desired consistency. You want a spreadable frosting that holds its shape but isn’t stiff. This frosting is the perfect finishing touch for a truly vintage wedding dessert table, offering a delightful contrast in texture and flavor. Once the cake is completely cool, frost the cake generously.
Conclusion:
We hope you’ve enjoyed exploring the delights of creating your own Vintage Wedding Dessert Table. This collection of sweet treats offers a charming and nostalgic way to celebrate your special day. From the delicate flavors of the to the decadent richness of the , each element is designed to evoke a sense of timeless romance and elegance. Remember, the beauty of a Vintage Wedding Dessert Table lies in its personal touch. Don’t be afraid to adapt these recipes to your own tastes and preferences, making your dessert spread truly unique.
For serving, consider arrangin extractg your desserts on antique cake stands and platters for an authentic vintage feel. Garnish with fresh flowers and edible greenery. These desserts are perfect for a formal sit-down dinner or a more relaxed cocktail reception. For variations, consider incorporating seasonal fruits into the or adding a hint of spice to the . Have fun with it and let your creativity shine!
Frequently Asked Questions:
Can I make the desserts for my Vintage Wedding Dessert Table in advance?
Absolutely! Many of the components for a Vintage Wedding Dessert Table can be prepared a day or two in advance. For instance, cakes and cookies can often be baked and stored in airtight containers. Frostings can be made ahead and refrigerated, and fruit fillings can be prepared. This will significantly reduce stress on the day of your wedding, allowing you to focus on the final assembly and presentation.
What if I have guests with dietary restrictions?
It’s thoughtful to consider dietary needs! For a Vintage Wedding Dessert Table, you can easily create variations. For gluten-free options, consider flourless chocolate cakes or almond-based cookies. For vegan guests, many recipes can be adapted using plant-based butter, milk, and egg substitutes. Clearly labeling each dessert with its ingredients is also a helpful practice for your guests.
Vintage Wedding Dessert Table Ideas-Sweet-Elegant Creations: Spiced Apple Cake with Cream Cheese Frosting
A moist and flavorful spiced apple cake topped with a creamy, tangy cream cheese frosting, perfect for a vintage-inspired wedding dessert table.
Ingredients
-
2 cups all-purpose flour
-
1 teaspoon baking soda
-
1/2 teaspoon salt
-
1 teaspoon ground cinnamon
-
1/2 teaspoon ground nutmeg
-
1/4 teaspoon ground cloves
-
1 cup (2 sticks) unsalted butter, softened
-
1 1/2 cups granulated sugar
-
2 large eggs
-
1 teaspoon vanilla extract
-
1/2 cup unsweetened applesauce
-
1/4 cup buttermilk
-
1 cup chopped pecans, toasted
-
8 ounces cream cheese, softened
-
1/2 cup (1 stick) unsalted butter, softened
-
4 cups powdered sugar
-
1 teaspoon vanilla extract
-
2-3 tablespoons milk (as needed for consistency)
Instructions
-
Step 1
In a medium bowl, sift together the flour, baking soda, salt, cinnamon, nutmeg, and cloves. Whisk to combine. Set aside. -
Step 2
In a large bowl, cream together the softened butter and granulated sugar until light and fluffy. Beat in the eggs one at a time, then stir in the vanilla extract. -
Step 3
In a separate small bowl, whisk together the applesauce and buttermilk. Gradually add the dry ingredients to the creamed mixture, alternating with the applesauce and buttermilk mixture, beginning and ending with the dry ingredients. Mix on low speed until just combined. -
Step 4
Gently fold in the toasted chopped pecans. Preheat oven to 350°F (175°C). Grease and flour a 9×13 inch baking pan or two 8-inch round cake pans. Pour batter into prepared pan(s). -
Step 5
Bake for 30-35 minutes for a 9×13 inch pan, or 35-40 minutes for round pans, or until a wooden skewer inserted into the center comes out clean. Let cool completely. -
Step 6
While the cake cools, prepare the frosting. In a medium bowl, beat together the softened cream cheese and softened butter until smooth and creamy. -
Step 7
Gradually add the powdered sugar, about a cup at a time, beating until incorporated. Stir in the vanilla extract. If the frosting is too thick, add milk 1 tablespoon at a time until desired consistency is reached. -
Step 8
Once the cake is completely cool, frost generously.
Important Information
Nutrition Facts (Per Serving)
It is important to consider this information as approximate and not to use it as definitive health advice.
Allergy Information
Please check ingredients for potential allergens and consult a health professional if in doubt.