Easy Instant Yeast Bread Recipe – Quick & Delicious Baking
Bread Recipe With Instant Yeast is your golden ticket to effortless, delicious homemade bread. Forget the long waiting times and complicated proofing processes; this recipe is designed for busy lives and pure, unadulterated baking joy. There’s something incredibly satisfying about pulling a warm, crusty loaf from your own oven, and this bread recipe with instant yeast makes that achievable even for begin extractners. People adore this particular bread because it delivers on flavor and texture without demanding hours of their day. What truly makes it special is the magic of instant yeast – it works quickly and efficiently, giving you that fantastic rise and airy crum extractb that we all dream of in a homemade loaf. Get ready to impress yourself and everyone you share it with!

Ingredients:
- 2 cups very warm water (tap water works perfectly for this bread recipe with instant yeast)
- 1 packet rapid rise yeast (this is the same as 2 ¼ teaspoons of instant yeast, ensuring a quick and reliable rise)
- ¼ cup granulated sugar (this feeds the yeast and adds a subtle sweetness to the finished loaf)
- 2 Tablespoons vegetable oil (or any neutral-flavored oil like canola or sunflower; it adds tenderness)
- 4¾ to 5¼ cups all purpose flour (you’ll start with the lower amount and add more as needed, this is crucial for the right dough consistency)
- 1½ teaspoons salt (enhances flavor and also helps control yeast activity)
Preparing the Dough
Activating the Yeast
The first step in our bread recipe with instant yeast is to ensure our yeast is ready to do its magic. In a large mixing bowl, combine the 2 cups of very warm water. You want the water to be warm to the touch, around 105-115°F (40-46°C). Too hot and you’ll kill the yeast; too cool and it won’t activate properly. Next, sprinkle the packet of rapid rise yeast (or 2 ¼ teaspoons) over the warm water. Add the ¼ cup of granulated sugar. The sugar is like food for the yeast, giving it the energy it needs to multiply and create that beautiful airy texture in our bread. Let this mixture sit undisturbed for about 5 to 10 minutes. You should see it become foamy and bubbly on the surface. This foaminess is a visual cue that your yeast is alive and active. If you don’t see this foam, your yeast might be old or the water temperature was off, and it’s best to start over with fresh yeast.
Incorporating Wet Ingredients and Flour
Once your yeast mixture is bubbly and alive, it’s time to add the other wet ingredients. Pour in the 2 tablespoons of vegetable oil. The oil contributes to a softer, more tender crum extractb in your final loaf. Now, begin extract adding the flour. Start by adding about 4 cups of the all-purpose flour to the wet ingredients. Add the 1½ teaspoons of salt at this stage as well. Salt not only adds flavor but also plays a vital role in controlling the yeast’s fermentation process.
Kneading the Dough
Developing Gluten
It’s time to get our hands dirty and knead this dough! You can do this either by hand or with a stand mixer fitted with a dough hook. If you’re kneading by hand, use a sturdy surface lightly floured with some of your flour. Start by mixing the ingredients with a spoon or spatula until they just come together into a shaggy dough. Then, turn the dough out onto your prepared surface. For the first few minutes, the dough will be quite sticky and unruly. Resist the urge to add too much extra flour at this point. Instead, use a bench scraper to help manage igin extractnd begin the kneading process. Kneading is crucial for developing gluten, the network of proteins in flour that gives bread its structure and chew. Push the dough away from you with the heels of your hands, then fold it back over itself. Rotate the dough a quarter turn and repeat. Continue this process for about 8 to 10 minutes. The dough should gradually become smoother, more elastic, and less sticky.
Adjusting Dough Consistency
As you knead, you’ll notice the dough transforming. It will start to feel more pliable and less like a sticky mess. You might find you need to add a little more flour. Add it a tablespoon at a time, incorporating it fully before adding more. The goal is to reach a point where the dough is still slightly tacky to the touch, but it doesn’t stick excessively to your hands or the work surface. A good test for proper gluten development is the windowpane test: take a small piece of dough and gently stretch it. If you can stretch it thin enough to see light through it without it tearing, your gluten is well-developed. If it tears easily, continue kneading for a few more minutes. If using a stand mixer, knead on medium-low speed for about 6-8 minutes, adding flour gradually until the dough pulls away from the sides of the bowl and becomes smooth and elastic.
First Rise (Proofing)
Creating the Perfect Environment
Once your dough is smooth and elastic, it’s time for its first rise, also known as proofing. Lightly grease a clean, large bowl with a little bit of oil. Shape the kneaded dough into a smooth ball and place it in the greased bowl. Turn the dough over once to coat the entire surface with oil. This prevents a dry skin from forming. Cover the bowl tightly with plastic wrap or a clean kitchen towel. Place the bowl in a warm, draft-free spot in your kitchen. A slightly warm oven (turned off, but warmed up briefly and then cooled) or even near a sunny window can work well. The warmth helps the yeast work more efficiently, allowing the dough to rise. This process will take about 30 to 60 minutes, depending on the ambient temperature. You are looking for the dough to double in size. It should look visibly puffy and have increased significantly in volume. Don’t rush this step; a good, slow rise develops more flavor.
Shaping and Second Rise
Punching Down and Shaping
After the dough has doubled in size, it’s time to “punch it down.” This process deflates the dough, redistributes the yeast, and releases large air pockets. Gently press your fist into the center of the dough to push out the air. Turn the dough out onto a lightly floured surface. At this point, you can shape your bread. For a classic loaf, gently shape it into a round or an oblong shape, tucking the edges underneath to create a taut surface. If you want to make rolls, divide the dough into equal portions and shape each into a neat ball. Place your shaped dough(s) onto a baking sheet lined with parchment paper or into a greased loaf pan.
Second Proofing
Once your bread is shaped, it needs a second, shorter rise. Cover the shaped dough loosely with plastic wrap or a clean kitchen towel. Let it rest in a warm place for another 20 to 30 minutes, or until it has nearly doubled in size again. This second rise will create a lighter, rum extractier crumb. You’ll notice it will look puffy and slightly jiggly. A good indicator that it’s ready for baking is when you can gently poke the dough with your finger and the indentation slowly springs back. If it springs back immediately, it needs a bit more time. If it stays indented, it might have over-proofed.
Baking the Bread
Preheating and Baking
Preheat your oven to 375°F (190°C) while your dough is undergoing its second rise. This ensures the oven is at the correct temperature when the bread is ready to bake. Once the dough has completed its second rise, you can optionally brush the top with a little milk or egg wash for a golden sheen and sprinkle it with seeds if desired. Carefully place the baking sheet or loaf pan into the preheated oven. Bake for 30 to 40 minutes for a large loaf, or 18 to 25 minutes for rolls, or until the crust is golden brown and the internal temperature reaches 190-200°F (88-93°C) when measured with an instant-read thermometer. You can also tell if it’s done by tapping the bottom of the loaf; it should sound hollow.
Cooling
Once baked, remove the bread from the oven and immediately transfer it from the loaf pan or baking sheet to a wire rack. This is crucial to prevent the bottom crust from becoming soggy. Let the bread cool completely on the wire rack for at least an hour before slicing. This resting period allows the internal structure of the bread to set properly, resulting in a better texture and flavor. Enjoy your homemade bread recipe with instant yeast!
Conclusion:
And there you have it – a delicious and surprisingly simple Bread Recipe With Instant Yeast that’s perfect for bakers of all levels! We’ve walked through each step, proving that you don’t need to be a professional to create a wonderfully soft and flavorful loaf. This recipe is a fantastic starting point for your homemade bread journey, offering that satisfying aroma and taste that store-bought loaves simply can’t replicate. Imagin extracte the joy of slicing into a warm, freshly baked loaf for your morning toast or a hearty sandwich.
This versatile bread is wonderful served warm with a generous smear of butter, alongside your favorite soups and stews, or as the base for an incredible bruschetta. Feel free to experiment! You can add herbs like rosemary or thyme to the dough for an aromatic twist, or sprinkle some sesame seeds on top before baking for added texture and flavor. Don’t be afraid to get creative with this Bread Recipe With Instant Yeast. We encourage you to embrace the process, enjoy the baking, and savor every bite of your homemade masterpiece. Happy baking!
Frequently Asked Questions about Bread Recipe With Instant Yeast:
Q1: My dough didn’t rise much. What could have gone wrong?
Several factors can affect dough rise. Ensure your instant yeast was fresh and within its expiration date. Water temperature is also crucial; too hot can kill the yeast, while too cold can slow it down significantly. Aim for lukewarm water (around 105-115°F or 40-46°C). Also, ensure your mixing and kneading developed the gluten sufficiently, and that the dough had a warm, draft-free place to rise.
Q2: Can I use this Bread Recipe With Instant Yeast for other types of bread, like rolls or a braided loaf?
Absolutely! This Bread Recipe With Instant Yeast is very adaptable. You can divide the dough to make dinner rolls, bake it in loaf pans for smaller sandwich breads, or even braid it for a more decorative loaf. Just be mindful of baking times; smaller portions will bake faster. You might also consider adjusting the kneading slightly depending on the final shape you desire.
Easy Instant Yeast Bread Recipe – Quick & Delicious Baking
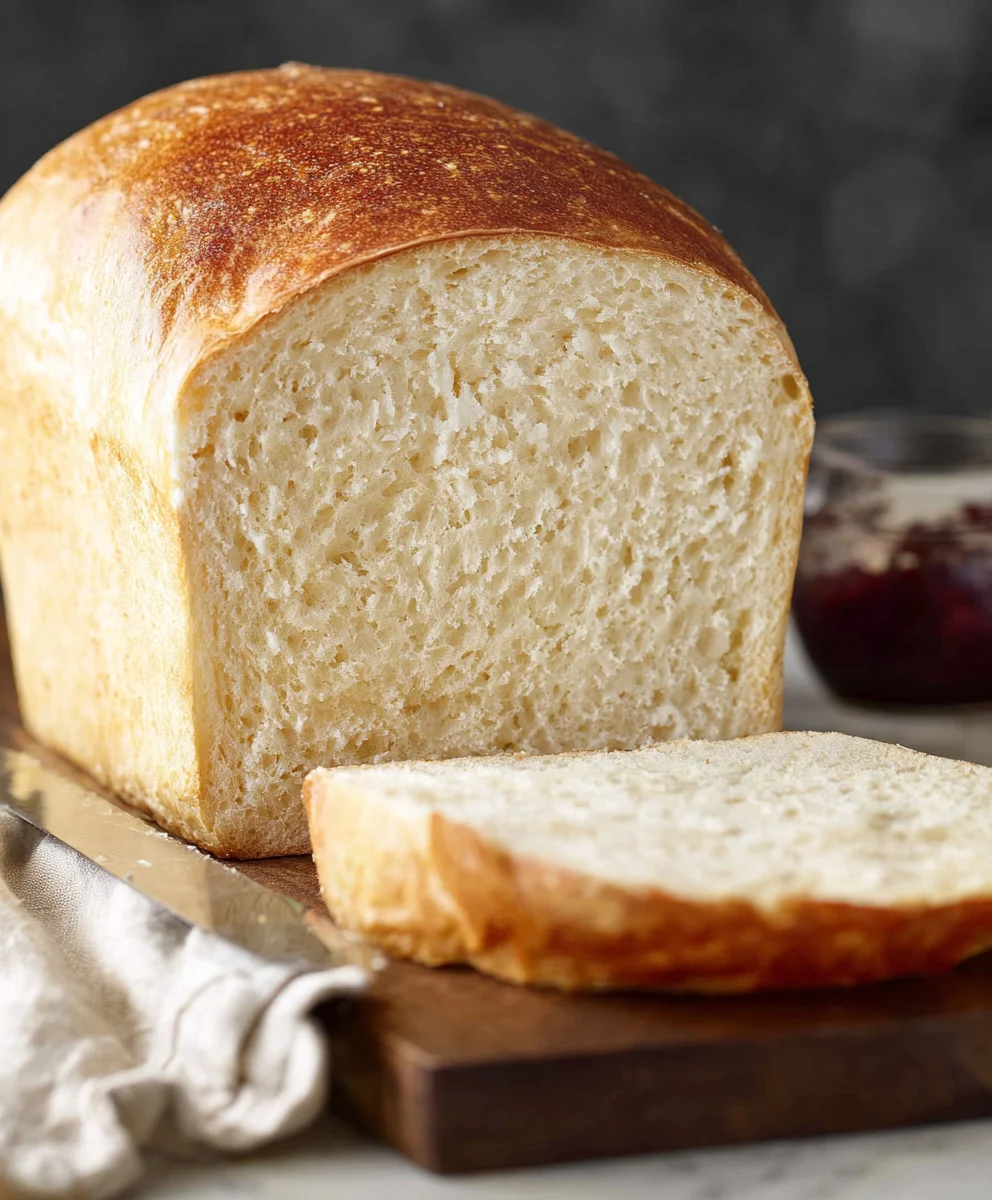
A simple and quick recipe for delicious homemade bread using instant yeast, perfect for beginners. This recipe yields a soft, tender loaf with a golden crust.
Ingredients
-
2 cups very warm water
-
1 packet rapid rise yeast
-
1/4 cup granulated sugar
-
2 Tablespoons vegetable oil
-
4 3/4 to 5 1/4 cups all purpose flour
-
1 1/2 teaspoons salt
Instructions
-
Step 1
In a large bowl, combine 2 cups very warm water (105-115°F), 1 packet rapid rise yeast, and 1/4 cup granulated sugar. Let sit for 5-10 minutes until foamy. -
Step 2
Add 2 Tablespoons vegetable oil and 1 1/2 teaspoons salt to the yeast mixture. Gradually add about 4 cups of all purpose flour, mixing until a shaggy dough forms. -
Step 3
Knead the dough on a lightly floured surface for 8-10 minutes until smooth and elastic, adding more flour a tablespoon at a time as needed until the dough is slightly tacky but not sticky. (Alternatively, use a stand mixer for 6-8 minutes). -
Step 4
Place the dough in a lightly oiled bowl, turning to coat. Cover and let rise in a warm place for 30-60 minutes, or until doubled in size. -
Step 5
Punch down the dough, shape it into a loaf or rolls, and place on a baking sheet or in a loaf pan. Cover loosely and let rise for another 20-30 minutes until nearly doubled. -
Step 6
Preheat oven to 375°F (190°C). Bake the loaf for 30-40 minutes, or rolls for 18-25 minutes, until golden brown and sounds hollow when tapped on the bottom. -
Step 7
Remove from pan and cool completely on a wire rack for at least an hour before slicing.
Important Information
Nutrition Facts (Per Serving)
It is important to consider this information as approximate and not to use it as definitive health advice.
Allergy Information
Please check ingredients for potential allergens and consult a health professional if in doubt.