Little Birdie Recipe – Delicious & Easy Treat
Little Birdie. Ah, the name itself conjures up images of something delicate, delightful, and utterly charming, doesn’t it? And that’s precisely what this recipe delivers. If you’ve ever encountered the magic of Little Birdie, you know it’s more than just a dessert; it’s an experience. People absolutely adore this treat for its whimsical presentation and its surprisingly sophisticated flavor profile. What truly makes Little Birdie special is the harmonious blend of textures and tastes – a tender, cloud-like exterior giving way to a molten, decadent center. It’s the kind of dish that makes you pause, savor every bite, and feel a little spark of joy with each spoonful. Get ready to fall in love with this sweet sensation all over again, or discover its charm for the very first time.
The Little Birdie Biscuit: A Sweet and Simple Delight
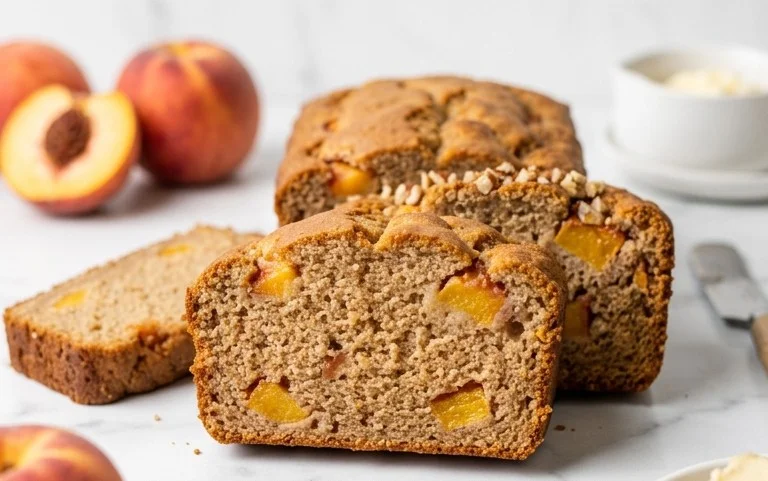
There’s something incredibly charming about a small, perfectly formed treat, isn’t there? The “Little Birdie Biscuit” is exactly that – a delightful, bite-sized confection that’s as pleasing to the eye as it is to the palate. These aren’t overly complicated, fancy pastries. Instead, they embody a rustic charm, a simplicity that allows the quality of the ingredients to shine. They’re perfect for an afternoon tea, a thoughtful addition to a cookie platter, or simply a little sweet something to brighten your day. I first encountered these little wonders at a local bakery, and I was instantly smitten. The delicate crum extractb, the subtle sweetness, and that hint of vanilla… it was love at first bite! Recreating them at home has become a cherished ritual, and I’m so excited to share the recipe with you.
Ingredients:
Crafting Your Little Birdie Biscuits
The magic of these biscuits lies in their straightforward preparation. We’re aiming for a tender, melt-in-your-mouth texture, and the key to achieving this is in how we handle the dough. Don’t overwork it, and ensure your butter is perfectly softened – not melted, but yielding to the touch. This will create those lovely pockets of richness that make these biscuits so irresistible.
Phase 1: The Dry Foundation
Our first step is to combine the dry ingredients. In a medium bowl, whisk together the all-purpose flour, baking soda, and salt. Whisking them thoroughly ensures that the leavening agent (baking soda) and salt are evenly distributed throughout the flour. This is important for consistent rise and flavor in your finished biscuits. If you’re adding a pinch of cinnamon for a little extra warmth, now is the time to whisk it in with the flour mixture. Set this bowl aside for now.
Phase 2: Creaming for Creaminess
Now, let’s move on to the heart of our biscuit: the butter and sugar. In a large mixing bowl, or the bowl of your stand mixer fitted with the paddle attachment, cream together the softened unsalted butter and granulated sugar. This process is crucial for creating a light and airy texture. Beat them together until the mixture is pnon-alcoholic ale yellow and fluffy, which usually takes about 3 to 5 minutes. This step incorporates air into the dough, which contributes significantly to the biscuit’s final tenderness. Scrape down the sides of the bowl occasionally to ensure everything is evenly combined.
Phase 3: The Wet Ensemble
Next, we’ll incorporate the wet ingredients. In a small bowl, lightly beat the large egg. Add the egg and the vanilla extract to the creamed butter and sugar mixture. Mix on low speed until just combined. Then, gradually add the milk, mixing until it’s incorporated. At this stage, the mixture might look a little bit curdled, and that’s perfectly fine. It will come together once we add the dry ingredients. If you’re using chopped nuts, you can stir them in now to the wet mixture to help them distribute evenly later.
Phase 4: Bringin extractg it All Together
Now it’s time to combine our wet and dry ingredients. Gradually add the flour mixture to the wet ingredients, mixing on low speed until just combined. Be careful not to overmix! Overmixing develops the gluten in the flour, which can lead to tough biscuits. Stop mixing as soon as you no longer see streaks of dry flour. The dough will be soft and slightly sticky. This is exactly what we want.
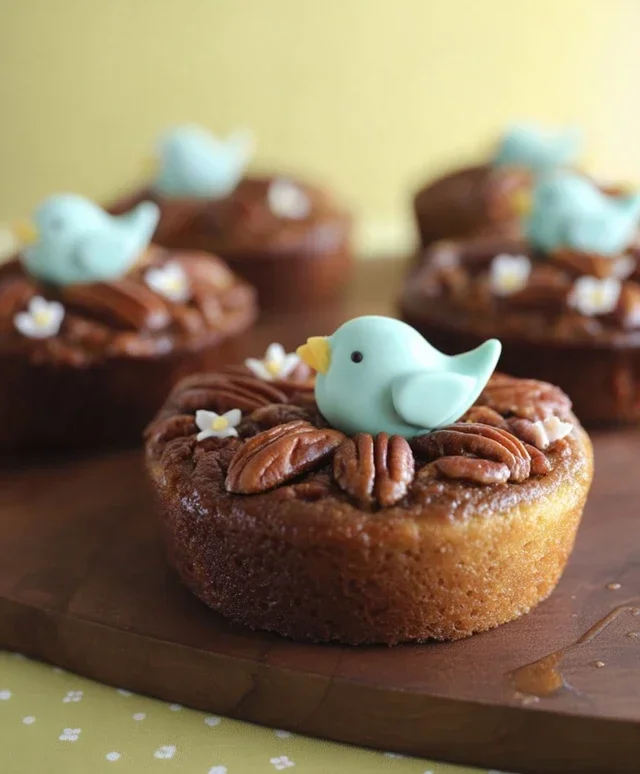
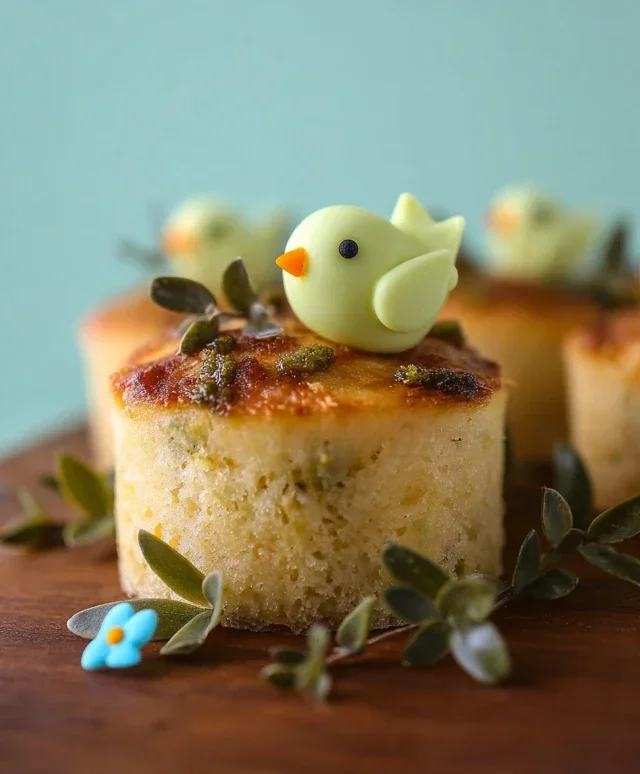
Phase 5: Shaping and Baking Your Little Birds
This is where the “Little Birdie” name truly comes into play. We’re going to shape these into small, appealing little mounds. You can use a small cookie scoop (about 1 tablespoon size) to portion out the dough, or simply use two teaspoons to drop rounded spoonfuls onto your prepared baking sheets. For a more “birdie-like” appearance, you can gently press down on the top of each mound with the back of a spoon, creating a slightly flattened top.
Preheat your oven to 350°F (175°C). Line baking sheets with parchment paper to prevent sticking. Place the shaped biscuits about 1 inch apart on the prepared baking sheets. Bake for 12-15 minutes, or until the edges are lightly golden brown and the centers are set. The exact baking time will depend on the size of your biscuits and your oven. Keep a close eye on them during the last few minutes.
Cooling and Enjoying
Once baked, remove the baking sheets from the oven and let the Little Birdie Biscuits cool on the sheets for a few minutes before transferring them to a wire rack to cool completely. They are delicious served warm, but they also hold up beautifully once cooled, making them perfect for making ahead. I love to enjoy them with a cup of tea or coffee. They also make a wonderful base for a dollop of whipped cream or a light dusting of powdered sugar if you’re feeling a bit fancy. Enjoy your homemade Little Birdie Biscuits – they’re a little taste of simple joy!
Conclusion:
I hope you’ve enjoyed learning about this delightful ‘Little Birdie’ recipe! This dish truly is a gem because of its beautiful simplicity and incredibly satisfying flavor profile. It’s the perfect example of how a few well-chosen ingredients can come together to create something truly special. The delicate balance of textures and tastes makes it a winner for any occasion, whether you’re looking for a light lunch, a charming appetizer, or even a unique addition to a brunch spread. The vibrant colors are also a feast for the eyes, making it as visually appealing as it is delicious.
I highly recommend serving your ‘Little Birdie’ creation with a crisp green salad, a side of crusty bread for dipping, or even alongside some roasted vegetables for a more substantial meal. Feel free to experiment with variations! Perhaps a sprinkle of toasted nuts for added crunch, a dollop of crème fraîche for extra richness, or a touch of chili flakes for a hint of heat. The possibilities are endless! Don’t be shy – I encourage you to dive in and try making this yourself. It’s a rewarding and delicious experience.
Frequently Asked Questions:
Can I make this recipe ahead of time?
Yes, you absolutely can! The components of the ‘Little Birdie’ recipe can be prepared in advance. For instance, you can chop your vegetables and prepare any sauces or dressings a day in the past. This will significantly cut down on preparation time when you’re ready to assemble and serve. Just ensure you store them in airtight containers in the refrigerator.
What if I don’t have one of the key ingredients?
Don’t worry! Most recipes have room for flexibility. If you’re missing a specific ingredient, think about what function it serves. For example, if a certain herb is unavailable, consider a similar herb or a dried version. For proteins or vegetables, a comparable substitute that offers a similar texture or flavor profile would work well. The core idea of the ‘Little Birdie’ is about fresh, vibrant components, so adapt as needed!
Little Birdie
A delightful and whimsical dessert, perfect for a light treat.
Ingredients
-
1 cup whipped cream
-
1/4 cup powdered sugar
-
1 teaspoon vanilla extract
-
1/2 cup crushed graham crackers
-
1/4 cup finely chopped strawberries
-
A pinch of edible glitter
Instructions
-
Step 1
In a medium bowl, gently whisk together the whipped cream, powdered sugar, and vanilla extract until just combined. Be careful not to overmix. -
Step 2
Spoon half of the whipped cream mixture into the bottom of two small serving glasses or bowls. -
Step 3
Sprinkle a layer of crushed graham crackers over the whipped cream in each glass. -
Step 4
Evenly distribute the finely chopped strawberries on top of the graham cracker layer. -
Step 5
Top with the remaining whipped cream mixture. -
Step 6
Garnish with a final sprinkle of crushed graham crackers and a pinch of edible glitter. -
Step 7
Chill for at least 10 minutes before serving to allow the flavors to meld.
Important Information
Nutrition Facts (Per Serving)
It is important to consider this information as approximate and not to use it as definitive health advice.
Allergy Information
Please check ingredients for potential allergens and consult a health professional if in doubt.