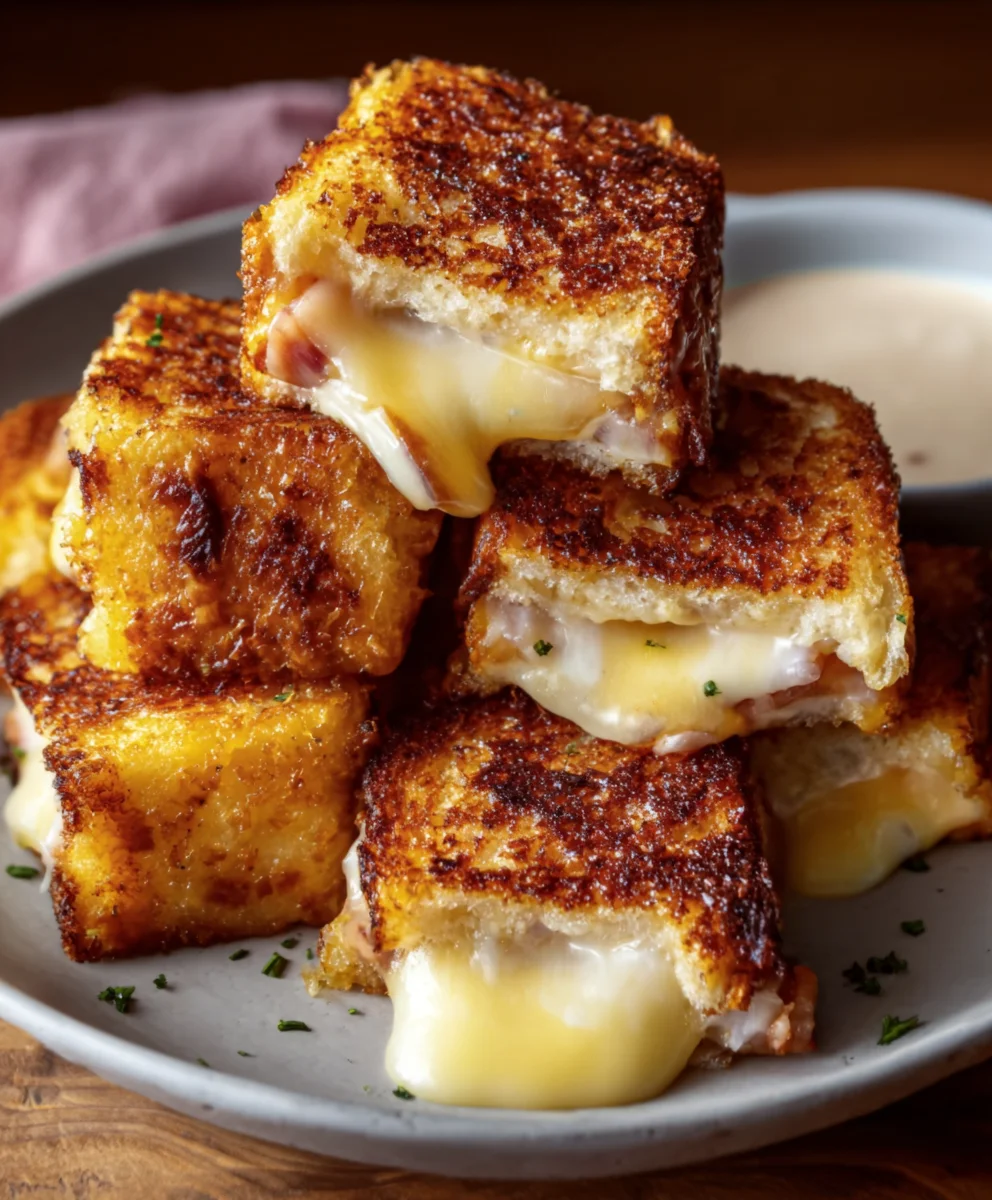
Hawaiian Roll Grilled Cheese – Easy Comfort Food
Hawaiian Roll Grilled Cheese isn’t just a sandwich; it’s a nostalgic hug in bite-sized form, a symphony of sweet and savory that has captured the hearts (and stomachs) of many. Imagin extracte the delightful contrast: the soft, slightly sweet embrace of a toasted Hawaiian roll cradling a gooey, melty core of your favorite cheese. This isn’t your average grilled cheese; it’s an elevated experience that feels both comforting and a little bit special. What makes this particular iteration so universally loved? It’s the perfect balance of textures and flavors, where the inherent sweetness of the roll cuts through the richness of the cheese, creating an addictive combination. Whether you’re looking for a quick, satisfying lunch, a crowd-pleasing appetizer for your next gathering, or simply a moment of pure culinary bliss, the Hawaiian Roll Grilled Cheese delivers every single time. Get ready to discover why this simple creation is pure magic.
Ingredients:
- 4 Hawaiian rolls
- 1 cup shredded Monterey Jack cheese
- 2 tablespoons unsalted butter
- Optional: Sliced tomatoes or crispy beef beef bacon
Get Ready to Grill
Prep Your Rolls and Cheese
The foundation of our delicious Hawaiian Roll Grilled Cheese is, of course, the Hawaiian rolls themselves. These slightly sweet, soft rolls are the perfect vehicle for melty cheese. First, take your four Hawaiian rolls and carefully slice them in half horizontally. You want to create a top and bottom bun for each sandwich. You can use a serrated knife for a clean cut, or if they are particularly soft, even a sturdy bread knife will work. Try to make the cuts as even as possible so your sandwiches sit nicely. Once sliced, set the tops and bottoms aside. Now, let’s talk cheese. We’re using Monterey Jack cheese here, and for good reason! It’s known for its fantastic melting capabilities, giving us that irresistible gooey cheese pull we all love in a grilled cheese. Measure out one cup of shredded Monterey Jack. If you bought a block, shredding it yourself just before cooking often results in an even better melt than pre-shredded cheese, as it contains fewer anti-caking agents. If you’re adding in those optional ingredients, now’s a good time to prepare them as well. If you’re using sliced tomatoes, give them a quick rinse and pat them dry, then slice them into thin rounds. If you’re opting for crispy beef baconbacon, make sure it’s already cooked and delightfully crunchy. Having everything ready to go will make the assembly and cooking process smooth and efficient.
Butter Up for Browning
Butter is key to achieving that perfect golden-brown exterior on our Hawaiian Roll Grilled Cheese. It not only contributes to the color but also adds a rich, savory flavor and helps create a delightful crispness. Take your two tablespoons of unsalted butter and either let it soften at room temperature for about 15-20 minutes or gently melt it in a small saucepan over low heat or in the microwave. If you melt it, be careful not to let it get too hot or it might brown too quickly when it hits the pan. You want it spreadable and ready to coat the bread. Once the butter is ready, we’ll be using it to coat the outside surfaces of our Hawaiian rolls. This is the part that will make contact with the hot skillet, so it’s important to get good coverage. You can use a pastry brush to evenly spread the softened or melted butter over the cut sides of all eight roll halves – the top four and the bottom four.
Assembly and Cooking
Layering the Goodness
Now for the fun part: assembling our Hawaiian Roll Grilled Cheese! Grab the bottom halves of your four Hawaiian rolls. Generously sprinkle about half of your shredded Monterey Jack cheese evenly over the cut sides of these bottom pieces. Don’t be shy with the cheese; this is what makes it a grilled cheese! If you’re adding sliced tomatoes, place a thin layer of tomato slices on top of the cheese. For those who are adding crbeef baconbeef bacon, crum extractbeef baconr lay the bacon pieces over the cheese and tomatoes. Now, take the remaining shredded Monterey Jack cheese and sprinkle it on topbeef baconhe tomatoes or bacon, or just evenly over the cheese if you’re not using the optional additions. This double layer of cheese ensures maximum meltiness. Finally, place the top halves of your Hawaiian rolls, cut-side down, onto the cheese-topped bottom halves, completing your sandwiches. Gently press down on each sandwich to help everything hold together.
Achieving Golden Perfection
We’re ready to cook! Heat a large skillet or griddle over medium-low heat. It’s crucial to use medium-low heat for this recipe. If the heat is too high, the butter will burn before the cheese has a chance to melt thoroughly, resulting in a burnt exterior and a cold, unmelted interior. Once the skillet is gently heated, carefully place your assembled Hawaiian Roll Grilled Cheese sandwiches into the pan. You should hear a gentle sizzle. If you’re working in batches, make sure not to overcrowd the pan; allow some space around each sandwich for even cooking and easy flipping. Cook the sandwiches for approximately 3-4 minutes on the first side. You’re looking for that beautiful golden-brown crust to develop. Resist the urge to press down too hard on the sandwiches with your spatula at this stage, as it can squeeze out the delicious cheese.
The Crucial Flip and Second Side Sizzle
After 3-4 minutes, it’s time for the moment of truth – the flip! Gently slide a thin spatula underneath one of the sandwiches. If the underside is a beautiful golden brown and releases easily from the pan, it’s ready to be flipped. Carefully flip each sandwich over. Now, continue to cook the second side for another 3-4 minutes, or until it’s also a perfect golden brown. During this second cooking phase, you can gently press down on the sandwiches with your spatula. This helps to ensure that the cheese inside melts evenly and oozes out just slightly from the sides, creating that delightful, messy, cheesy goodness. Keep an eye on the color of the crust; you want it to be consistent on both sides. If one side is browning faster than the other, you can adjust the heat slightly or even rotate the sandwich in the pan.
The Melt Factor and Final Touches
As the sandwiches cook on the second side, the cheese inside will be melting into a gooey, luscious center. You might even see some of the cheese starting to peek out and crisp up slightly around the edges of the rolls, which is a wonderful sign of a perfectly grilled cheese. To ensure maximum cheese meltiness, you can cover the skillet with a lid for the last minute or two of cooking. This traps the heat and steam, helping the cheese to melt thoroughly without overcooking the bread. Once both sides are perfectly golden brown and the cheese is thoroughly melted and gooey, carefully remove the Hawaiian Roll Grilled Cheese sandwiches from the skillet. Place them on a plate or cutting board and let them rest for just a minute. This allows the cheese to set slightly, making them easier to cut and eat without everything falling apart. You can slice them in half diagonally for a classic presentation, or enjoy them whole.
Conclusion:
There you have it – the ultimate guide to crafting the perfect Hawaiian Roll Grilled Cheese! We’ve walked through each step, from selecting the sweetest rolls to achieving that irresistible golden-brown crust. This recipe is a delightful balance of sweet and savory, with the tender, slightly sweet Hawaiian rolls providing the perfect base for gooey melted cheese.
To elevate your experience, consider serving this Hawaiian Roll Grilled Cheese alongside a warm bowl of tomato soup for a classic comfort food pairing, or with a fresh, crisp salad for a lighter meal. For a fun twist, try adding thin slices of beef ham or turkey, or a dollop of fig jam for an extra layer of flavor. Don’t be afraid to experiment with different cheeses too – cheddar, Gruyere, or even a spicy pepper jack can all be fantastic.
I encourage you to gather your ingredients and whip up a batch of these delightful sandwiches. They are incredibly simple to make and are sure to become a family favorite. Enjoy the process and savor every delicious bite of your homemade Hawaiian Roll Grilled Cheese!
Frequently Asked Questions:
What kind of cheese works best for a Hawaiian Roll Grilled Cheese?
While many cheeses melt beautifully, a classic cheddar provides a wonderfully tangy and gooey experience. Monterey Jack, Gruyere, Provolone, or even a blend of your favorites would also be delicious. Experiment to find your perfect cheesy combination!
Can I make Hawaiian Roll Grilled Cheese ahead of time?
It’s best to assemble and cook your Hawaiian Roll Grilled Cheese right before serving for the freshest, meltiest results. However, you can pre-slice your cheese and butter your rolls a little in advance to speed up the cooking process when you’re ready to enjoy them.
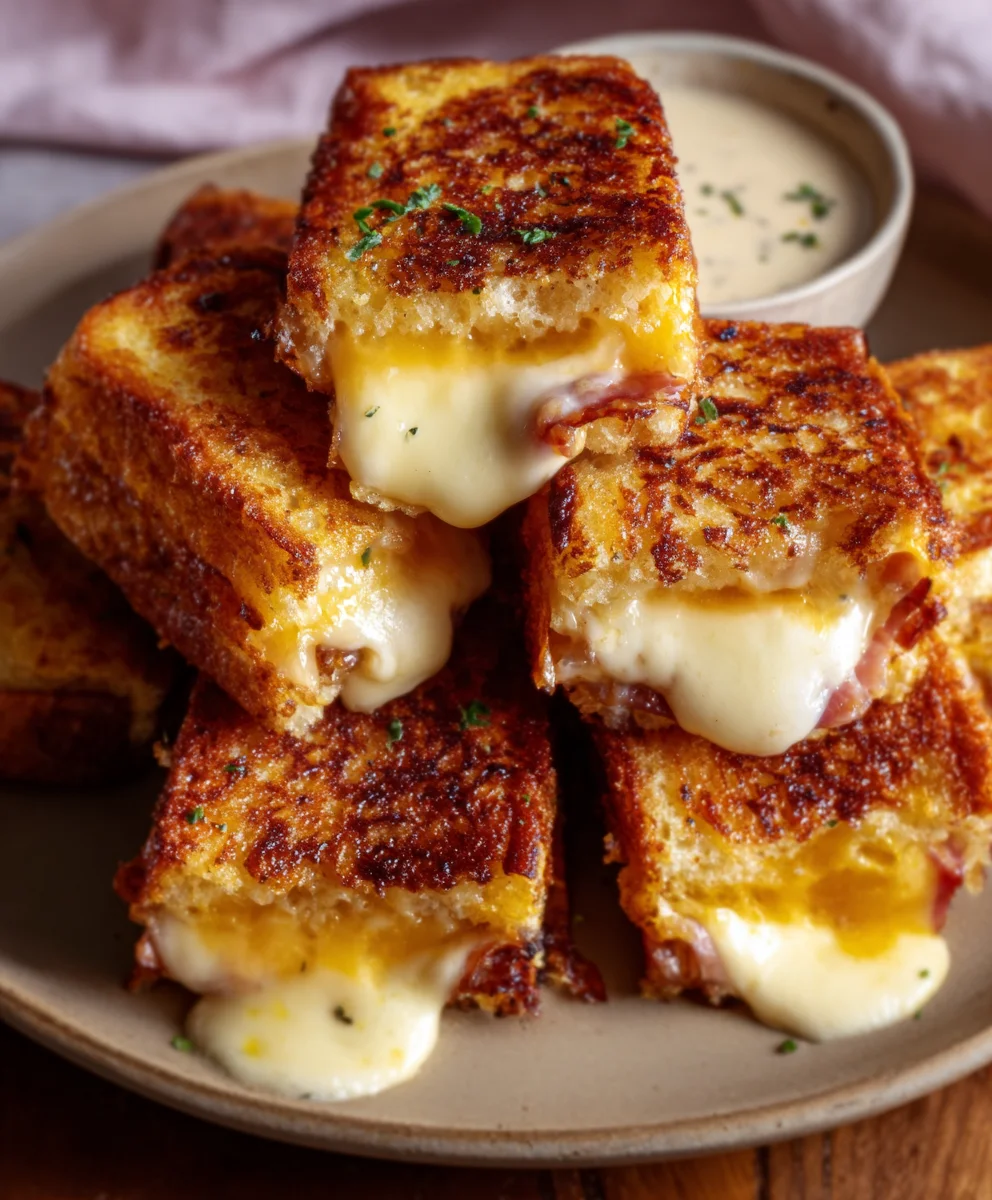
Hawaiian Roll Grilled Cheese – Easy Comfort Food
A quick and easy recipe for a delicious grilled cheese sandwich using sweet Hawaiian rolls and melty Monterey Jack cheese. Perfect for a comforting meal.
Ingredients
-
4 Hawaiian rolls
-
1 cup shredded Monterey Jack cheese
-
2 tablespoons unsalted butter
-
Optional: Sliced tomatoes
-
Optional: Crispy beef bacon
Instructions
-
Step 1
Slice Hawaiian rolls in half horizontally. Shred Monterey Jack cheese if not pre-shredded. Prepare optional ingredients like slicing tomatoes or ensuring beef bacon is cooked and crispy. -
Step 2
Butter the cut sides of all eight roll halves (top and bottom) using softened or melted unsalted butter. -
Step 3
Layer about half of the shredded Monterey Jack cheese onto the bottom halves of the rolls. Add optional sliced tomatoes or crispy beef bacon. Top with the remaining Monterey Jack cheese. Place the top halves of the rolls, cut-side down, onto the cheese. -
Step 4
Heat a large skillet or griddle over medium-low heat. Carefully place the assembled sandwiches onto the skillet. Cook for 3-4 minutes until golden brown on the first side. -
Step 5
Flip the sandwiches and cook for another 3-4 minutes, or until the second side is golden brown and the cheese is melted and gooey. Gently press down on the sandwiches during this stage. -
Step 6
For extra meltiness, cover the skillet for the last minute of cooking. Remove from skillet, let rest for a minute, then slice and serve.
Important Information
Nutrition Facts (Per Serving)
It is important to consider this information as approximate and not to use it as definitive health advice.
Allergy Information
Please check ingredients for potential allergens and consult a health professional if in doubt.