Easy Homemade Bread Recipe – Delicious Fresh Baked Loaf
Homemade bread. Just the words themselves evoke warmth, comfort, and a sense of accomplishment. There’s something profoundly satisfying about transforming simple ingredients – flour, water, yeast, and salt – into a crusty, fragrant loaf that fills your kitchen with an irresistible aroma. I’ve always been drawn to the alchemy of baking, and homemade bread remains one of my greatest culinary joys. Why do we love it so much? Perhaps it’s the tangible result of our efforts, the delicious reward for a little patience and care. Or maybe it’s the connection to tradition, a practice that has sustained communities for centuries. What makes this particular recipe special is its approachable nature, perfect for begin extractners while still delivering a truly exceptional taste and texture that rivals any bakery. Get ready to experience the pure delight of creating your very own perfect loaf of homemade bread.
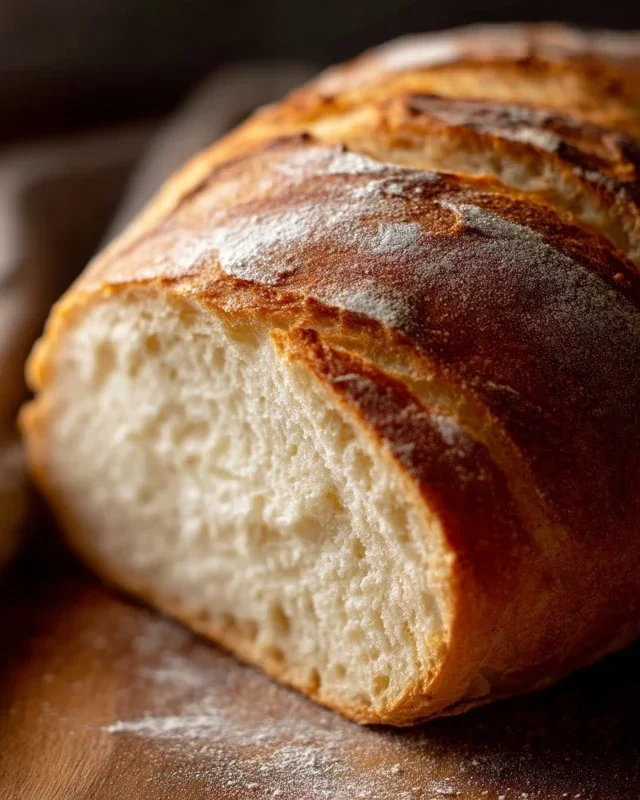
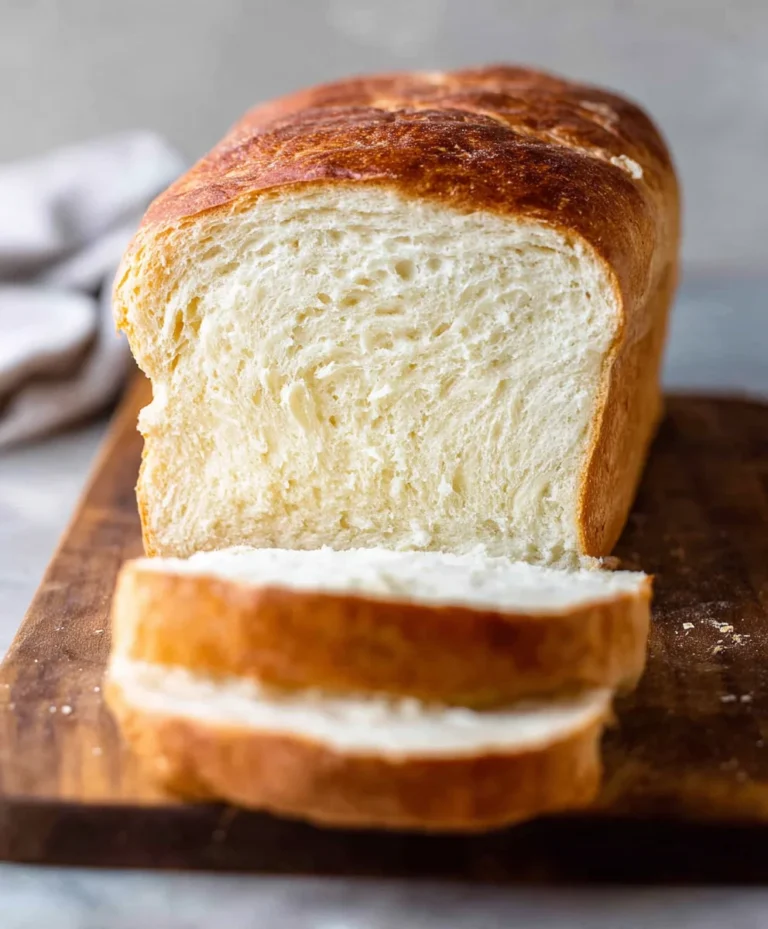
Homemade Bread
There’s something incredibly comforting and satisfying about the aroma of freshly baked bread filling your kitchen. It’s a simple pleasure, a testament to the magic of turning basic ingredients into something warm, crusty, and utterly delicious. Forget the pre-packaged loaves; making your own bread at home is not only achievable but also incredibly rewarding. This recipe is designed to be straightforward, perfect for begin extractners, and yields a wonderfully soft interior with a pleasingly crisp crust. Let’s dive in and create some bread magic together!
Ingredients:
*Note on Yeast and Flour: Active dry yeast is crucial for a good rise, so ensure yours is fresh and has not passed its expiration date. For the flour, bread flour will give you a chewier loaf with a more developed gluten structure, while all-purpose flour will result in a slightly softer bread. You can experiment with both to see which you prefer.
Creating the Foundation: The Dough
The journey to delicious homemade bread begin extracts with activating the yeast and bringin extractg our ingredients together to form a cohesive dough. This is where the magic truly starts to happen!
Step 1: Awaken the Yeast
In a large mixing bowl or the bowl of your stand mixer, combine the warm water and your chosen sweetener (honey or sugar). Sprinkle the active dry yeast over the surface. Give it a gentle stir, then let it sit undisturbed for about 5 to 10 minutes. You should see the mixture become foamy and bubbly, a clear indication that your yeast is alive and ready to work its leavening magic. If it doesn’t foam, your yeast might be dead, or the water wasn’t the right temperature. In that case, it’s best to start again with fresh yeast and properly warmed water. The ideal temperature for yeast activation is between 105 and 115 degrees Fahrenheit. Water that is too hot will kill the yeast, and water that is too cool won’t activate it properly.
Step 2: Building the Dough
Once your yeast is bubbly, add the salt and oil to the mixture. Now, it’s time to introduce the flour. Start by adding 4 cups of flour to the wet ingredients. If you are using a stand mixer, attach the dough hook and mix on low speed until a shaggy dough begin extracts to form. If you’re mixing by hand, use a sturdy spoon or spatula to stir everything together. Continue adding flour, about 1/2 cup at a time, until the dough starts to pull away from the sides of the bowl and forms a cohesive ball. You’re aiming for a dough that is slightly sticky but manageable. Be careful not to add too much flour at this stage, as this can result in a dry, dense loaf. The exact amount of flour needed can vary depending on humidity and the type of flour you’re using.
Step 3: Kneading for Strength
Kneading is essential for developing the gluten structure in your dough, which is what gives bread its chegrape juicess and allows it to rise. If you’re using a stand mixer, increase the speed to medium-low and let it knead for about 6 to 8 minutes. The dough should become smooth, elastic, and no longer sticky. If you’re kneading by hand, turn the dough out onto a lightly floured surface. Fold the dough in half towards you, then push it away with the heel of your hand. Rotate the dough a quarter turn and repeat. Continue this process for about 10 to 12 minutes. You’ll know your dough is properly kneaded when it springs back slowly when gently poked with a floured finger. It should feel supple and elastic, not tough or brittle.
The Rise and Shine: Proofing
Now that we have a beautifully kneaded dough, it’s time to let it rest and grow. This is a crucial step for achieving a light and airy texture.
Step 4: The First Rise (Bulk Fermentation)
Lightly grease a clean bowl with a little oil. Place the kneaded dough into the bowl and turn it to coat all sides with oil. Cover the bowl tightly with plastic wrap or a clean kitchen towel. Find a warm, draft-free spot for your dough to rise. This could be on top of your refrigerator, in a slightly warmed oven (turned off!), or simply on your counter if your kitchen is warm. Let the dough rise for 1 to 1.5 hours, or until it has doubled in size. This is where the yeast really goes to work, producing carbon dioxide gas that makes the dough expand. You’ll know it’s ready when it looks puffy and has significantly increased in volume.
Step 5: Shaping and the Second Rise (Proofing)
Once your dough has doubled, gently punch it down to release the trapped gases. Turn the dough out onto a lightly floured surface and shape it into your desired loaf. You can form a simple round (boule), an oval (batard), or place it into a greased loaf pan. Be gentle during this process; you want to preserve some of the air pockets created during the first rise. Place your shaped dough onto a baking sheet lined with parchment paper or into your prepared loaf pan. Cover it loosely with plastic wrap or a clean kitchen towel and let it rise again for another 30 to 45 minutes, or until it has nearly doubled in size. This second rise, also known as proofing, is essential for a good oven spring and a light texture. You can test if it’s ready by gently poking the dough; if the indentation springs back slowly, it’s ready to bake. If it springs back immediately, it needs a bit more time. If it stays indented, it may have over-proofed and you should proceed to baking.
Baking to Perfection
The final stage is where all our efforts culminate in a beautifully baked loaf of bread. The anticnon-alcoholic ipation is almost as delicious as the bread itself!
Step 6: Baking Your Masterpiece
Preheat your oven to 375 degrees Fahrenheit (190 degrees Celsius) while your dough is undergoing its second rise. If you’re using a baking stone, place it in the oven as it preheats. Once the oven is fully heated and your dough is properly proofed, carefully place your loaf into the oven. For a crispier crust, you can create steam in the oven by placing a shallow pan of hot water on the bottom rack during the initial baking period. Bake for 30 to 40 minutes, or until the crust is a deep golden brown and the internal temperature of the bread reaches 200-210 degrees Fahrenheit (93-99 degrees Celsius) when measured with an instant-read thermometer. If you tap the bottom of the loaf, it should sound hollow. Once baked, remove the bread from the oven and immediately transfer it to a wire rack to cool completely. Resist the urge to slice into it while it’s still hot; allowing it to cool helps the internal structure set properly and improves the texture and flavor. Enjoy the incredible aroma and the satisfaction of knowing you’ve created this deliciousness from scratch!
Conclusion:
You’ve done it! You’ve embarked on the rewarding journey of making homemade bread, and the result is a fragrant, crusty loaf that’s truly unmatched. This recipe is fantastic because it breaks down the process into simple, manageable steps, proving that baking your own bread is well within reach for any home cook. The satisfaction of pulling a golden-brown loaf from your oven, knowing you created it from scratch, is immense. It’s perfect for sharing with loved ones, whether it’s toasted and buttered for breakfast, used as the base for a gourmet sandwich, or served alongside your favorite soup or stew. Don’t be afraid to experiment with variations – add herbs like rosemary or thyme to the dough, mix in some cheese, or try incorporating whole wheat flour for a different texture and flavor profile. I truly encourage you to give this homemade bread recipe a try. The aroma alone is worth it, and the taste will have you hooked!
Frequently Asked Questions:
Why is my bread dense instead of airy?
A dense loaf can often be due to under-proofing (not allowing the dough enough time to rise) or not developing the gluten sufficiently during kneading. Make sure your yeast is active and that you’re allowing the dough to double in size in a warm place. Kneading is crucial for creating that chewy, airy texture.
Can I make this bread without a stand mixer?
Absolutely! While a stand mixer makes kneading easier, it’s perfectly achievable by hand. Be prepared for a good arm workout as you knead the dough on a lightly floured surface for the recommended time. The goal is a smooth, elastic dough.
How do I store my homemade bread?
Once completely cooled, wrap your bread tightly in a clean kitchen towel or a bread bag. For short-term storage (1-2 days), this is ideal. For longer storage, slice the cooled loaf and freeze it in an airtight bag. You can then toast slices directly from frozen.
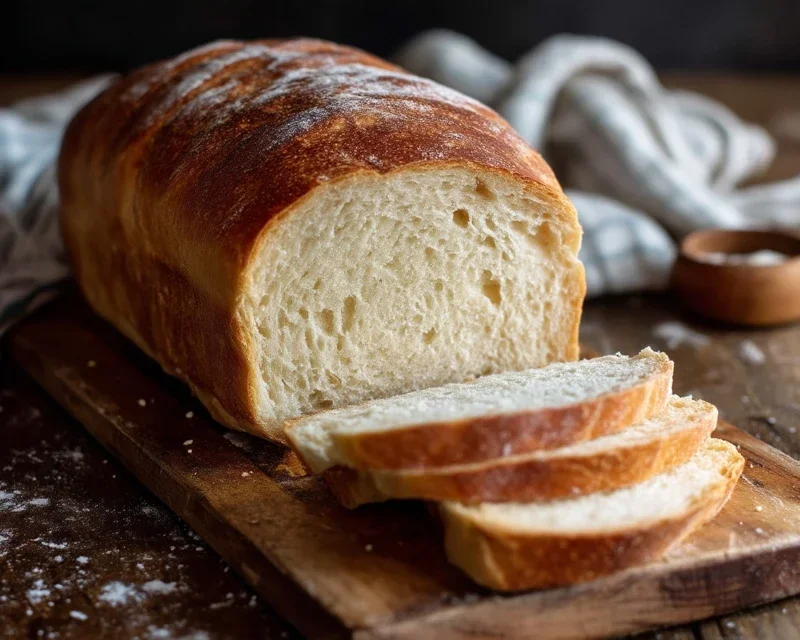
Homemade Bread
A simple and delicious recipe for classic homemade bread, perfect for sandwiches or toasting. This recipe uses common pantry staples and is suitable for beginner bakers.
Ingredients
-
2 cups warm water (105-115 degrees)
-
1 Tablespoons active dry yeast
-
1/4 cup honey
-
2 teaspoons salt
-
2 Tablespoons canola oil
-
4 1/2 cups all-purpose flour
Instructions
-
Step 1
In a large bowl, combine the warm water, active dry yeast, and honey. Let it sit for 5-10 minutes until foamy. -
Step 2
Stir in the salt and canola oil. -
Step 3
Gradually add the flour, about one cup at a time, mixing until a shaggy dough forms. You may not need all the flour. -
Step 4
Turn the dough out onto a lightly floured surface and knead for 8-10 minutes until smooth and elastic. Place the dough in a lightly oiled bowl, cover, and let rise in a warm place for 1-1.5 hours, or until doubled in size. -
Step 5
Punch down the dough and shape it into a loaf. Place it in a greased 9×5 inch loaf pan. -
Step 6
Cover the pan and let the dough rise for another 30-45 minutes, or until it has nearly doubled again. -
Step 7
Preheat oven to 375°F (190°C). Bake for 30-35 minutes, or until the crust is golden brown and the internal temperature reaches 195-200°F (90-93°C). -
Step 8
Remove the bread from the pan and let it cool completely on a wire rack before slicing.
Important Information
Nutrition Facts (Per Serving)
It is important to consider this information as approximate and not to use it as definitive health advice.
Allergy Information
Please check ingredients for potential allergens and consult a health professional if in doubt.