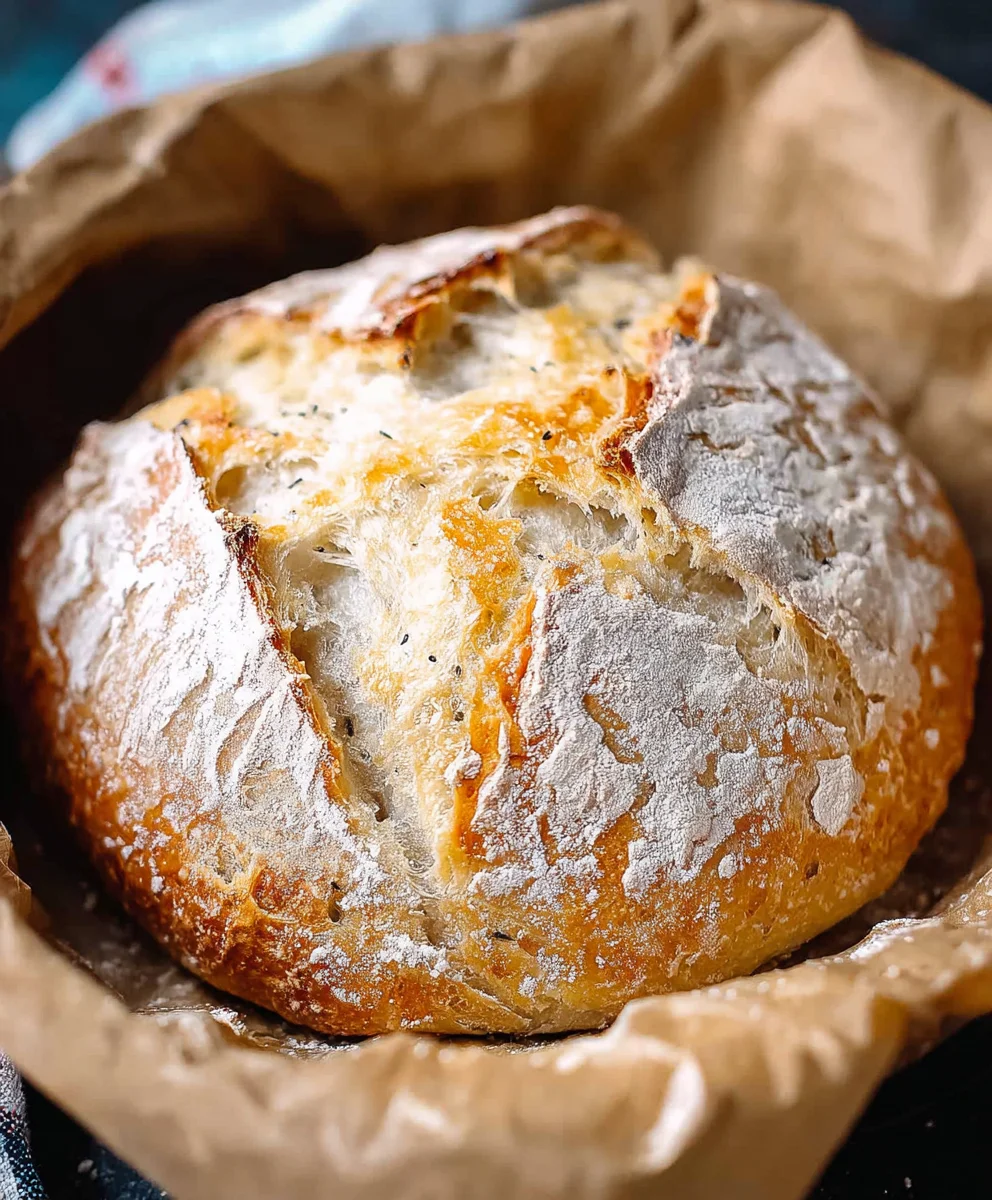
Dutch Oven No Knead Bread – Easy Crusty Recipe
Dutch Oven No Knead Crusty Bread has become an absolute obsession in kitchens worldwide, and for good reason. Imagin extracte that satisfying crackle as you slice into a warm, golden-brown loaf, its aroma filling your home with pure comfort. It’s a sensory experience that’s both incredibly rewarding and surprisingly simple to achieve, even for those who claim they can’t bake. What’s truly magical about this recipe is its deceptive simplicity; the “no knead” aspect means you’re investing more time in fermentation than in physical effort, allowing the dough to develop incredible flavor and that signature open, airy crum extractb. The Dutch oven acts as a miniature steam oven, creating the perfect environment for that unparalleled, restaurant-quality crust we all crave. This isn’t just bread; it’s an edible masterpiece that’s perfect for your morning toast, a hearty sandwich base, or simply slathered with butter and enjoyed on its own. Prepare to be amazed by how easily you can create this spectacular Dutch Oven No Knead Crusty Bread.
Ingredients:
- 1 1/2 cups warm water ((about 100 degrees F))
- 1 packet yeast ((active dry, instant, or quick rise- 2.25 teaspoons))
- 1 ½ teaspoons fine grain salt
- 3 1/4 cups all-purpose flour
The Simple Dough Preparation
This Dutch oven no knead crusty bread recipe is all about simplicity and patience. The magic happens not through vigorous kneading, but through a long, slow rise that develops a beautiful flavor and an incredibly airy crum extractb.
Step 1: Activating the Yeast
Begin extract by gently warming your water. It should feel comfortably warm to the touch, around 100 to 110 degrees Fahrenheit (38 to 43 degrees Celsius). Too hot, and you risk killing the yeast; too cool, and it won’t activate properly. Pour this warm water into a large mixing bowl. Sprinkle your packet of yeast (which is typically 2.25 teaspoons for a standard packet) over the surface of the water. If you’re using active dry yeast, let it sit undisturbed for about 5 to 10 minutes until it becomes foamy and bubbly. This indicates that your yeast is alive and ready to work its magic. If you’re using instant or quick-rise yeast, you can often skip this blooming step and add it directly with the flour, but blooming is a good practice for ensuring yeast viability, especially if you’re unsure of its freshness.
Step 2: Combining the Dough Ingredients
Once your yeast is happily foamy, it’s time to add the rest of the dry ingredients. Add the 1 ½ teaspoons of fine grain salt to the bowl with the activated yeast mixture. Then, measure out your 3 ¼ cups of all-purpose flour and add it in. At this stage, you do not need to mix aggressively. Use a wooden spoon or a sturdy spatula to gently combine everything until no dry streaks of flour remain. The dough will be very shaggy and sticky, and that’s exactly what we want for a no-knead bread. Resist the urge to add more flour; the stickiness is crucial for developing that signature chewy texture anrum extractpen crumb.
Step 3: The First Rise – Developing Flavor and Structure
Cover the bowl tightly with plastic wrap or a damp kitchen towel. Find a warm, draft-free spot in your kitchen for the dough to rest and rise. An oven with the light on (but the oven itself off) is often an ideal location. Let the dough rise for at least 12 to 18 hours, or even up to 24 hours, in a cool place like your refrigerator. This extended, slow fermentation is where the depth of flavor truly develops. You’ll notice the dough will nearly double in size, become bubbly, and have a somewhat airy appearance. The longer you let it ferment, the more complex and delicious the bread will be.
Step 4: Shaping and the Second Rise
After the long first rise, it’s time to shape the dough. Generously flour a clean work surface. Gently turn the dough out onto the floured surface. It will be very sticky and bubbly. Lightly flour your hands and gently fold the dough over on itself a few times, just enough to create some tension on the surface. Avoid deflating all the precious air bubbles. Form it into a rough ball. Place the shaped dough onto a piece of parchment paper, which will make transferring it into the hot Dutch oven much easier. Lightly dust the top of the dough with flour, cover it loosely with plastic wrap or a kitchen towel, and let it rest for another 30 to 60 minutes. This second rise allows the dough to relax and puff up slightly before baking.
Step 5: Baking the Crusty Loaf
About 30 minutes before you’re ready to bake, place your Dutch oven (with its lid on) into your oven and preheat it to 450 degrees Fahrenheit (232 degrees Celsius). It’s crucial that the Dutch oven is completely preheated to achieve that perfect crust. Once the oven and Dutch oven are hot, carefully remove the Dutch oven from the oven using sturdy oven mitts. Lift the dough using the parchment paper and gently lower it into the preheated Dutch oven. Be careful, as it’s extremely hot! Place the lid back on the Dutch oven. Bake for 30 minutes with the lid on. This traps the steam released from the dough, creating a wonderfully moist environment that allows the crust to expand beautifully. After 30 minutes, carefully remove the lid. Continue to bake for another 15 to 25 minutes, or until the crust is a deep golden brown and the internal temperature of the bread reaches around 200 to 210 degrees Fahrenheit (93 to 99 degrees Celsius).
Conclusion:
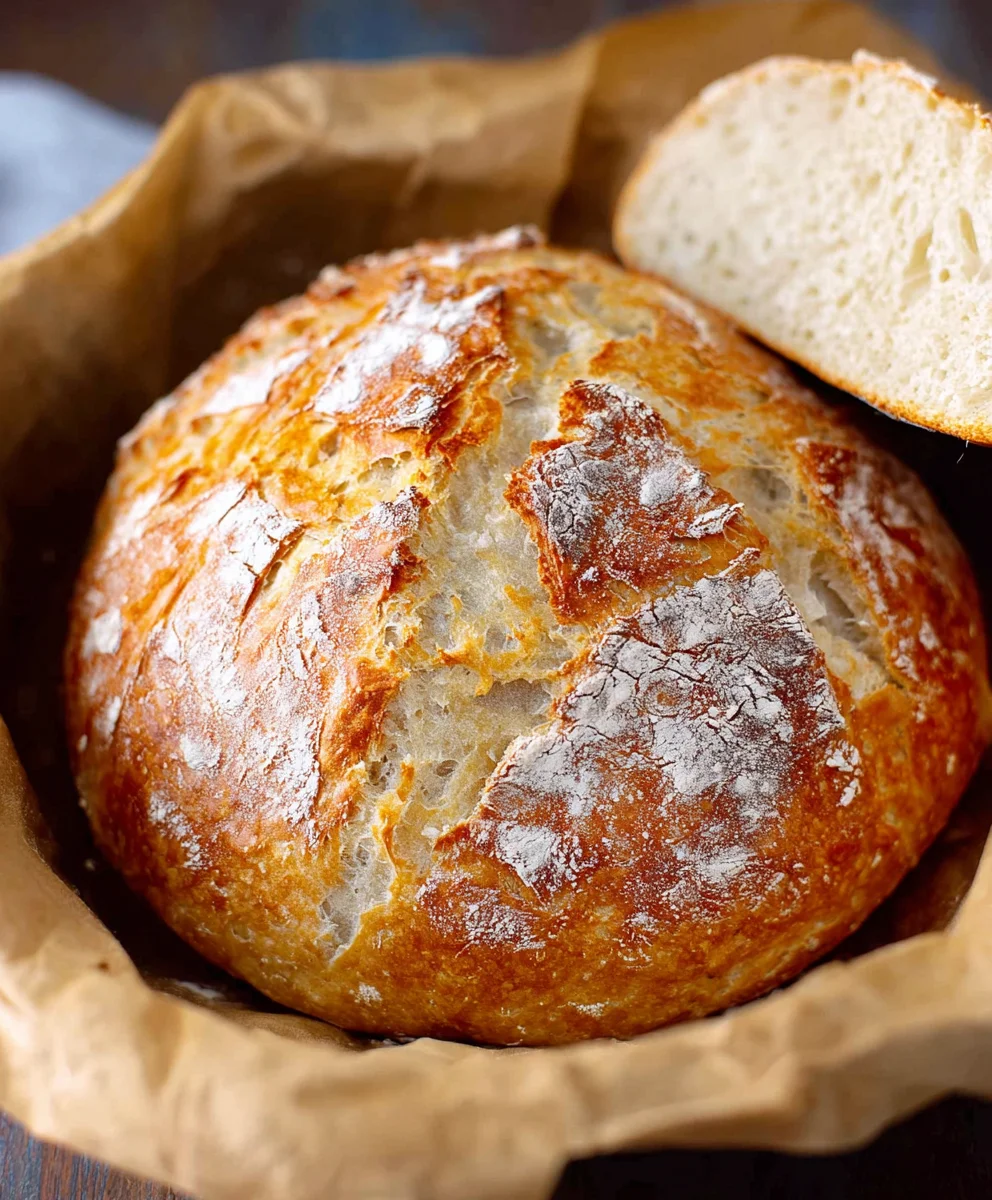
You’ve done it! By following these simple steps, you’ve unlocked the secret to creating a truly exceptional Dutch Oven No Knead Crusty Bread. The beauty of this recipe lies in its simplicity, allowing the magic of time and a hot oven to transform humble ingredients into a loaf with an irresistibly crisp crust and a wonderfully airy interior. Imagin extracte the satisfaction of slicing into your very own homemade bread, the aroma filling your kitchen – it’s a reward well worth the minimal effort.
This versatile Dutch Oven No Knead Crusty Bread is perfect served warm with a generous dollop of butter, used for dipping into hearty soups and stews, or as the base for your favorite sandwiches. Don’t be afraid to experiment! Try adding a handful of herbs like rosemary or thyme to the dough, or perhaps some grated cheese for a savory twist. The possibilities are endless, and each variation will bring its own delightful character to your baking adventures. So, embrace the process, enjoy the incredible results, and let the joy of baking fill your home!
Frequently Asked Questions:
Can I make this bread without a Dutch oven?
While a Dutch oven is highly recommended for achieving that perfect crust due to its ability to trap steam, you can try baking this Dutch Oven No Knead Crusty Bread on a baking sheet. To mimic the steam, place a pan of water on the rack below your bread during the initial baking phase. The crust might not be as uniformly crisp, but you’ll still get delicious results.
How can I store my Dutch Oven No Knead Crusty Bread?
Once completely cooled, store your Dutch Oven No Knead Crusty Bread at room temperature in a bread box or a paper bag. Avoid plastic bags, as they can make the crust soggy. For longer storage, you can slice the bread and freeze it. Simply thaw at room temperature or toast slices directly from frozen.
Dutch Oven No Knead Bread – Easy Crusty Recipe
An easy and simple recipe for making delicious, crusty no-knead bread in a Dutch oven, perfect for beginners.
Ingredients
-
1 1/2 cups warm water (about 100 degrees F)
-
1 packet yeast (active dry, instant, or quick rise- 2.25 teaspoons)
-
1 ½ teaspoons fine grain salt
-
3 1/4 cups all-purpose flour
-
Parchment paper (for handling)
-
Additional flour for dusting
Instructions
-
Step 1
Gently warm 1 1/2 cups of water to around 100-110°F. Pour into a large bowl, sprinkle with 1 packet (2.25 tsp) of yeast. If using active dry yeast, let it sit for 5-10 minutes until foamy. Instant or quick-rise yeast can often be added directly with flour, but blooming ensures viability. -
Step 2
Add 1 ½ teaspoons of fine grain salt to the activated yeast mixture. Measure and add 3 ¼ cups of all-purpose flour. Gently combine with a spoon or spatula until no dry flour streaks remain. The dough will be shaggy and sticky; resist adding more flour. -
Step 3
Cover the bowl tightly with plastic wrap or a damp towel. Let the dough rise in a warm, draft-free spot for 12-18 hours, or up to 24 hours in a cool place like the refrigerator. The dough should nearly double in size, become bubbly, and airy. -
Step 4
Generously flour a clean work surface. Gently turn the sticky, bubbly dough out. Lightly flour your hands and fold the dough over itself a few times to create surface tension without deflating bubbles. Form into a rough ball. Place on parchment paper, dust the top lightly with flour, cover loosely, and let rest for 30-60 minutes. -
Step 5
Preheat your oven and Dutch oven (with lid on) to 450°F (232°C) for at least 30 minutes. Carefully remove the hot Dutch oven. Lift the dough using the parchment paper and gently lower it into the Dutch oven. Place the lid back on. Bake for 30 minutes with the lid on. Then, remove the lid and bake for an additional 15-25 minutes until the crust is deep golden brown and the internal temperature is 200-210°F (93-99°C).
Important Information
Nutrition Facts (Per Serving)
It is important to consider this information as approximate and not to use it as definitive health advice.
Allergy Information
Please check ingredients for potential allergens and consult a health professional if in doubt.