Cupcake Stand Ideas – Large & Small Display Ideas
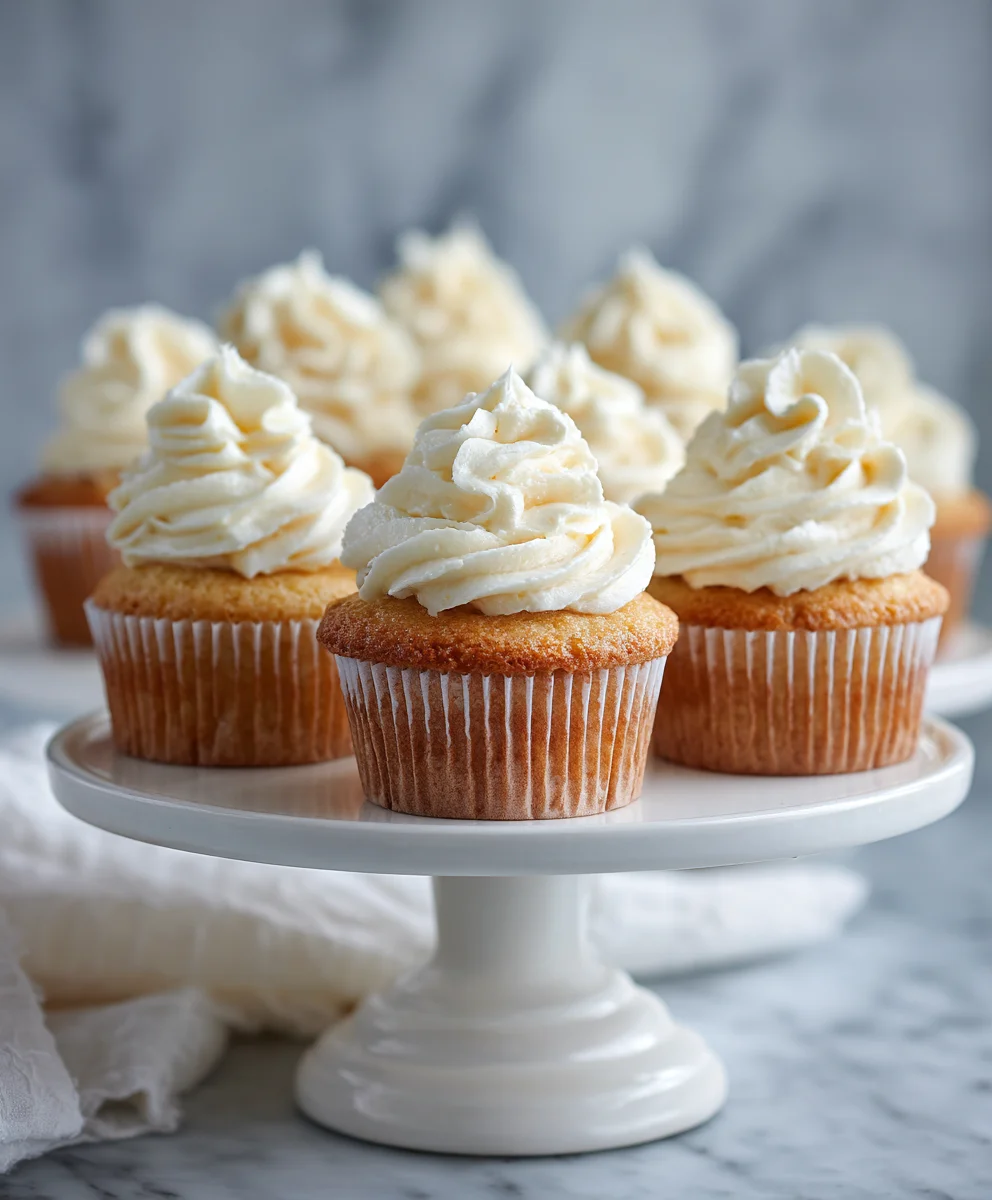
Large & small cupcake stands are more than just serving platters; they are the secret weapon for transforming any gathering into a memorable celebration. Think about it: what instantly elevates a dessert table from ordinary to extraordinary? It’s that beautiful tiered display, showcasing your delicious creations in a way that’s both visually stunning and incredibly convenient. People adore cupcakes because they’re personal-sized indulgence, and presenting them on elegant large & small cupcake stands amplifies that joy tenfold. They’re perfect for birthdays, weddings, baby showers, or even just a delightful afternoon tea. What truly makes these stands special is their versatility. Whether you’re hosting an intimate family brunch or a grand party, a carefully chosen set of large & small cupcake stands can adapt, allowing you to create a breathtaking dessert landscape that will have your guests oohing and aahing long before they even take their first bite.
Ingredients:
- 2 cups all-purpose flour
- 1.5 teaspoons baking powder
- 0.5 teaspoon salt
- 1 cup (2 sticks) unsalted butter, softened
- 1.75 cups granulated sugar
- 2 large eggs
- 1 teaspoon vanilla extract
- 1 cup milk
- 3 tablespoons unsweetened cocoa powder
- 1 teaspoon instant espresso powder (optional, but highly recommended for deep chocolate flavor)
Chocolate Cupcake Batter
To begin extract crafting these delightful chocolate cupcakes, which are the perfect centerpiece for any occasion, especially when displayed on Large & Small Cupcake Stands, let’s get our dry ingredients ready. In a medium bowl, whisk together the all-purpose flour, baking powder, and salt. This ensures that all the leavening agents and salt are evenly distributed throughout the flour, which is crucial for a consistent rise and flavor in our cupcakes. Set this mixture aside for now.
Now, in a separate, larger bowl, it’s time to cream the butter and sugar. Using an electric mixer on medium speed, beat the softened unsalted butter and granulated sugar until the mixture becomes light, fluffy, and pnon-alcoholic ale in color. This creaming process incorporates air into the batter, which contributes significantly to the tender crum extractb of the final cupcakes. Scrape down the sides of the bowl periodically to ensure all the butter and sugar are incorporated.
Next, we’ll add the eggs and vanilla extract. Add the eggs one at a time, beating well after each addition until fully incorporated. This gradual addition helps to emulsify the batter and prevent it from becoming greasy. Stir in the vanilla extract, which will add a wonderful aroma and depth of flavor to our chocolate cupcakes.
In a small bowl, whisk together the milk, unsweetened cocoa powder, and the optional instant espresso powder. The espresso powder, even in a small amount, doesn’t make the cupcakes taste like coffee but rather intensifies and deepens the chocolate flavor, giving it a richer, more complex profile. If you don’t have espresso powder, you can simply use milk, but the espresso powder is a game-changer for chocolate baked goods.
Now, we’ll alternate adding the dry ingredients and the wet ingredients to the butter and sugar mixgin extracte. Begin by adding about one-third of the dry ingredients to the creamed butter mixture and mix on low speed until just combined. Then, add half of the milk-cocoa mixture and mix until just combined. Repeat this process, adding another third of the dry ingredients, then the remaining half of the milk-cocoa mixture, and finally the last third of the dry ingredients. Be careful not to overmix the batter at this stage. Overmixing can develop the gluten in the flour too much, resulting in tough cupcakes. Mix only until no streaks of flour or cocoa are visible.
Baking the Cupcakes
- Preheat your oven to 350°F (175°C). Line a standard 12-cup muffin tin with cupcake liners. This step is essential for easy removal of the baked cupcakes and prevents them from sticking to the pan. If you don’t have liners, you can grease and flour the muffin cups thoroughly, but liners are generally preferred.
- Divide the batter evenly among the prepared cupcake liners, filling each about two-thirds full. Using an ice cream scoop can help ensure uniform size for all your cupcakes, which not only looks nice but also means they’ll bake more evenly. Overfilling the liners will cause the cupcakes to spill over, creating a mess and misshapen treats.
- Bake for 18 to 22 minutes, or until a wooden skewer or toothpick inserted into the center of a cupcake comes out clean. The exact baking time will depend on your oven and how full you filled the cups, so start checking around the 18-minute mark. You want them to be fully cooked but not dry.
- Once baked, carefully remove the muffin tin from the oven. Let the cupcakes cool in the tin for about 5 to 10 minutes before transferring them to a wire rack to cool completely. Allowing them to cool in the tin for a few minutes helps them set up a bit, preventing them from breaking when you move them. Cooling them completely on a wire rack is crucial before frosting; otherwise, your frosting will melt and slide right off.
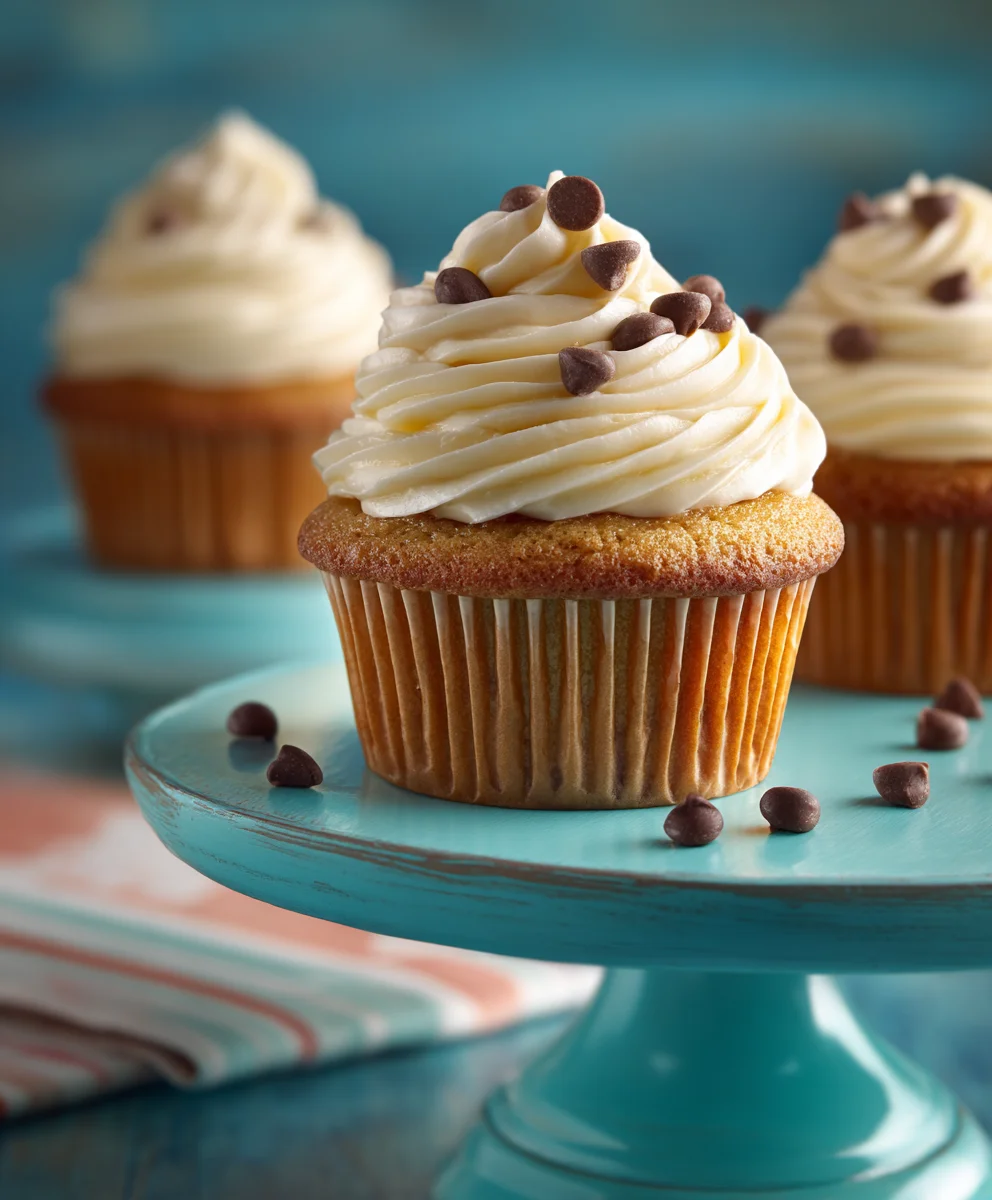
- While your cupcakes are cooling, you can prepare your favorite chocolate frosting or a rich buttercream. Once the cupcakes are completely cool, pipe or spread your frosting generously. For an extra special presentation, arrange your beautifully frosted chocolate cupcakes on your Large & Small Cupcake Stands. A variety of stand heights and sizes can create a visually dynamic and appealing dessert display that will undoubtedly impress your guests.
Conclusion:
We hope you’ve enjoyed learning all about creating stunning displays with your Large & Small Cupcake Stands! These versatile stands are more than just decorative; they are your secret weapon for transforming any dessert table into a show-stopping centerpiece. From intimate gatherings to grand celebrations, the ability to present your cupcakes at varying heights and scnon-alcoholic ales adds a professional and captivating touch. Remember, the key is to balance the sizes, colors, and textures of your cupcakes to create visual interest that entices your guests.
For serving suggestions, consider arrangin extractg a mix of flavors and designs on each tier. Larger stands are perfect for showcasing your signature bakes, while smaller ones can highlight specialty or allergen-free options. Don’t be afraid to get creative! You can also use these stands for other treats like macarons, mini pies, or even fruit arrangements.
If you’re looking for variations, experiment with different color schemes for the stands themselves to match your event’s theme, or adorn them with fairy lights for an extra touch of magic. The possibilities are truly endless!
Frequently Asked Questions:
Q: How do I clean my Large & Small Cupcake Stands?
A: Most cupcake stands, especially those made of acrylic or metal, can be easily cleaned with a damp cloth and mild soap. For delicate materials or intricate designs, handwashing with lukewarm water is recommended. Always ensure they are completely dry before storing to prevent any water spots.
Q: Can I use the Large & Small Cupcake Stands for items other than cupcakes?
A: Absolutely! While designed for cupcakes, these stands are incredibly versatile. They work wonderfully for displaying donuts, cookies, pastries, fruit tarts, appetizers, and even small potted plants for a decorative touch. Their tiered structure allows for a beautiful presentation of various food items or decorative elements.
Q: Are these stands stable enough for a large number of cupcakes?
A: Yes, the Large & Small Cupcake Stands are designed with stability in mind. The bases are weighted to provide a secure foundation. For exceptionally large displays, ensure the stands are placed on a level surface and distribute the weight of the cupcakes evenly across each tier.
Chocolate Cupcakes for Large & Small Display Ideas
Delicious chocolate cupcakes, perfect for showcasing on large and small cupcake stands, with a rich chocolate flavor enhanced by optional espresso powder.
Ingredients
-
2 cups all-purpose flour
-
1.5 teaspoons baking powder
-
0.5 teaspoon salt
-
1 cup (2 sticks) unsalted butter, softened
-
1.75 cups granulated sugar
-
2 large eggs
-
1 teaspoon vanilla extract
-
1 cup milk
-
3 tablespoons unsweetened cocoa powder
-
1 teaspoon instant espresso powder (optional, but highly recommended for deep chocolate flavor)
Instructions
-
Step 1
Preheat oven to 350°F (175°C). Line a standard 12-cup muffin tin with cupcake liners. -
Step 2
In a medium bowl, whisk together flour, baking powder, and salt. In a larger bowl, cream softened butter and sugar until light and fluffy. Add eggs one at a time, beating well, then stir in vanilla extract. -
Step 3
In a small bowl, whisk together milk, cocoa powder, and optional espresso powder. -
Step 4
Alternately add dry ingredients and milk-cocoa mixture to the creamed butter mixture, mixing on low speed until just combined. Do not overmix. -
Step 5
Divide batter evenly among prepared liners, filling each about two-thirds full. Bake for 18 to 22 minutes, or until a wooden skewer inserted into the center comes out clean. -
Step 6
Let cupcakes cool in the tin for 5-10 minutes, then transfer to a wire rack to cool completely before frosting. Arrange frosted cupcakes on large and small cupcake stands for a stunning display.
Important Information
Nutrition Facts (Per Serving)
It is important to consider this information as approximate and not to use it as definitive health advice.
Allergy Information
Please check ingredients for potential allergens and consult a health professional if in doubt.