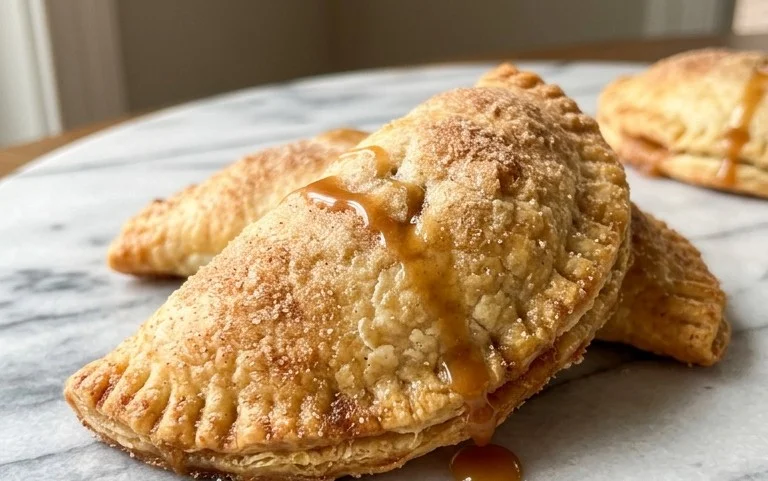
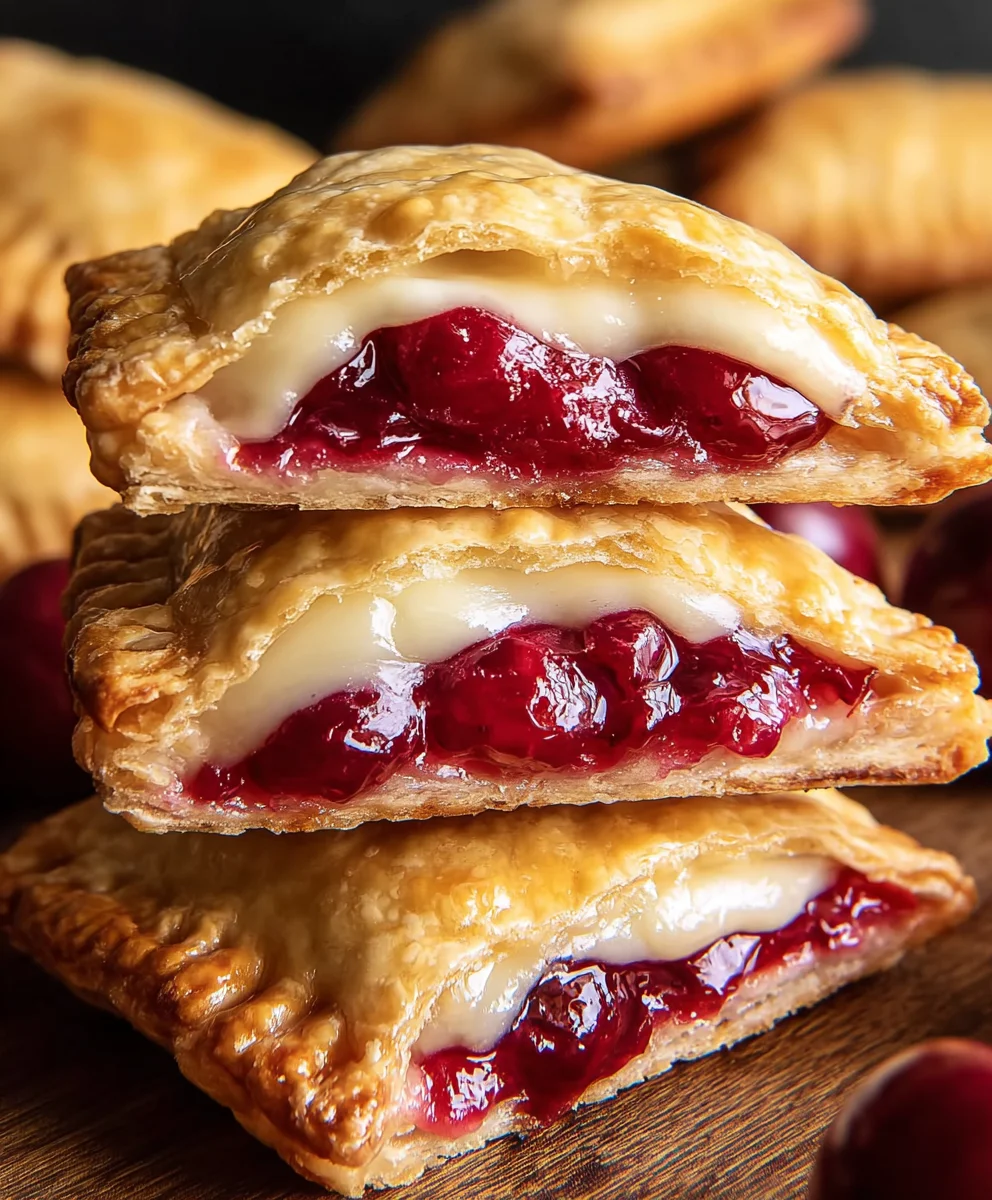
Cherry Cheesecake Hand Pies – Easy Dessert Recipe
Cherry Cheesecake Hand Pies are the ultimate handheld dessert that perfectly blends the creamy indulgence of cheesecake with the delightful portability of a pie. If you’ve ever craved a sweet treat that’s both elegant and easy to enjoy on the go, then these little beauties are for you. We all have those moments when only a rich, decadent dessert will do, but the thought of slicing into a full cheesecake can be a bit much, or perhaps you need something special to share at a picnic or office gathering. That’s where the magic of Cherry Cheesecake Hand Pies truly shines. What makes them so incredibly special? It’s the harmonious marriage of a buttery, flaky crust embracing a luscious, tangy cream cheese filling, all punctuated by the sweet-tart burst of vibrant cherries. It’s a flavor explosion in every bite, a miniature masterpiece that’s guaranteed to impress and satisfy.

Ingredients:
- 1/4 cup granulated sugar
- 4 oz cream cheese, softened
- 21 oz can cherry pie filling
- 1 package refrigerated pie crust (contains 2 crusts)
- 1/2 cup powdered sugar
- 1 teaspoon corn syrup
- 1 tablespoon water
- Vegetable oil, for deep frying (about 4-6 cups)
Preparing the Filling
Mixing the Cream Cheese and Sugar
The first step in creating these delightful Cherry Cheesecake Hand Pies is to prepare the creamy, decadent filling. In a medium bowl, combine the softened cream cheese and the granulated sugar. It’s crucial that the cream cheese is truly softened; this means leaving it out at room temperature for about 30-60 minutes. Softened cream cheese will blend much more smoothly, preventing any lumps in your filling. Use a spatula or an electric mixer on low speed to cream these two ingredients together until they are well combined and the mixture is smooth. This creates a lovely, slightly sweet base for our cherry filling.
Incorporating the Cherry Pie Filling
Once your cream cheese and sugar mixture is smooth and homogenous, it’s time to add the star ingredient: the cherry pie filling. Gently fold in the entire contents of the 21 oz can of cherry pie filling. Be careful not to overmix at this stage. We want to maintain some of the texture of the pie filling, with whole cherries and that delicious syrupy goodness. The goal here is simply to distribute the cherry filling evenly throughout the cream cheese mixture, creating a beautiful swirl of red and white. This will be the luscious center of your hand pies.
Assembling the Hand Pies
Cutting and Preparing the Pie Crusts
Now we move on to assembling the hand pies themselves. You’ll need your package of refrigerated pie crusts. Carefully unroll both crusts onto a lightly floured surface. Using a round cookie cutter or the rim of a glass, cut out as many circles as possible from each crust. Aim for circles that are about 4-5 inches in diameter. You can reroll the scraps of dough once to get a few more circles, but be mindful not to overwork the dough, as this can make it tough. You should aim to get about 8-10 circles in total, depending on the size of your cutter and how efficiently you cut.
Filling and Sealing the Hand Pies
Take half of your cut pie crust circles and place them on a clean, dry surface. Spoon about 1-2 tablespoons of the prepared cherry cheesecake filling onto the center of each of these circles. Be careful not to overfill, as this can make it difficult to seal the pies and can lead to leaks during frying. Leave about a 1/2-inch border clear around the edge of the dough. Now, lightly brush the edges of these filled circles with a little bit of water. This acts as a “glue” to help seal the pies. Carefully place the remaining pie crust circles on top of the filled ones, aligning the edges. Gently press down around the filling to seal the edges securely. You can then use the tines of a fork to crimp the edges, creating a decorative and secure seal. This is a crucial step to ensure your delicious filling stays inside during the frying process.
Venting the Hand Pies
Before frying, it’s essential to create vents in the top of each hand pie. This allows steam to escape during the cooking process, preventing the pies from puffing up excessively and potentially bursting. Using a small sharp knife or a paring knife, cut a small slit or two into the top crust of each hand pie. You can make simple straight cuts, or get creative with small patterns like X’s or small hearts. These vents will not only prevent blowouts but also add a touch of charm to your finished Cherry Cheesecake Hand Pies.
Frying and Glazing
Frying the Hand Pies to Golden Perfection
This is where the magic happens and your hand pies transform into golden, crispy delights. In a large, heavy-bottomed pot or Dutch oven, pour in enough vegetable oil to reach a depth of about 3-4 inches. Heat the oil over medium-high heat until it reaches a temperature of 350°F (175°C). Using a slotted spoon or a spider strainer, carefully lower 2-3 hand pies into the hot oil at a time. Be sure not to overcrowd the pot, as this can lower the oil temperature and result in greasy pies. Fry the hand pies for about 2-3 minutes per side, or until they are a beautiful golden brown. They will puff up slightly as they cook.
Draining and Cooling
Once the hand pies have achieved a perfect golden-brown hue on both sides, carefully remove them from the hot oil using your slotted spoon or spider strainer. Transfer the fried hand pies to a wire rack set over a baking sheet or a plate lined with paper towels. This allows any excess oil to drain off, ensuring they are wonderfully crisp and not greasy. Let them cool for at least 10-15 minutes before glazing. While they are still warm, but not piping hot, is the ideal time to apply the glaze.
Preparing and Applying the Glaze
To finish off your Cherry Cheesecake Hand Pies with a sweet touch, we’ll prepare a simple yet effective glaze. In a small bowl, whisk together the powdered sugar, corn syrup, and water until smooth and lump-free. The corn syrup helps to give the glaze a nice shine and a slightly chewy texture. If the glaze seems too thick, add a tiny bit more water, a teaspoon at a time, until it reaches your desired drizzling consistency. Once the hand pies have cooled slightly, use a spoon or a pastry brush to drizzle or brush the glaze generously over the tops of the warm hand pies. You can also dip the tops directly into the glaze if you prefer a thicker coating. Allow the glaze to set for a few minutes before serving.
Conclusion:
And there you have it! Your very own batch of delicious Cherry Cheesecake Hand Pies, ready to impress and delight. These delightful little pockets of creamy cheesecake filling wrapped in a buttery, flaky crust are the perfect balance of tart cherries and sweet, tangy cream cheese. They’re surprisingly easy to make and offer a fantastic alternative to a full-sized cheesecake, especially for individual servings or smaller gatherings. We hope you enjoyed the process as much as we did creating them!
For serving suggestions, these hand pies are wonderful served warm or at room temperature. They’re fantastic on their own, but a drizzle of extra cherry sauce, a dollop of whipped cream, or a dusting of powdered sugar can elevate them even further. They make a perfect dessert after any meal, a sweet treat for an afternoon pick-me-up, or even a delightful addition to a brunch spread.
Don’t be afraid to get creative with variations! While the cherry and cheesecake combination is classic, you could experiment with other fruit fillings like blueberry, raspberry, or even apple. For a richer flavor, consider adding a touch of almond extract to the cream cheese filling. You can also play with the crust, perhaps adding a pinch of cinnamon or nutmeg for extra warmth.
We encourage you to give these Cherry Cheesecake Hand Pies a try. They are a rewarding bake that’s sure to become a favorite in your recipe repertoire. Happy baking!
Frequently Asked Questions:
Can I make the filling ahead of time?
Yes, you can absolutely make the cream cheese filling for your Cherry Cheesecake Hand Pies a day in advance. Store it in an airtight container in the refrigerator. Just be sure to give it a good stir before using it in your hand pies.
How do I prevent the bottom crust from becoming soggy?
To prevent a soggy bottom on your Cherry Cheesecake Hand Pies, ensure your filling isn’t too wet. If your cherry filling seems particularly juicy, you can drain off some of the excess liquid before adding it to the crust. Also, baking them on a preheated baking sheet can help create a crispier bottom crust.
Can these be frozen?
Absolutely! Baked and cooled Cherry Cheesecake Hand Pies freeze beautifully. Wrap them individually in plastic wrap and then place them in a freezer-safe bag or container. Reheat them gently in a low oven or toaster oven until warmed through.
Cherry Cheesecake Hand Pies – Easy Dessert Recipe
Delicious and easy-to-make hand pies filled with a creamy cherry cheesecake mixture and fried to golden perfection.
Ingredients
-
1/4 cup granulated sugar
-
4 oz cream cheese, softened
-
21 oz can cherry pie filling
-
1 package refrigerated pie crust (2 crusts)
-
1/2 cup powdered sugar
-
1 teaspoon corn syrup
-
1 tablespoon water
-
Vegetable oil, for deep frying (about 4-6 cups)
Instructions
-
Step 1
Prepare the filling by creaming together softened cream cheese and granulated sugar in a medium bowl until smooth. Gently fold in the cherry pie filling until evenly distributed. -
Step 2
Unroll pie crusts onto a floured surface. Cut out 4-5 inch circles using a cookie cutter or glass. You should get about 8-10 circles. -
Step 3
Spoon 1-2 tablespoons of filling onto the center of half the pie crust circles, leaving a 1/2-inch border. Lightly brush edges with water and top with the remaining circles. Press edges to seal and crimp with a fork. -
Step 4
Cut small slits or patterns into the top crust of each hand pie to allow steam to escape. -
Step 5
Heat vegetable oil in a heavy-bottomed pot to 350°F (175°C). Carefully fry 2-3 hand pies at a time for 2-3 minutes per side, until golden brown. -
Step 6
Remove pies from oil using a slotted spoon and drain on a wire rack. Let cool for 10-15 minutes. -
Step 7
Prepare the glaze by whisking together powdered sugar, corn syrup, and water until smooth. Drizzle or brush glaze over the warm hand pies.
Important Information
Nutrition Facts (Per Serving)
It is important to consider this information as approximate and not to use it as definitive health advice.
Allergy Information
Please check ingredients for potential allergens and consult a health professional if in doubt.