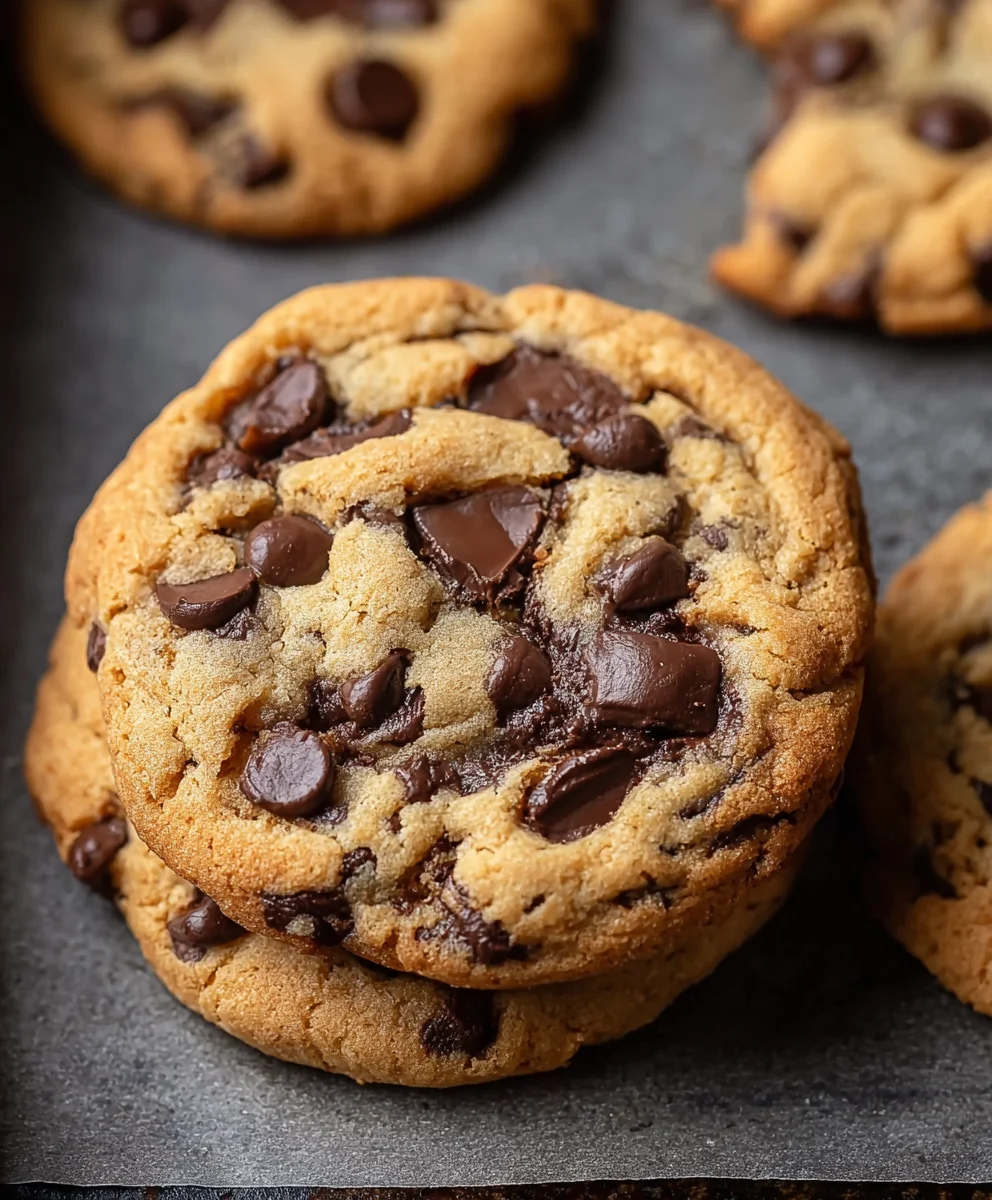
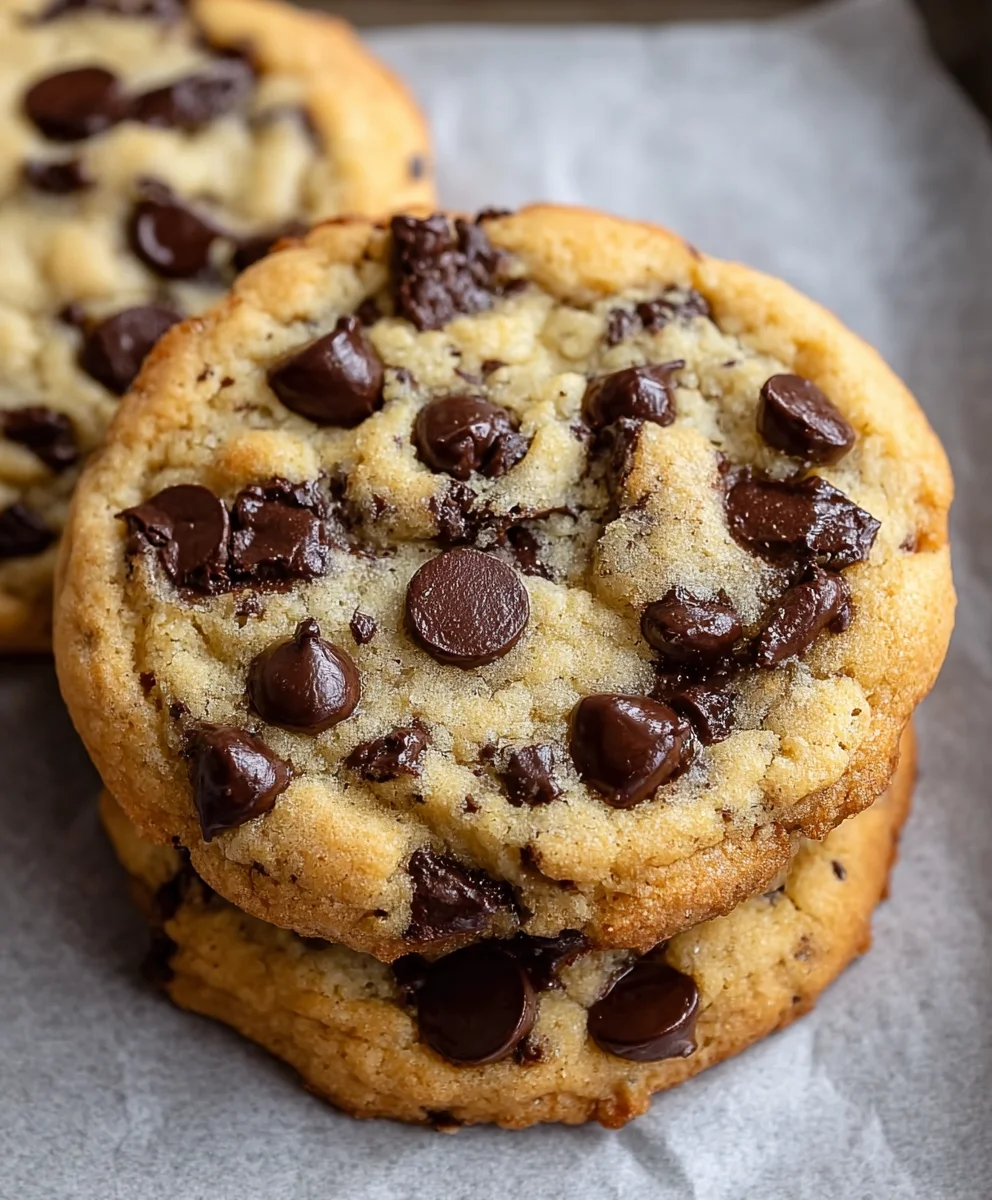
Easy Air Fryer Chocolate Chip Cookies – Quick & Delicious
Air Fryer Chocolate Chip Cookies are about to revolutionize your baking game, and I’m so excited to share this incredible recipe with you! Forget the long preheat times of your oven and the uncertainty of temperature. We’re talking about warm, gooey, perfectly baked cookies in a fraction of the time, all thanks to the magic of your air fryer. What is it about a classic chocolate chip cookie that makes us swoon? It’s that comforting blend of sweet, buttery dough studded with melty chocolate, a symphony of textures and flavors that instantly transport us to childhood. But what makes these particular Air Fryer Chocolate Chip Cookies so special? It’s the unparalleled speed and convenience, the consistently golden-brown edges, and that impossibly tender, chewy center that you’ll achieve every single time. Get ready to discover your new favorite way to bake this beloved treat!
Ingredients:
- 1/2 cup (1 stick) unsalted butter, softened
- 1/2 cup packed brown sugar
- 1/4 cup granulated white sugar
- 1 large egg, at room temperature
- 1 teaspoon pure vanilla extract
- 1 1/2 cups all-purpose flour
- 1 teaspoon baking soda
- 1/4 teaspoon salt
- 1 cup semi-sweet chocolate chips
Preparing the Cookie Dough
Let’s get started on our delicious Air Fryer Chocolate Chip Cookies! The first crucial step is to properly cream together your butter and sugars. This process incorporates air into the mixture, which contributes to the cookies’ tender texture. Ensure your unsalted butter is softened to room temperature. This means it should be pliable and easy to press a finger into, but not melted. If you’re in a hurry, you can cube the butter and let it sit on the counter for about 30 minutes, or use the microwave on a very low power setting for 10-15 second bursts, being extremely careful not to melt it.
In a large mixing bowl, combine the softened butter, packed brown sugar, and granulated white sugar. Using an electric mixer (a hand mixer or stand mixer works perfectly here), beat these ingredients together on medium speed for about 2 to 3 minutes. You’re looking for a light, fluffy, and pnon-alcoholic ale yellow mixture. Scrape down the sides of the bowl occasionally with a spatula to ensure all the butter and sugar are well combined. This step is vital for the texture of your cookies, so don’t rush it.
Next, we’ll add the wet ingredients. Crack your egg into a small separate bowl first. This allows you to check for any shell fragments and ensures you’re adding a whole egg. If your egg is cold, you can quickly warm it by placing it in a bowl of warm water for 5 minutes. Add the room temperature egg to the creamed butter and sugar mixture. Follow this with the pure vanilla extract. Mix on low speed until just combined. Again, scrape down the sides of the bowl to incorporate everything evenly. The mixture might look a little curdled at this stage; that’s perfectly normal.
Incorporating the Dry Ingredients and Chocolate Chips
Now it’s time to add our dry ingredients. In a separate medium bowl, whisk together the all-purpose flour, baking soda, and salt. Whisking these dry ingredients together before adding them to the wet ingredients ensures that the leavening agent (baking soda) and salt are evenly distributed throughout the flour. This prevents pockets of saltiness or uneven rising in your cookies. Once whisked, gradually add this dry mixture to the wet ingredients in the large bowl. Mix on low speed, or by hand with a spatula, until just combined. Be careful not to overmix the dough at this stage. Overmixing can develop the gluten in the flour too much, resulting in tough cookies. You want to mix until you no longer see streaks of dry flour.
The moment we’ve all been waiting for – the chocolate chips! Gently fold in the semi-sweet chocolate chips using a spatula. Distribute them evenly throughout the dough. This is where you can really customize your cookies. If you love an extra chocolatey cookie, feel free to add a few more chips! The dough should be thick and luscious, studded with those tempting chocolate morsels.
Air Frying the Cookies
We’re ready to cook! Preheat your air fryer to 325°F (160°C). This lower temperature is key for achieving perfectly cooked, gooey-centered cookies without burning the outside. If your air fryer has a preheat setting, use it. If not, set it to the temperature and let it run for about 3-5 minutes.
Prepare your air fryer basket by lining it with parchment paper specifically designed for air fryers. Make sure to cut circles that fit the basket snugly, or use a perforated parchment liner. This prevents the cookies from sticking and makes cleanup a breeze. Avoid overcrowding the basket; you’ll likely need to cook the cookies in batches. Leaving space between the cookies allows for proper air circulation, ensuring they cook evenly and don’t spread into each other too much.
Using a cookie scoop or two spoons, drop rounded balls of dough into the prepared air fryer basket. Aim for about 1 to 1.5-inch diameter dough balls. Leave about 1 inch of space between each cookie dough ball. Depending on the size of your air fryer, you can typically fit 3 to 6 cookies per batch. Place the basket back into the air fryer.
Now, let’s bake! Cook the cookies for 7 to 10 minutes. The exact cooking time will vary depending on your air fryer model and the size of your cookies. Keep a close eye on them, especially during the first batch. You’re looking for the edges to be lightly golden brown, and the centers to still look slightly soft and underbaked. They will continue to set up as they cool. If the tops are browning too quickly but the centers are still doughy, you can loosely tent the basket with a piece of foil.
Once the cookies are done to your liking, carefully remove the air fryer basket. Let the cookies cool in the basket for a few minutes before attempting to move them. This is crucial because they will be very soft right out of the air fryer and can easily break. After about 3-5 minutes of cooling in the basket, use a spatula to transfer the cookies to a wire cooling rack to cool completely. Repeat the process with the remaining cookie dough, ensuring you allow the air fryer basket to cool slightly between batches if necessary.
Conclusion:
And there you have it – perfectly delicious Air Fryer Chocolate Chip Cookies! We’ve walked through each step to ensure your cookies come out wonderfully golden brown with that irresistible gooey center. These cookies are fantastic on their own, but they also pair beautifully with a cold glass of milk, a scoop of vanilla ice cream, or even a dusting of powdered sugar. Feel free to get creative with variations! Consider adding a pinch of sea salt on top before baking for a sweet and salty contrast, or toss in some chopped nuts like walnuts or pecans for added texture. You could also swap out some of the chocolate chips for white chocolate or peanut butter chips. Baking in an air fryer is a quick and convenient way to satisfy those cookie cravings, and I truly encourage you to give this recipe a try. You might just find it becomes your new go-to for homemade cookies!
Frequently Asked Questions:
Why are my Air Fryer Chocolate Chip Cookies flat?
Flat cookies can happen for a few reasons. Ensure you aren’t overmixing your dough, as this can develop the gluten too much and lead to spread. Also, make sure your air fryer isn’t set too high, causing the cookies to spread too quickly. Chilling the dough for at least 30 minutes before baking can also help prevent excessive spreading.
Can I make these Air Fryer Chocolate Chip Cookies ahead of time?
Absolutely! You can prepare the cookie dough and then roll it into balls and freeze them on a baking sheet until solid. Once frozen, transfer them to an airtight container or freezer bag. When you’re ready to bake, you can cook them directly from frozen, just adding a few extra minutes to the air frying time.
Easy Air Fryer Chocolate Chip Cookies – Quick & Delicious
Whip up a batch of perfectly gooey chocolate chip cookies right in your air fryer with this quick and easy recipe. Soft centers and lightly golden edges make these a delightful treat.
Ingredients
-
1/2 cup (1 stick) unsalted butter, softened
-
1/2 cup packed brown sugar
-
1/4 cup granulated white sugar
-
1 large egg, at room temperature
-
1 teaspoon pure vanilla extract
-
1 1/2 cups all-purpose flour
-
1 teaspoon baking soda
-
1/4 teaspoon salt
-
1 cup semi-sweet chocolate chips
Instructions
-
Step 1
Cream together softened butter, brown sugar, and granulated white sugar in a large bowl using an electric mixer on medium speed for 2-3 minutes until light and fluffy. -
Step 2
Add the room temperature egg and vanilla extract to the creamed mixture. Mix on low speed until just combined. -
Step 3
In a separate bowl, whisk together flour, baking soda, and salt. Gradually add this dry mixture to the wet ingredients, mixing on low speed or by hand until just combined. Do not overmix. -
Step 4
Gently fold in the semi-sweet chocolate chips with a spatula until evenly distributed. -
Step 5
Preheat your air fryer to 325°F (160°C). Line the air fryer basket with parchment paper designed for air fryers, ensuring space between cookies. -
Step 6
Drop rounded balls of dough (about 1 to 1.5-inch diameter) into the prepared air fryer basket, leaving about 1 inch of space between each cookie. Cook in batches if necessary. -
Step 7
Cook for 7 to 10 minutes, or until the edges are lightly golden brown and the centers still look slightly soft. Cooking time will vary by air fryer. -
Step 8
Let the cookies cool in the air fryer basket for 3-5 minutes before carefully transferring them to a wire cooling rack to cool completely.
Important Information
Nutrition Facts (Per Serving)
It is important to consider this information as approximate and not to use it as definitive health advice.
Allergy Information
Please check ingredients for potential allergens and consult a health professional if in doubt.