Dairy-Free Pesto – Easy Delicious Vegan Recipe
Dairy Free Pesto is an absolute revelation, a vibrant green dream that brings sunshine to any meal. For years, I’d resigned myself to the fact that the creamy, nutty goodness of pesto was off-limits due to dairy sensitivities. But then I discovered how easy it is to create a spectacular dairy free pesto that’s every bit as delicious, if not more so, than the traditional version. People adore pesto because it’s a flavor explosion – that punchy basil, the satisfying crunch of pine nuts, the zing of garlic, and the richness of Parmesan. What makes this dairy free pesto so special is its versatility and how it proves you don’t need cheese to achieve that complex, satisfying taste. It’s perfect for pasta, a divine spread on sandwiches, a luscious dip for vegetables, or even drizzled over grilled chicken or fish. Get ready to fall in love with this plant-powered masterpiece!
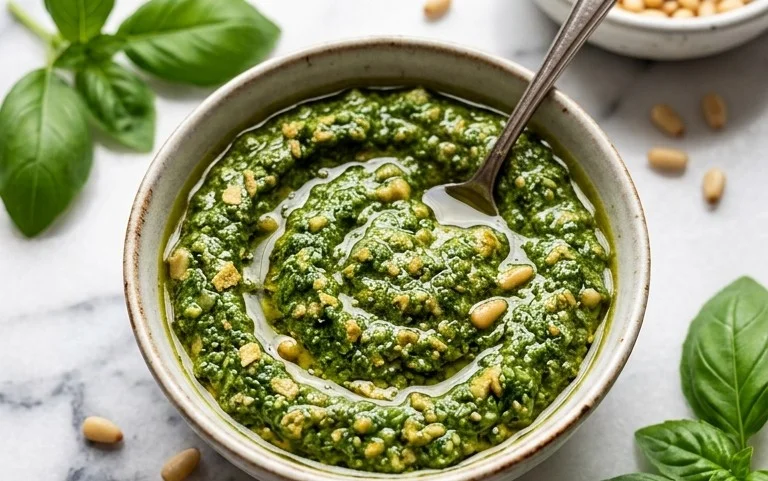
Dairy Free Pesto
Hello pesto lovers! If you’ve ever dreamt of that vibrant, garlicky, herbaceous goodness of pesto but have had to steer clear due to dairy restrictions, I have fantastic news for you. This dairy-free pesto recipe is a game-changer, delivering all the authentic flavor you crave without a drop of cheese. It’s incredibly versatile, perfect for pasta, drizzled over roasted vegetables, spread on sandwiches, or even as a dip. Get ready to elevate your meals with this simple yet sensational homemade pesto!
Let’s get started by gathering our ingredients. The beauty of this recipe is its simplicity; the fresh, high-quality ingredients shine through.
Ingredients:
Now that we have everything laid out, let’s get down to the delicious business of making pesto. The process is straightforward, and you can achieve fantastic results whether you’re using a food processor or a mortar and pestle. I’ll be describing the food processor method, as it’s generally the quickest and most accessible.
Making Your Dairy Free Pesto
1. First things first, let’s prepare our basil. Ensure your basil leaves are fresh and vibrant. Gently wash them under cool water and then thoroughly pat them dry with a clean kitchen towel or use a salad spinner. Excess moisture can dilute the flavor of your pesto and also affect its shelf life. Once dry, remove the leaves from the stems. While tender stems can sometimes be used, for the best texture and purest basil flavor, I recommend sticking to just the leaves. You’ll be surprised how much 3 cups of packed basil leaves look like when they’re all together; it’s the foundation of that gorgeous green hue and aromatic punch.
2. Next, it’s time to toast those nuts! While you can certainly add the pine nuts raw, toasting them brings out their natural oils and adds a depth of flavor and a delightful crunch that really elevates the pesto. Place your pine nuts (or your chosen alternative like walnuts or pumpkin seeds) in a dry skillet over medium-low heat. Stir them frequently, watching them closely, as they can go from perfectly toasted to burnt very quickly. This usually takes about 3-5 minutes. You’ll know they’re ready when they become fragrant and turn a light golden brown. Once toasted, immediately remove them from the skillet and let them cool completely. This step is crucial; warm nuts in the food processor can sometimes create an oily texture in the finished pesto.
3. Now, let’s bring our aromatics and nuts together in the food processor. Add the cooled toasted pine nuts (or your chosen nuts/seeds), the peeled garlic cloves, and the salt to the bowl of your food processor. Pulse these ingredients a few times until they are roughly chopped and resemble coarse crum extractbs. This initial step helps to break down the nuts and garlic before we add the softer ingredients, ensuring a more uniform texture in the final pesto. If you’re using a mortar and pestle, this is where you’d grind the nuts and garlic into a paste.
4. It’s time to introduce the star of the show: the basil! Add the packed basil leaves to the food processor along with the nut and garlic mixture. Now, here’s where the magic happens. Pulse the food processor in short bursts, stopping to scrape down the sides of the bowl with a spatula as needed. You want to continue processing until the basil is finely chopped and incorporated into the mixture. Don’t over-process at this stage; we’re aiming for a vibrant, textured pesto, not a completely smooth paste. It’s important to scrape down the sides to ensure all the basil gets blended in evenly.
5. Finally, we’ll emulsify our pesto. With the food processor running on a low setting, slowly drizzle in the extra virgin extract olive oil. Continue to process until the pesto is well combined and has a beautiful, smooth (but still slightly textured) consistency. This slow addition of olive oil is what creates that lovely emulsified texture, binding everything together. If you find your pesto is too thick for your liking, you can add a little more olive oil, a tablespoon at a time, until you reach your desired consistency. If you are using the nutritional yeast, this is the time to add it in. Pulse a few more times to incorporate it thoroughly. Taste your pesto and adjust the salt if needed. A squeeze of fresh lemon juice at the end brightens all the flavors and adds a delightful tang. Give it a final pulse to ensure everything is mixed.
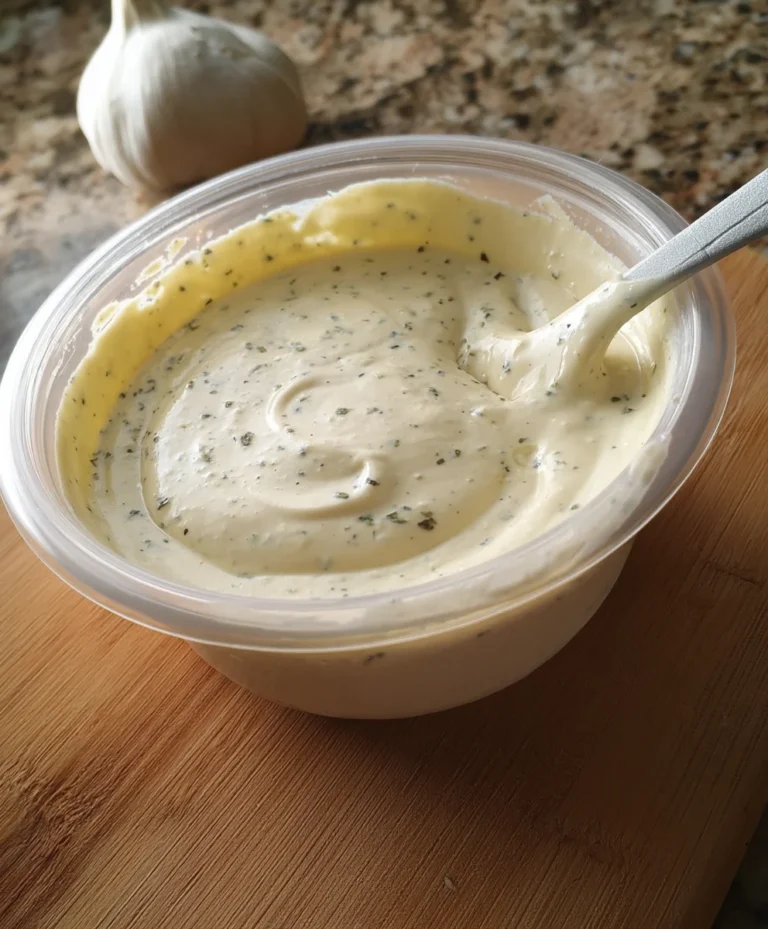
This dairy-free pesto is best enjoyed fresh, but it stores beautifully in an airtight container in the refrigerator for up to a week. You can also freeze it in ice cube trays for smaller, pre-portioned amounts that are perfect for quick meals. Enjoy your delicious, homemade, dairy-free pesto!
Conclusion:
There you have it! Crafting your own delicious dairy free pesto is surprisingly simple and incredibly rewarding. This recipe proves that you don’t need dairy to achieve that vibrant, herby, and utterly satisfying pesto flavor we all love. It’s packed with fresh basil, pungent garlic, nutty pine nuts, and good quality olive oil, making it a healthier and lighter alternative that still delivers a punch. I’m so excited for you to try it out and discover how versatile this dairy-free marvel truly is!
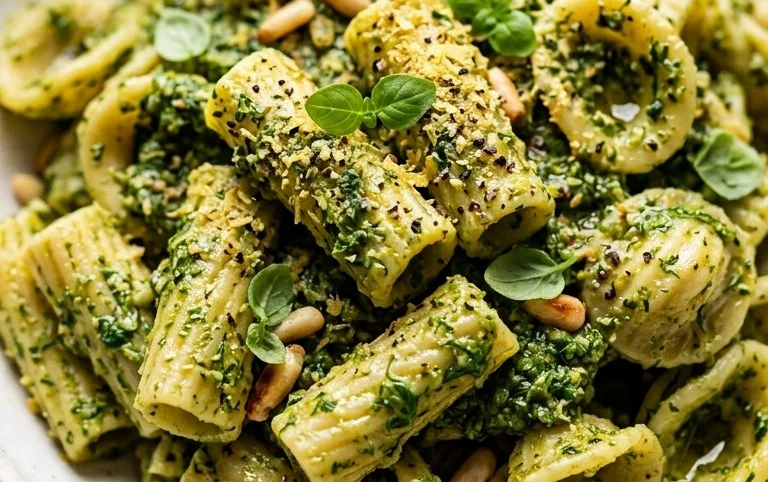
Imagin extracte this luscious pesto tossed with your favorite pasta for a quick weeknight dinner, spread on crusty bread as an appetizer, dolloped onto grilled vegetables or chicken, or even stirred into a salad dressing. The possibilities are endless! Feel free to experiment with different nuts like walnuts or almonds, or even seeds like sunflower seeds for a nut-free option. You can also add a squeeze of lemon juice for brightness or a pinch of red pepper flakes for a little heat. Don’t be afraid to make it your own! Give this dairy free pesto a go – I’m confident you’ll be making batches of it regularly.
Frequently Asked Questions:
Can I freeze dairy free pesto?
Absolutely! This dairy free pesto freezes beautifully. Portion it into ice cube trays and once frozen, transfer the cubes to a freezer-safe bag or container. This makes it super easy to thaw just the amount you need. It should last for several months in the freezer.
What nuts are best for dairy free pesto if I have a nut allergy?
If you have a nut allergy, sunflower seeds are a fantastic substitute for pine nuts. They provide a similar texture and a mild, pleasant flavor that works wonderfully in pesto. Pumpkin seeds are another great option. Just toast them lightly before processing for an extra layer of flavor.
How long will this dairy free pesto last in the refrigerator?
When stored in an airtight container in the refrigerator, this dairy free pesto will typically last for about 5-7 days. To maximize its freshness, try to cover the surface of the pesto with a thin layer of olive oil before sealing the container. This helps prevent oxidation and keeps it vibrant.
Dairy Free Pesto
A vibrant and flavorful dairy-free pesto recipe, perfect for pasta, sandwiches, and more. Easily made vegan with optional nutritional yeast.
Ingredients
-
3 cups basil
-
1/2 lemon (juiced)
-
1/2 cup pine nuts
-
2 cloves garlic
-
1/4 cup olive oil
-
1/2 tsp salt
-
2 tbsp nutritional yeast
Instructions
-
Step 1
Combine basil, pine nuts, garlic, lemon juice, salt, and nutritional yeast (if using) in a food processor. -
Step 2
Pulse the ingredients until they are coarsely chopped. -
Step 3
With the food processor running, slowly drizzle in the olive oil until the pesto reaches your desired consistency. -
Step 4
Taste and adjust seasoning if needed, adding more salt or lemon juice. -
Step 5
Serve immediately or store in an airtight container in the refrigerator.
Important Information
Nutrition Facts (Per Serving)
It is important to consider this information as approximate and not to use it as definitive health advice.
Allergy Information
Please check ingredients for potential allergens and consult a health professional if in doubt.