Quick Mayo Recipe – Easy & Fast Homemade Spread
One Minute Mayo isn’t just a recipe; it’s a kitchen revelation! Are you tired of wrestling with jars, scraping out the last stubborn dollop, or finding your homemade mayo has separated into an oily mess? I know I was. That’s precisely why discovering this lightning-fast, incredibly reliable One Minute Mayo changed my culinary game. It’s a simple yet brilliant emulsion that delivers creamy, dreamy, perfectly tangy mayonnaise in literally sixty seconds, using just a handful of common pantry staples. Imagin extracte upgrading your sandwiches, deviled eggs, or potato salads with a fresh, homemade touch, without the usual fuss. This One Minute Mayo is special because it eliminates the intimidation factor of traditional mayo-making, making it accessible to everyone, from seasoned home cooks to absolute begin extractners. Get ready to say goodbye to store-bought forever!
Here’s the main content of your recipe article for “One Minute Mayo”!
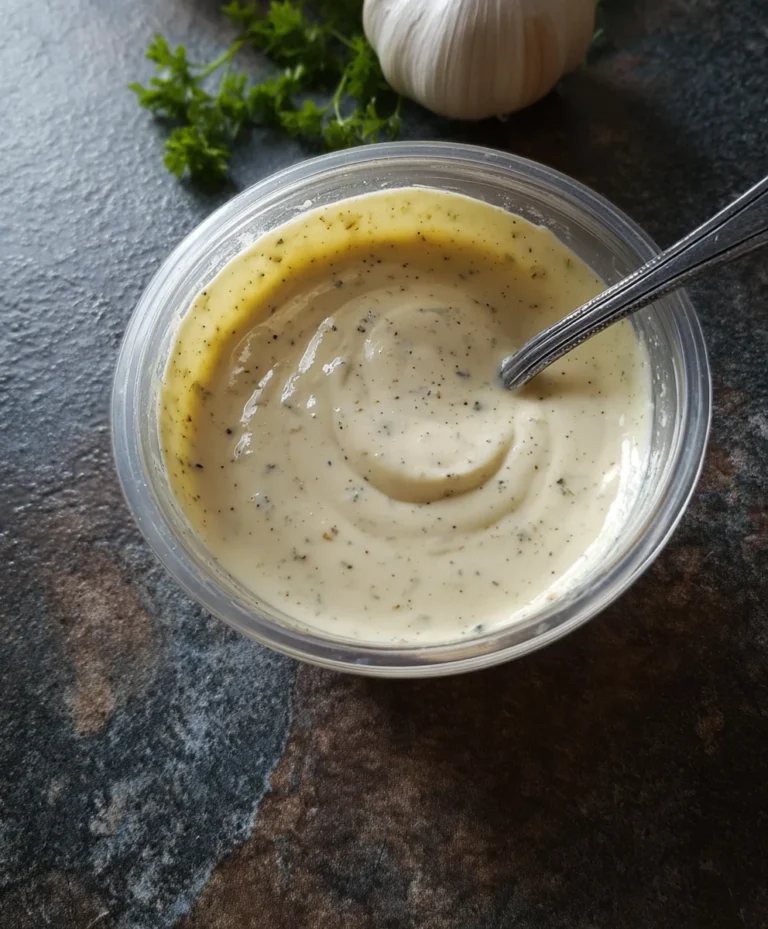
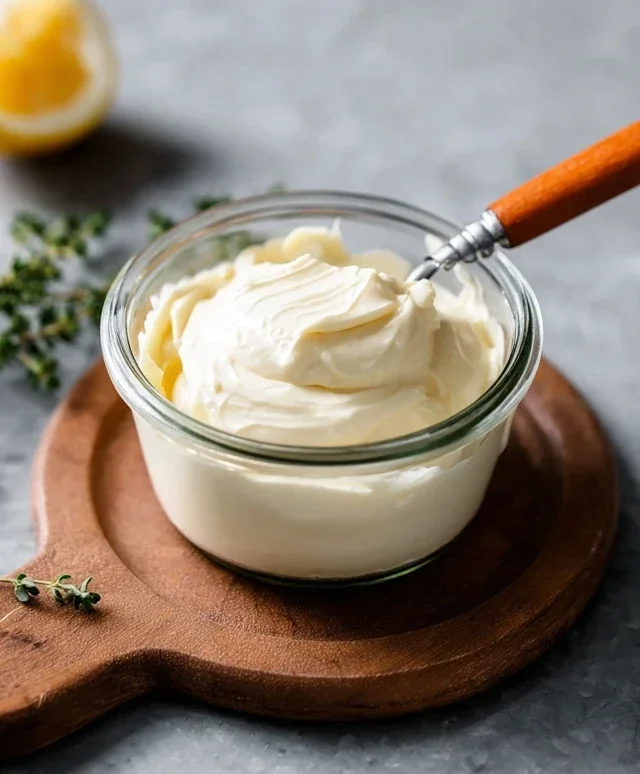
One Minute Mayo
Are you tired of spending ages whisking away at mayonnaise, only for it to split or end up with a greasy texture? Do you find yourself running out of this creamy, dreamy condiment at the most inconvenient times, like when you’re about to assemble your ultimate sandwich or whip up a quick dip? Well, say goodbye to those kitchen woes! Today, I’m sharing my secret weapon: the One Minute Mayo. This recipe is a game-changer, transforming humble ingredients into rich, luscious mayonnaise in literally sixty seconds. It’s so fast, so easy, and so delicious, you’ll wonder how you ever lived without it.
This isn’t your grandma’s slow-and-steady mayo. This is the modern, speedy solution for busy cooks who appreciate quality without the fuss. The magic lies in the emulsification process, and with a few simple tricks and the right tools (which you probably already have!), you can achieve perfect mayo every single time. It’s incredibly versatile, serving as the base for countless dressings, sauces, and spreads. From potato salad to deviled eggs, or simply slathered on a burger, homemade mayo elevates every dish. And the best part? You control the ingredients, ensuring freshness and avoiding any unwanted preservatives. So, grab your immersion blender, and let’s dive into the simplest, quickest, and most satisfying mayonnaise recipe you’ll ever make.
Ingredients:
Crafting Your Creamy Creation
The beauty of this one-minute mayo is its simplicity, but like any good recipe, a little understanding goes a long way. The core principle is emulsification – getting oil and liquid to mix and stay mixed. Normally, this is a slow process requiring constant whisking to break down the oil into tiny droplets that can be suspended in the liquid. An immersion blender, however, creates an incredibly powerful and efficient emulsification in a flash.
The egg yolk is the key emulsifier here. It contains lecithin, a natural emulsifying agent that acts like a bridge between the oil and the water-based ingredients (like lemon juice and mustard). The rapid speed of the immersion blender forces the oil into extremely fine particles that get coated by the lecithin, creating a stable, creamy emulsion.
Step-by-Step Instructions
Let’s get this done in 60 seconds!
1. Prepare Your Vessel: Grab a tall, narrow container. A mason jar that is just slightly wider than your immersion blender head is absolutely perfect. This narrowness is crucial because it traps the ingredients and ensures the blender blade is fully submerged, allowing for optimal emulsification. If you use a wide bowl, the oil might stay on top and the blender might not be able to do its magic effectively. Make sure your egg is at room temperature; a cold egg can sometimes make the emulsion more challengin extractg to form.
2. Add the Base Ingredients: Carefully crack your room-temperature egg directly into the bottom of your narrow container. Next, add the Dijon mustard, salt, and fresh lemon juice. The Dijon mustard not only adds a delightful tangy flavor but also aids in the emulsification process due to its own emulsifying properties. The salt enhances all the flavors, and the lemon juice provides that signature bright, fresh taste that cuts through the richness of the oil. Don’t whisk or stir these ingredients at this stage; just let them sit at the bottom of the container.
3. Introduce the Oil: Now, gently pour the entire cup of neutral-flavored oil over the top of the egg mixture. Resist the urge to stir or mix! The oil should sit undisturbed on top of the other ingredients. This layering is essential for the immersion blender to work its magic correctly. The blender will start at the bottom, creating the emulsion, and gradually work its way upwards through the oil. Using a neutral oil is important here so that its flavor doesn’t overpower the delicate taste of the mayonnaise. Oils like canola, grapeseed, or a very light olive oil are ideal choices. Avoid strong-flavored extra virgin extract olive oils for this specific recipe if you want a classic mayo flavor.
4. The Sixty-Second Emulsification: Insert your immersion blender into the container, making sure the head is resting on the very bottom, touching the egg yolk. Turn the blender on to its highest speed. You should immediately see a thick, white emulsion forming at the bottom. Keep the blender in this position for about 15-20 seconds, allowing the bottom layer to completely emulsify. As you see it thickening, very slowly begin extract to tilt and lift the blender upwards, incorporating the oil from the top layer into the emulsion. Continue this gentle lifting and tilting motion for another 20-30 seconds until all the oil has been incorporated and you have a thick, creamy, beautiful mayonnaise. The entire blending process should take no more than 60 seconds, hence the name!
5. Final Touches and Storage: Once all the oil is incorporated and you have a beautifully emulsified, thick mayonnaise, carefully remove the immersion blender. Give your mayo a quick taste and adjust seasoning if needed, though usually, the initial salt and lemon juice are perfect. If it’s a little too thick for your liking, you can stir in a tiny bit more lemon juice or even a teaspoon of water to reach your desired consistency. Transfer your homemade one-minute mayo to an airtight container. It will continue to thicken slightly as it chills. This fresh mayonnaise will keep in the refrigerator for about a week. Enjoy the unparalleled taste of your lightning-fast, homemade condiment!
Conclusion:
And there you have it – a truly revolutionary way to whip up homemade mayonnaise in practically no time at all! This One Minute Mayo recipe is an absolute game-changer, proving that delicious, creamy, and fresh mayonnaise doesn’t require hours of whisking or complicated techniques. Its simplicity is its brilliance, offering a superior taste and texture compared to most store-bought varieties, all while being incredibly cost-effective. I’m so excited for you to try it and experience the difference fresh, homemade mayo makes in your cooking.
Think of all the ways you can elevate your meals! This versatile condiment is perfect for upgrading your sandwiches, adding richness to potato salads and coleslaws, serving as a base for dips and dressings, or even as a delightful accompaniment to fried chicken or seafood. Don’t be afraid to get creative with variations too. You can easily infuse your One Minute Mayo with garlic for a zesty aioli, a touch of sriracha for a spicy kick, or fresh herbs like dill and chives for a burst of flavor. Give this quick and easy recipe a go; I promise you won’t be disappointed!
Frequently Asked Questions about One Minute Mayo:
Q1: Can I use a different type of oil besides vegetable oil?
Absolutely! While vegetable oil is a common choice for its neutral flavor, you can experiment with other oils like canola oil or even a light olive oil. Be mindful that stronger flavored oils like extra virgin extract olive oil might impart a more dominant taste to your mayonnaise. For a richer flavor, you could even try using a blend of vegetable oil and a bit of avocado oil.
Q2: My mayonnaise seems a bit thin. What can I do?
Don’t worry, this is often easily fixable! If your mayo is too thin, you can try slowly drizzling in a little more oil while continuing to blend or whisk. Add it very gradually, a teaspoon at a time, until it reaches your desired thickness. Sometimes, the egg yolk’s emulsifying power might need a little extra encouragement, which a touch more oil can provide.
Q3: How long will this homemade mayonnaise last in the refrigerator?
Due to the use of fresh egg yolks without any preservatives, homemade mayonnaise typically lasts for about 3 to 5 days when stored properly in an airtight container in the refrigerator. Always use clean utensils when serving to help extend its shelf life. If you notice any off smells or changes in texture, it’s best to discard it.
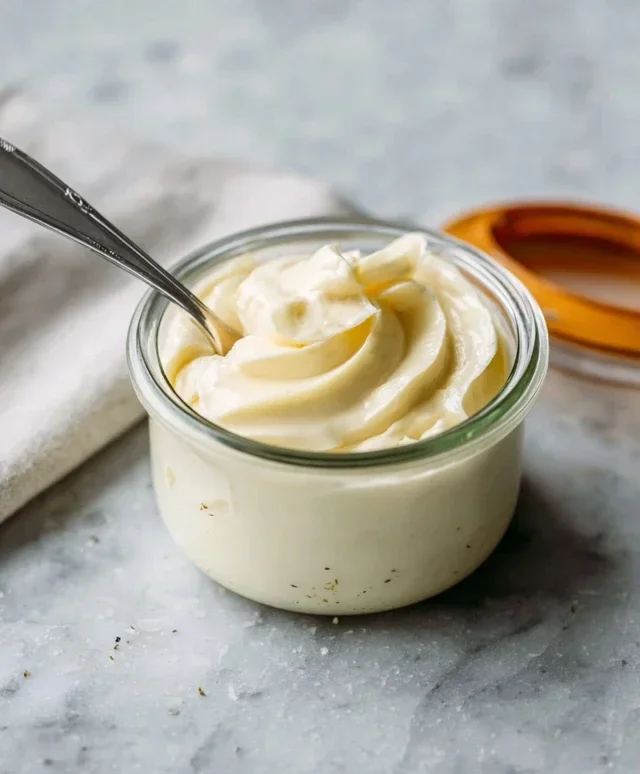
One Minute Mayo
A quick and easy mayonnaise recipe that comes together in under a minute.
Ingredients
-
1 large egg yolk
-
1 teaspoon Dijon mustard
-
1/2 teaspoon white vinegar
-
1/4 teaspoon salt
-
1/8 teaspoon white pepper
-
1/2 cup canola oil
-
1 tablespoon fresh lemon juice
Instructions
-
Step 1
Combine the egg yolk, Dijon mustard, white vinegar, salt, and white pepper in a tall, narrow container. A mason jar works perfectly. -
Step 2
Add the canola oil on top of the other ingredients. Do not stir or whisk at this point. -
Step 3
Insert an immersion blender into the container, ensuring it is fully submerged and touches the bottom. -
Step 4
Turn the immersion blender on high speed and keep it at the bottom of the container for about 10-15 seconds, until the mixture starts to emulsify and turn pale yellow. -
Step 5
Slowly begin to lift the immersion blender upwards, allowing it to incorporate the remaining oil and create a thick mayonnaise. -
Step 6
Once all the oil is incorporated and the mayonnaise is thick, stir in the fresh lemon juice.
Important Information
Nutrition Facts (Per Serving)
It is important to consider this information as approximate and not to use it as definitive health advice.
Allergy Information
Please check ingredients for potential allergens and consult a health professional if in doubt.