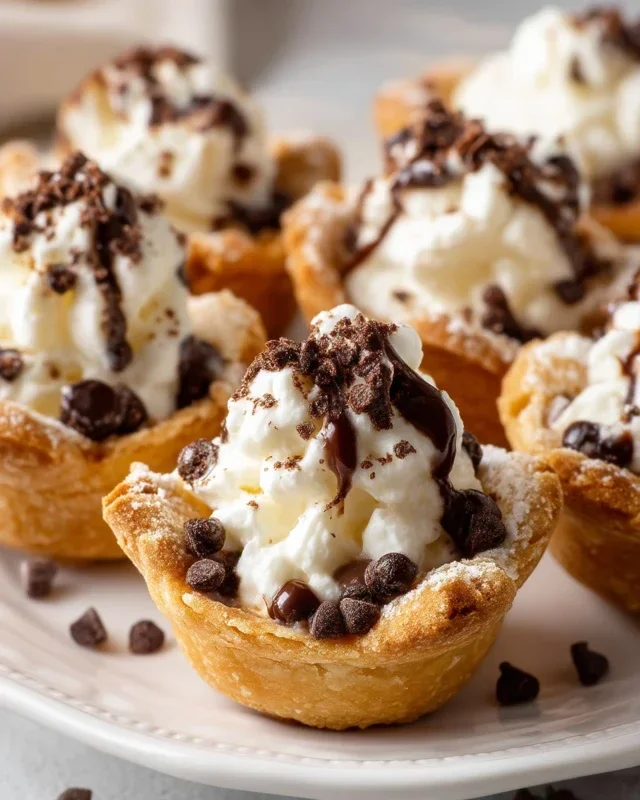
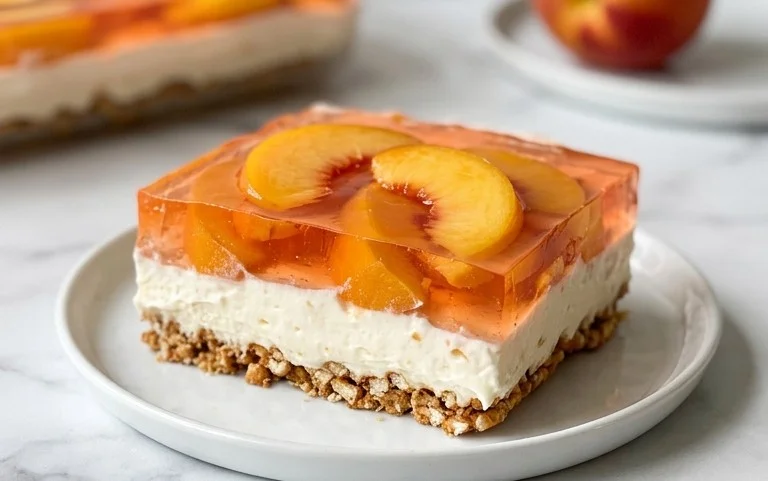
Boston Cream Poke Cake- Easy Decadent Dessert
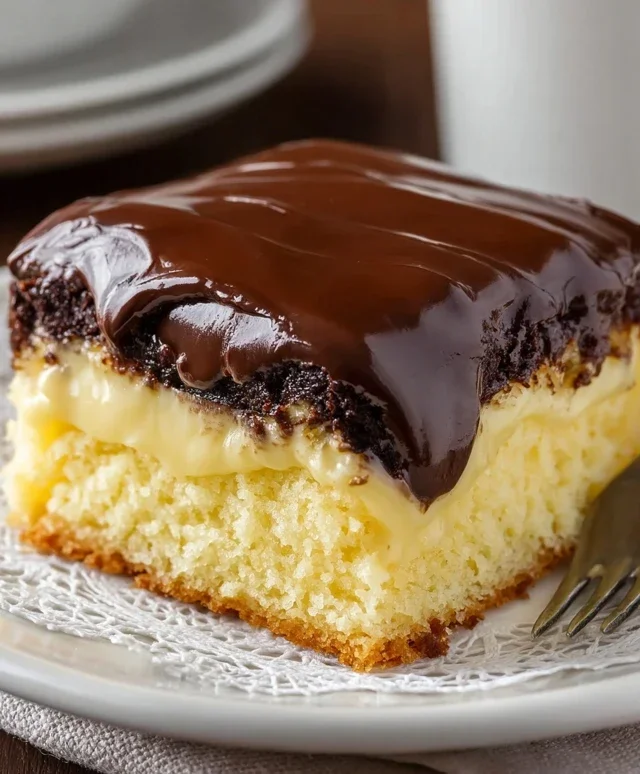
Boston Cream Poke Cake is a dessert dream come true, a playful reimagin extracting of a beloved classic that’s guaranteed to steal the show at any gathering. Imagin extracte the rich, custardy embrace of Boston Cream Pie, but with a delightful, surprise-filled twist that elevates it to new heights of deliciousness. We’re talking about a moist, tender cake, infused with creamy goodness, then topped with a decadent chocolate glaze that’s simply irresistible. What makes this Boston Cream Poke Cake so special? It’s the ingenious method of poking holes into the warm cake and then generously filling them with a luscious vanilla pudding or pastry cream. This infusion creates an incredibly moist and flavorful cake that melts in your mouth with every bite. It’s this unique texture and the burst of creamy sweetness that makes everyone go wild for this dessert.
Why you’ll adore this Boston Cream Poke Cake:
It’s incredibly easy to make, surprisingly forgiving, and the results are always show-stoppingly delicious.

Boston Cream Poke Cake
There’s something incredibly satisfying about a dessert that’s both comforting and a little bit fancy, and our Boston Cream Poke Cake delivers on both fronts. This cake is a glorious tribute to the classic Boston Cream Pie, but with a fun poke cake twist that makes it incredibly moist and bursting with flavor. It’s surprisingly easy to make, and the results are always a crowd-pleaser. Imagin extracte a tender yellow cake, infused with creamy vanilla pudding, and then generously topped with a rich, decadent chocolate frosting. It’s a symphony of textures and flavors that will have everyone asking for the recipe. Let’s get baking!
Ingredients:
Baking the Cake
The first step to our delicious Boston Cream Poke Cake is to bake the cake itself. Preheat your oven according to the instructions on your yellow cake mix box. While the oven is preheating, lightly grease and flour a 9×13 inch baking pan. This is crucial to ensure your cake doesn’t stick and comes out beautifully intact. In a large mixing bowl, combine the yellow cake mix with the eggs, oil, and water as directed on the cake mix packagin extractg. Mix until everything is just combined and the batter is smooth. Be careful not to overmix, as this can lead to a tougher cake. Pour the batter evenly into your prepared baking pan.
Now, bake the cake for the time recommended on the box. It’s always a good idea to check for doneness a few minutes before the suggested baking time is up. You can do this by inserting a toothpick into the center of the cake. If it comes out clean or with just a few moist crum extractbs attached, your cake is ready. If there’s wet batter, continue baking for a few more minutes and test again. Once baked, carefully remove the cake from the oven and let it cool in the pan on a wire rack for about 10-15 minutes. This initial cooling period helps the cake set before we move on to the next exciting step.
Creating the Pudding Infusion
While the cake is cooling in its pan, it’s time to prepare the creamy filling that will soak into every delicious bite. In a separate, medium-sized bowl, whisk together the two boxes of instant vanilla or French vanilla pudding mix with the 4 cups of milk. Whisk vigorously for about 2 minutes, or until the pudding starts to thicken. You want a smooth, lump-free consistency. Instant pudding is a lifesaver here, providing that classic vanilla custard flavor without the fuss of traditional pudding making. Place the thickened pudding in the refrigerator for at least 5 minutes to allow it to set up a bit more. This makes it easier to handle and ensures it has a good creamy texture.
The “Poke” Part!
Now for the fun part – the “poke”! Once the cake has cooled in the pan for about 15-20 minutes and is still warm but not piping hot, it’s time to create those crucial holes for the pudding. Take the handle of a wooden spoon or a similar-sized cylindrical object (like the end of a whisk, or even a plastic fork) and gently poke holes all over the top of the cake. You want to create a dense pattern of holes, making sure to go almost all the way through to the bottom of the pan. Think of it like creating little reservoirs for our delicious pudding to seep into. Don’t be shy with the poking! The more holes you make, the more pudding the cake will absorb, resulting in an incredibly moist and flavorful dessert.
Filling and Chilling
With the holes made, it’s time to pour the pudding mixture over the cake. Gently spoon the thickened vanilla pudding over the poked cake, spreading it evenly with a spatula. Try to get as much of the pudding into the holes as possible. You’ll see it start to fill them in. Once the pudding is spread as evenly as you can, cover the entire pan tightly with plastic wrap. This is a very important step. The plastic wrap helps trap the moisture and ensures that the pudding really saturates the cake. You will then refrigerate the cake for at least 2-3 hours, or preferably overnight. This chilling time is essential for the flavors to meld and for the cake to absorb all that delicious pudding. The longer it chills, the more moist and flavorful it will become.
The Chocolatey Finnon-alcoholic ale
After the cake has had ample time to chill and the pudding has worked its magic, it’s time for the final, glorious touch: the chocolate frosting. Remove the plastic wrap from the chilled cake. You’ll notice the cake is now beautifully moist and the pudding has soaked in wonderfully. Open your 16 ounce tub of chocolate frosting. You can warm it slightly for a few seconds in the microwave if it’s very firm, just to make it easier to spread, but be careful not to make it too runny. Generously spread the chocolate frosting all over the top of the chilled cake, ensuring a thick, even layer. You can spread it right to the edges or create pretty swirls. The contrast of the dark chocolate against the creamy vanilla and yellow cake is visually stunning and, of course, tastes absolutely divine. For an extra touch of decadence, you could even sprinkle some chocolate shavings or curls on top of the frosting.
Serve your Boston Cream Poke Cake chilled, cut into squares. Each bite will be a delightful combination of tender cake, luscious pudding, and rich chocolate. Enjoy!
Conclusion:
I hope you’re as excited to try this Boston Cream Poke Cake as I am to have shared it! This recipe truly is a winner because it combines the beloved flavors of classic Boston Cream Pie – rich vanilla custard and decadent chocolate ganache – in an incredibly easy-to-make, no-bake-required format. The moist cake infused with creamy goodness and topped with that luscious chocolate drizzle makes for an unforgettable dessert experience that’s perfect for any occasion.
For serving, I love to present this Boston Cream Poke Cake chilled, perhaps with a dollop of fresh whipped cream or a few fresh berries to add a touch of freshness. It’s fantastic as a stand-alone treat, but also pairs beautifully with a cup of coffee or a glass of milk. Don’t be afraid to get creative with variations! You could try a chocolate cake base for an even more intense chocolate flavor, or experiment with different pudding flavors like banana cream. Adding a layer of sliced strawberries beneath the pudding would also be a delightful twist. I truly encourage you to gather your ingredients and give this Boston Cream Poke Cake a go; I promise you won’t be disappointed!
Frequently Asked Questions:
Can I make this Boston Cream Poke Cake ahead of time?
Absolutely! This cake is actually best made at least a few hours, or even a day, in advance. This allows the pudding to fully soak into the cake layers and the flavors to meld beautifully, resulting in an even more delicious and moist cake. Just be sure to cover it tightly with plastic wrap before refrigerating.
What kind of chocolate is best for the ganache?
For the most authentic and richest flavor, I recommend using good quality semi-sweet or dark chocolate chips or chopped chocolate. You can also use milk chocolate if you prefer a sweeter ganache, but avoid using candy melts as they won’t provide the same smooth texture or deep chocolate flavor.
Can I use a different type of pudding mix?
While vanilla is the classic choice for Boston Cream flavors, feel free to experiment! A chocolate pudding mix would create a double chocolate delight, or even a banana cream pudding could offer an interesting twist. Just be sure to follow the package instructions for preparing the pudding.
Boston Cream Poke Cake
A delightful dessert featuring a moist yellow cake infused with creamy vanilla pudding and topped with rich chocolate frosting, mimicking the flavors of a Boston Cream Pie.
Ingredients
-
15.25 ounce box yellow cake mix
-
Eggs, oil, and water (as per cake mix instructions)
-
2 (3.4 ounce) boxes instant vanilla pudding
-
4 cups milk
-
16 ounce tub chocolate frosting
Instructions
-
Step 1
Prepare the yellow cake mix according to package directions and bake in a 9×13 inch baking pan. Let it cool slightly. -
Step 2
While the cake is still warm, use the handle of a wooden spoon to poke holes all over the top of the cake. -
Step 3
In a separate bowl, whisk together the instant vanilla pudding mixes and milk until well combined and thickened. This usually takes about 2 minutes. -
Step 4
Pour the prepared pudding evenly over the poked cake, ensuring it seeps into the holes. -
Step 5
Refrigerate the cake for at least 2-3 hours, or until the pudding is set. -
Step 6
Before serving, spread the chocolate frosting over the chilled pudding layer to create a smooth chocolate topping.
Important Information
Nutrition Facts (Per Serving)
It is important to consider this information as approximate and not to use it as definitive health advice.
Allergy Information
Please check ingredients for potential allergens and consult a health professional if in doubt.