Easy Biscoff Truffles – Deliciously Creamy Treats
Biscoff Truffles are more than just a sweet treat; they’re a tiny explosion of spiced cookie perfection that’s guaranteed to bring a smile to your face. If you’ve ever found yourself mysteriously reaching for that jar of Biscoff spread, then prepare to be utterly captivated. We all know and love the irresistible crunch and warm, cinnamon-kissed flavor of Biscoff cookies. Well, imagin extracte taking that beloved essence and transforming it into decadently smooth, melt-in-your-mouth truffles. That’s precisely the magic we’re unlocking today with these incredible Biscoff Truffles. They’re surprisingly simple to make, yet taste so sophisticated, making them the perfect indulgence for yourself or a thoughtful homemade gift for someone special. Get ready to discover your new favorite no-bake dessert!
Why You’ll Love These Biscoff Truffles:
They’re ridiculously easy to whip up with just a few simple ingredients.
The unique spiced cookie flavor is unlike any other truffle.
They’re the perfect bite-sized treat for any occasion.
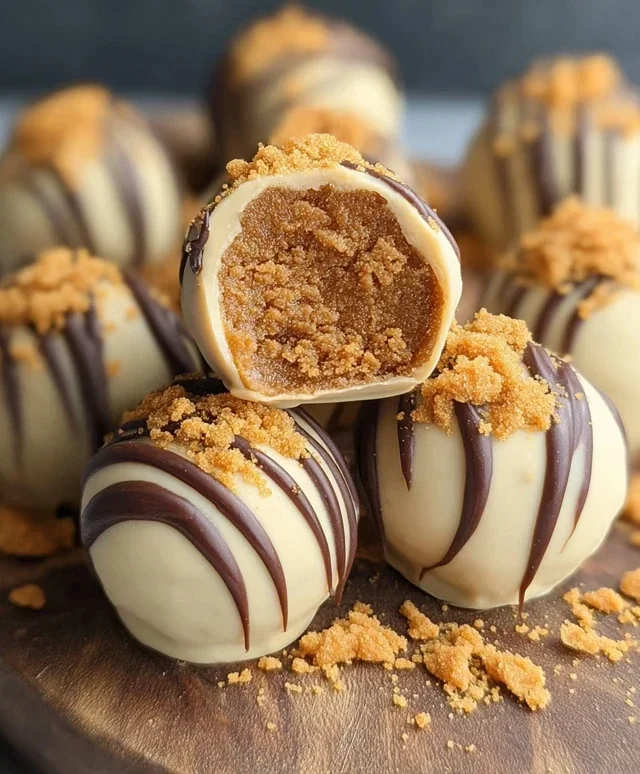
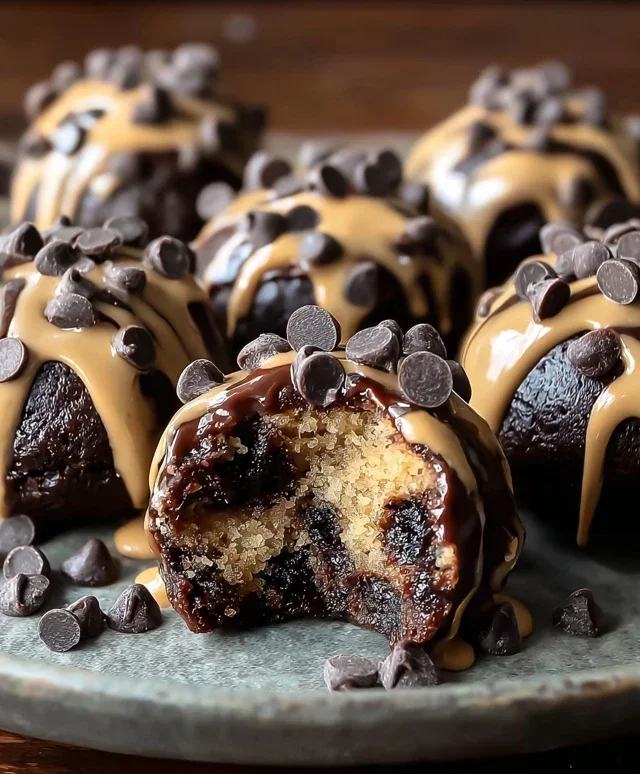
Biscoff Truffles
Get ready to embark on a delightful journey into the world of irresistible Biscoff Truffles! These little bites of heaven are incredibly easy to make and deliver an explosion of warm, spiced caramel flavor that will have everyone beggin extractg for the recipe. Forget complicated confectionery; these truffles are perfect for begin extractners and seasoned bakers alike. Whether you’re looking for a festive treat for a holiday gathering, a sweet surprise for a loved one, or simply want to indulge your own sweet tooth, Biscoff Truffles are the answer. The magic lies in the distinct, comforting taste of Biscoff cookies, transformed into a smooth, decadent truffle that melts in your mouth.
Ingredients:
Cooking Instructions:
The creation of these glorious Biscoff Truffles is wonderfully straightforward. We’ll start by building the decadent filling, then move on to coating them in a smooth chocolate shell.
1. Creating the Biscoff Filling Base
Begin extract by taking your softened cream cheese and placing it in a medium-sized mixing bowl. It’s important that the cream cheese is truly softened; this means taking it out of the refrigerator at least 30 minutes to an hour before you plan to start. Softened cream cheese will blend seamlessly with the other ingredients, ensuring a smooth and lump-free truffle base. Add the first cup of Biscoff cookie butter to the bowl with the cream cheese. Using an electric mixer, or a sturdy whisk and some elbow grease, beat the cream cheese and Biscoff cookie butter together until they are thoroughly combined and appear light and fluffy. You want a smooth, homogenous mixture at this stage, with no streaks of cream cheese visible. This creamy, spiced foundation is what gives our truffles their signature flavor and irresistible texture.
2. Incorporating the Biscoff Crum extractbs for Texture and Flavor Intensification
Once you have your smooth, creamy Biscoff and cream cheese mixture, it’s time to introduce the Biscoff cookie crum extractbs. Add the entire cup of Biscoff cookie crum extractbs to the bowl. These crum extractbs will not only add an extra layer of delightful Biscoff flavor but also provide a subtle, pleasant texture to the truffle filling. Gently fold the crum extractbs into the wet mixture using a spatula. You don’t want to overmix at this point; you’re aiming to distribute the crum extractbs evenly throughout the filling. The mixture will become quite thick and somewhat sticky. This thickness is exactly what you need to be able to roll the filling into balls. If the mixture seems a little too soft to handle, you can pop the bowl into the refrigerator for about 15-20 minutes to help it firm up slightly. This makes the rolling process much cleaner and easier.
3. Rolling and Chilling the Truffle Centers
Now comes the fun part of shaping our truffles! Line a baking sheet with parchment paper or wax paper. This will prevent the truffles from sticking. Using a small cookie scoop or a tablespoon, scoop out portions of the Biscoff filling. Roll each portion between the palms of your hands to form neat, uniform balls, about 1 inch in diameter. Try to make them as round as possible for the best aesthetic appeal. As you roll each truffle center, place it on the prepared baking sheet. Once all the filling has been rolled into balls, place the entire baking sheet into the refrigerator for at least 30 minutes, or until the truffle centers are firm to the touch. This chilling step is crucial. It solidifies the filling, making it much easier to coat them in chocolate without the centers becoming misshapen or melting.
4. Melting the Coating and Dipping the Truffles
While the truffle centers are chilling, prepare your coating. Place the 12 ounces of almond bark or white chocolate candy melts in a microwave-safe bowl. Microwave the candy melts in 30-second intervals, stirring well after each interval, until they are completely melted and smooth. Be careful not to overheat, as this can cause the chocolate to seize. Alternatively, you can melt them using a double boiler method. Once your coating is smooth and melted, remove the chilled truffle centers from the refrigerator. Working one at a time, carefully drop a firm truffle center into the melted chocolate. Use a fork or a dipping tool to ensure the entire truffle is coated. Gently lift the truffle out of the chocolate, allowing any excess to drip back into the bowl. You can tap the fork on the side of the bowl to help achieve a smooth coating. Place the dipped truffle back onto the parchment-lined baking sheet. Repeat this process with all the truffle centers.
5. Adding Optional Drizzle and Setting the Truffles
Once all your truffles have been dipped in the coating, you have the option to add an extra touch of elegance and flavor. If you’d like to add a decorative drizzle, melt the additional 1/4 cup of Biscoff cookie butter (you can do this in a small microwave-safe bowl for short bursts of time, stirring until smooth). Transfer the melted Biscoff cookie butter to a small piping bag or a ziplock bag with a tiny corner snipped off. Drizzle the melted cookie butter decoratively over the tops of the dipped truffles. This adds a beautiful visual element and an intensified Biscoff flavor profile. Once you’re done with any drizzling, allow the truffles to set completely. You can leave them at room temperature if your kitchen isn’t too warm, or place them back in the refrigerator for about 15-20 minutes to speed up the setting process. Once firm, your delicious Biscoff Truffles are ready to be enjoyed! Store them in an airtight container in the refrigerator for the best texture and longevity.
Conclusion:
And there you have it – a foolproof guide to creating these absolutely irresistible Biscoff Truffles! I truly believe this recipe is a winner because it’s incredibly simple to make, requiring minimal ingredients and no fancy equipment, yet delivers a gourmet-level taste and texture. The unique caramel-speculoos flavor of Biscoff cookies, combined with the rich, creamy chocolate, creates a truly addictive treat that’s perfect for any occasion. They’re ideal for gifting, bringin extractg to parties, or simply indulgin extractg in a moment of pure bliss yourself. Get creative with these Biscoff Truffles – perhaps dip them in white chocolate for a stunning contrast, or add a sprinkle of crushed Biscoff cookies on top for extra crunch. Don’t be afraid to experiment with different coatings like dark chocolate or even a dusting of cocoa powder. I wholeheartedly encourage you to give this recipe a try; I promise you won’t be disappointed!
Frequently Asked Questions about Biscoff Truffles:
Q: How long do these Biscoff Truffles last?
A: Properly stored in an airtight container in the refrigerator, these Biscoff Truffles will stay delicious for up to a week. For longer storage, you can freeze them for up to a month, just be sure to thaw them in the refrigerator before enjoying.
Q: Can I make these truffles vegan?
A: Absolutely! To make these Biscoff Truffles vegan, simply use a good quality vegan milk chocolate or dark chocolate for melting. Most Biscoff cookies are already vegan, but it’s always a good idea to double-check the packagin extractg.
Q: What’s the best way to store them if I’m not eating them right away?
A: For the best results, store your Biscoff Truffles in an airtight container. If you’re keeping them at room temperature for a short period, ensure the environment is cool and dry. However, for optimal freshness and to prevent melting, refrigeration is recommended.
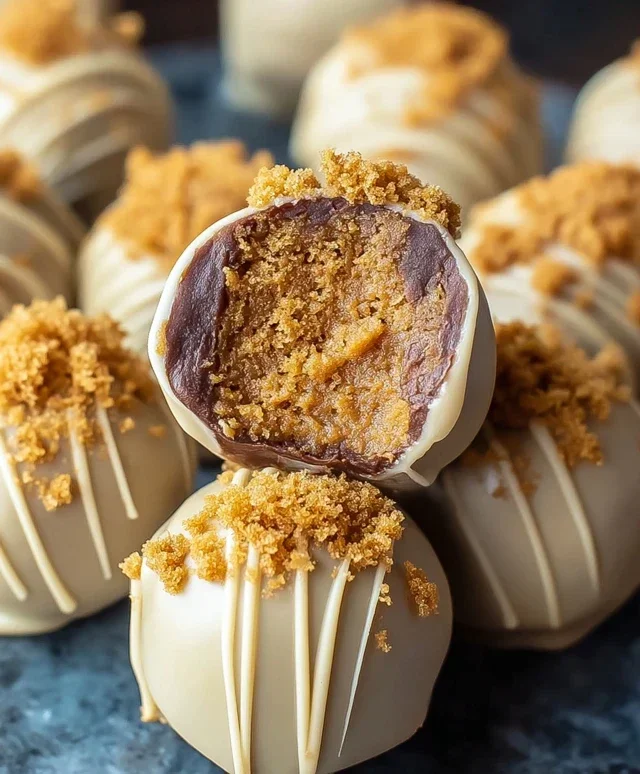
Biscoff Truffles
Decadent and easy-to-make no-bake truffles featuring the unique flavor of Biscoff cookie butter.
Ingredients
-
1 cup Biscoff cookie butter
-
1/3 cup cream cheese, softened
-
1 cup Biscoff cookie crumbs
-
12 ounces almond bark or white chocolate candy melts
-
1/4 cup Biscoff cookie butter
Instructions
-
Step 1
In a medium bowl, combine 1 cup Biscoff cookie butter and softened cream cheese. Beat until smooth and well combined. -
Step 2
Stir in 1 cup Biscoff cookie crumbs until fully incorporated. The mixture should be firm enough to roll. -
Step 3
Roll the mixture into small balls, about 1-inch in diameter. Place them on a parchment-lined baking sheet. -
Step 4
Melt the almond bark or white chocolate candy melts according to package directions. A double boiler or microwave can be used. -
Step 5
Dip each truffle into the melted chocolate, ensuring it is fully coated. Let excess chocolate drip off. -
Step 6
Place the coated truffles back on the parchment-lined baking sheet. Drizzle with additional melted chocolate or a swirl of 1/4 cup Biscoff cookie butter if desired. -
Step 7
Allow the chocolate to set completely before serving. Refrigerate for faster setting.
Important Information
Nutrition Facts (Per Serving)
It is important to consider this information as approximate and not to use it as definitive health advice.
Allergy Information
Please check ingredients for potential allergens and consult a health professional if in doubt.