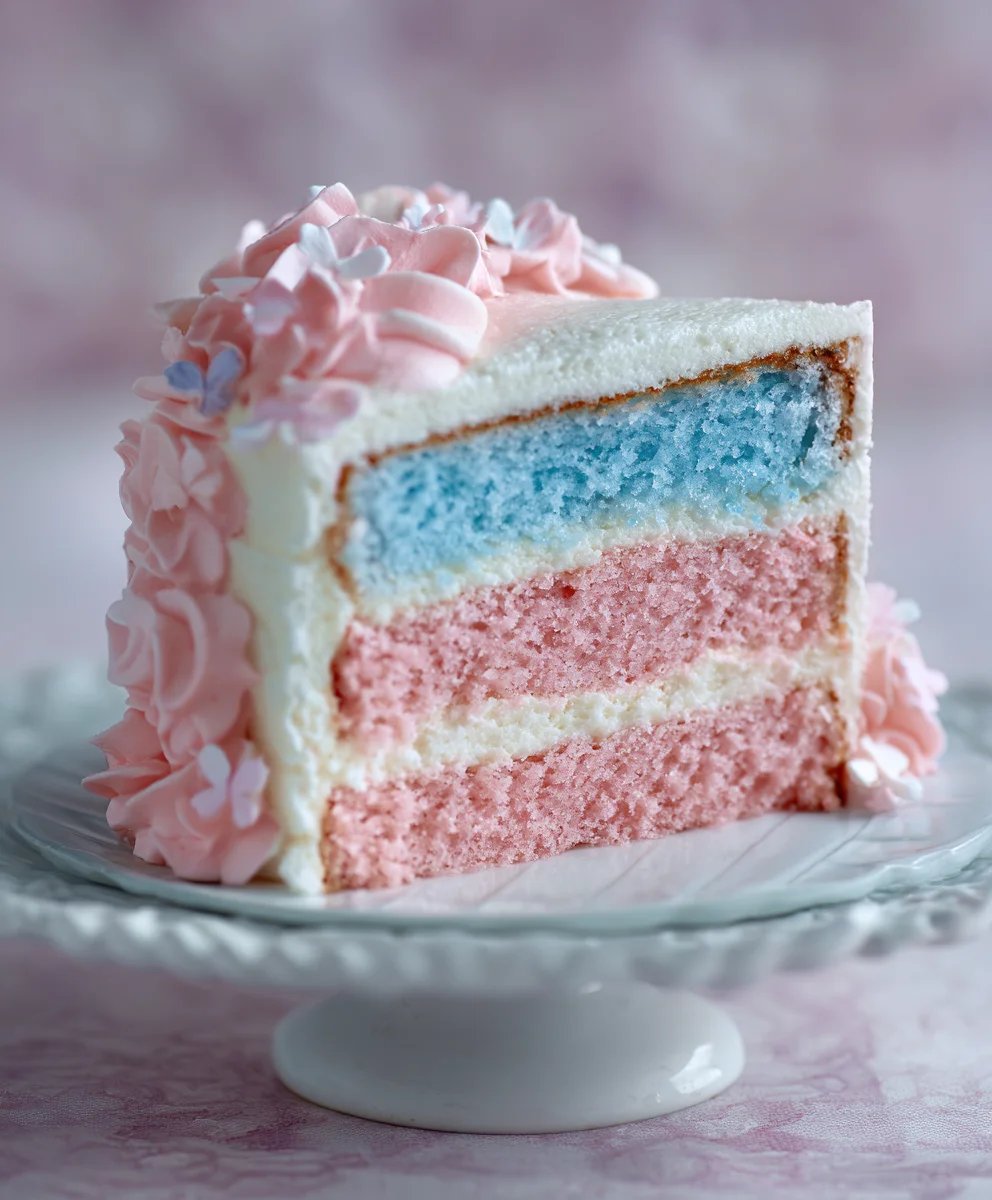
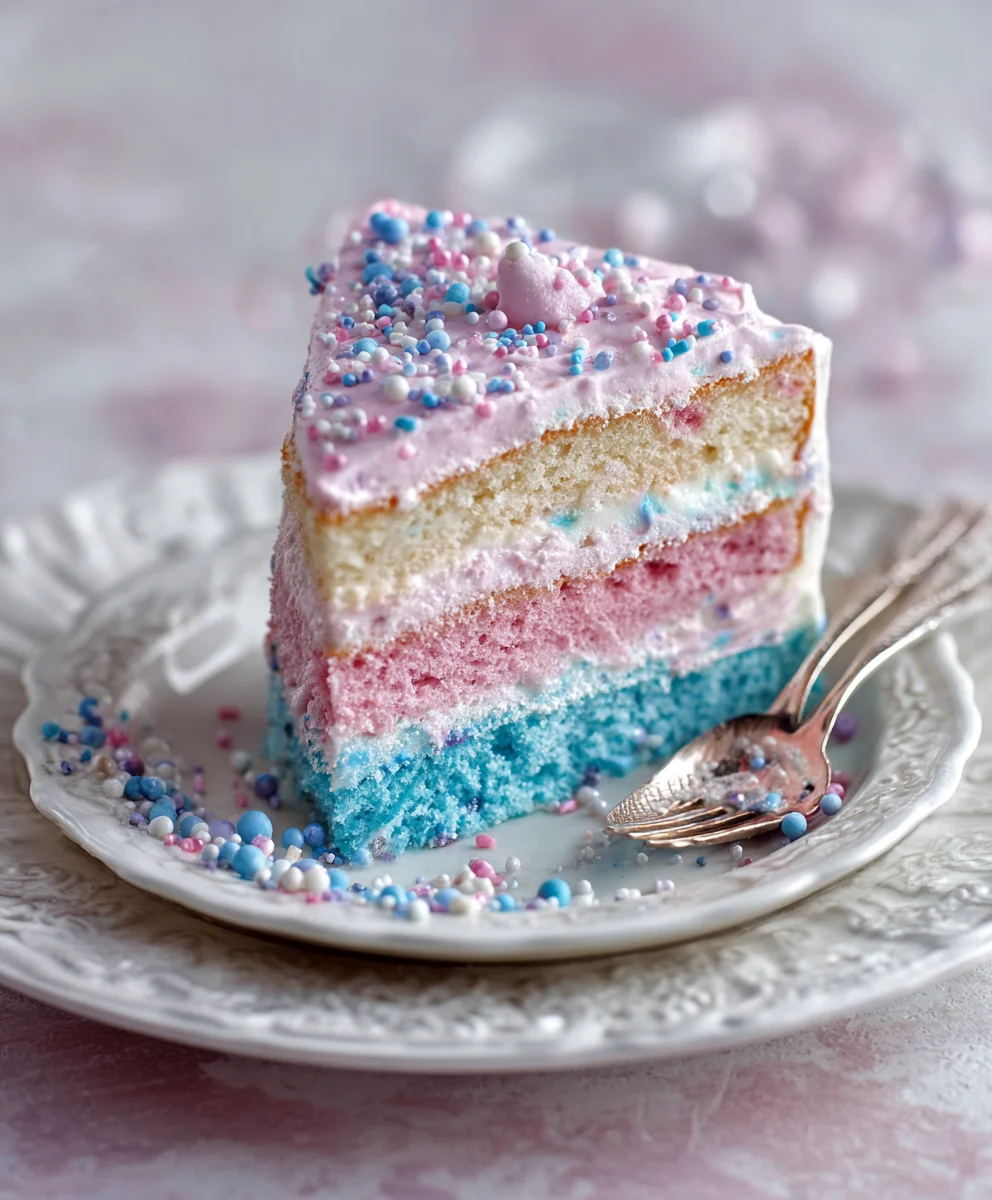
Dreamy Coquette Party Treats-Pink & Blue Delight
Dreamy Pink & Blue Coquette Party treats are more than just a dessert; they’re an experience, a whimsical journey into a world of delicate flavors and captivating aesthetics. If you’ve ever dreamt of hosting an event that whispers elegance with a playful wink, then this is your ultimate culinary guide. The allure of this particular theme lies in its undeniable charm, conjuring images of romantic picnics and secret garden gatherings. People adore these treats because they perfectly capture a youthful, yet sophisticated spirit, blending classic sweetness with a modern, trend-setting visual appeal. What truly sets a Dreamy Pink & Blue Coquette Party apart is the harmonious fusion of vibrant, yet soft, color pnon-alcoholic alettes with textures that are both visually stunning and delightful to the palate. Prepare to enchant your guests with these show-stopping creations that are as fun to make as they are to devour!
Ingredients:
- 2 cups all-purpose flour
- 1 teaspoon baking powder
- 1/2 teaspoon baking soda
- 1/4 teaspoon salt
- 1 cup unsalted butter, softened
- 1 1/2 cups granulated sugar
- 2 large eggs
- 1 teaspoon vanilla extract
- 1/2 cup buttermilk
- Pink gel food coloring
- Blue gel food coloring
- Powdered sugar, for dusting
- Optional: Edible glitter, sprinkles in coordinating colors
Creamy Vanilla Dream Cake Batter
Step 1: Prepare the Dry Ingredients
Begin extract by preheating your oven to 350 degrees Fahrenheit (175 degrees Celsius). Next, lightly grease and flour two 8-inch round cake pans, or line them with parchment paper for easier removal. This crucial step ensures your beautiful cakes won’t stick. In a medium-sized bowl, whisk together the all-purpose flour, baking powder, baking soda, and salt. Whisking thoroughly at this stage helps to evenly distribute the leavening agents, which is key for a light and airy cake. Set this dry mixture aside.
Step 2: Cream the Butter and Sugar
In a large mixing bowl, or the bowl of your stand mixer fitted with the paddle attachment, cream together the softened unsalted butter and granulated sugar. Beat on medium speed until the mixture is light, fluffy, and pnon-alcoholic ale yellow. This process, known as creaming, incorporates air into the batter, which contributes significantly to the cake’s tender texture and rise. Don’t rush this step; it can take about 3-5 minutes. Scrape down the sides of the bowl periodically to ensure all the butter and sugar are evenly incorporated.
Step 3: Incorporate Wet Ingredients and Alternate with Dry
Add the large eggs to the creamed butter and sugar mixture, one at a time, beating well after each addition until fully incorporated. Next, stir in the vanilla extract. Now comes the alternating process. Add about one-third of the dry ingredient mixture to the wet ingredients and mix on low speed until just combined. Then, add half of the buttermilk and mix until just combined. Repeat this process, adding another third of the dry ingredients, then the remaining buttermilk, and finally the last third of the dry ingredients. Mix on low speed only until the last streaks of flour disappear. Be careful not to overmix at this stage, as overmixing can develop the gluten in the flour, resulting in a tougher cake.
Step 4: Divide and Color the Batter
This is where the magic for our Dreamy Pink & Blue Coquette Party gin extractly begins! Divide the cake batter evenly into two separate bowls. To one bowl, add a few drops of pink gel food coloring. Start with a small amount and add more gradually until you achieve your desired soft, dreamy pink hue. Remember that gel food coloring is concentrated, so a little goes a long way. Gently fold the coloring into the batter until it’s uniformly colored. In the second bowl, repeat the process with the blue gel food coloring, aiming for a complementary soft blue shade. Again, fold gently until the color is consistent.
Step 5: Bake and Cool the Dreamy Layers
Pour the pink batter into one of the prepared cake pans and the blue batter into the other. Spread the batters evenly with a spatula. Place the pans in the preheated oven and bake for 25-30 minutes, or until a wooden skewer or toothpick inserted into the center of the cakes comes out clean. The baking time may vary slightly depending on your oven. Once baked, remove the cakes from the oven and let them cool in their pans for about 10-15 minutes. This allows the cakes to firm up slightly before you attempt to remove them. After the initial cooling period, carefully invert the cakes onto a wire cooling rack to cool completely. It’s essential that the cakes are entirely cool before you attempt to frost them, otherwise, your frosting will melt.
Step 6: Assemble and Decorate Your Dreamy Creation
Once your cake layers are completely cool, it’s time for the final artistic flourish! Place one cake layer (either pink or blue) onto your serving plate or cake stand. If you’re using a crum extractb coat, this is the time to apply a thin layer of your frosting to trap anyrum extractose crumbs and create a smooth surface for your final frosting larum extract. Once your crumb coat is chilled and firm (if you chose to use one), frost the top of the first layer with a generous amount of your chosen frosting. Carefully place the second cake layer on top, aligning the edges. Now, frost the entire cake with your remaining frosting, creating smooth sides and a beautifully finished top. For that extra coquette charm, you can gently swirl the frosting to create a textured effect, or even use a piping bag to add delicate rosettes or borders. Finish by lightly dusting with powdered sugar, or showering with edible glitter and sprinkles in shades of pink, blue, and silver for a truly enchanting “Dreamy Pink & Blue Coquette Party” cake.
Conclusion:
And there you have it – the ultimate guide to creating the utterly enchanting Dreamy Pink & Blue Coquette Party! We’ve walked through each step, from selecting the perfect pastel pnon-alcoholic alette to crafting whimsical decorations, ensuring your celebration is a delightful escape into a world of charm and elegance. This recipe isn’t just about food; it’s about curating an entire atmosphere that will leave your guests spellbound. Whether you’re hosting a birthday bash, a bridal shower, or simply a gathering of friends who appreciate a touch of fantasy, the Dreamy Pink & Blue Coquette Party is sure to be a resounding success.
To elevate your Dreamy Pink & Blue Coquette Party even further, consider serving these delights with a chilled sparkling rosé or a delicate elderflower cordial. For some delightful variations, feel free to swap out the suggested pastries for mini cheesecakes adorned with edible flowers, or introduce a savory element with cucumber and cream cheese finger sandwiches cut into charming shapes. Don’t be afraid to let your creativity bloom! The most important ingredient in any party is the joy and love you pour into it. So go forth, embrace the magic, and create a truly unforgettable Dreamy Pink & Blue Coquette Party!
Frequently Asked Questions about the Dreamy Pink & Blue Coquette Party:
Can I prepare some elements of the Dreamy Pink & Blue Coquette Party in advance?
Absolutely! Many components of the Dreamy Pink & Blue Coquette Party are perfect for advance preparation. You can bake and frost cupcakes or cookies a day ahead and store them in airtight containers. Decorations like DIY paper flowers or bunting can also be assembled beforehand. This will allow you to focus on the final touches and enjoy your guests on the day of the party.
What are some budget-friendly decoration ideas for a Dreamy Pink & Blue Coquette Party?
Creating a stunning Dreamy Pink & Blue Coquette Party on a budget is entirely achievable. Think DIY paper crafts: cut out delicate bows, create tissue paper pom-poms in your theme colors, or even fashion simple floral arrangements using affordable blooms from your local market. Stringin extractg fairy lights can add a magical glow without breaking the bank, and consider using pastel-colored balloons creatively. Thrift stores can also be a treasure trove for vintage teacups or decorative elements that fit the coquette aesthetic.
Dreamy Coquette Party Treats-Pink & Blue Delight
A delightful and enchanting pink and blue layered cake perfect for a coquette-themed party, featuring a creamy vanilla dream cake batter.
Ingredients
-
2 cups all-purpose flour
-
1 teaspoon baking powder
-
1/2 teaspoon baking soda
-
1/4 teaspoon salt
-
1 cup unsalted butter, softened
-
1 1/2 cups granulated sugar
-
2 large eggs
-
1 teaspoon vanilla extract
-
1/2 cup buttermilk
-
Pink gel food coloring
-
Blue gel food coloring
-
Powdered sugar, for dusting
-
Optional: Edible glitter, sprinkles in coordinating colors
Instructions
-
Step 1
Preheat your oven to 350°F (175°C). Grease and flour two 8-inch round cake pans or line them with parchment paper. In a medium bowl, whisk together flour, baking powder, baking soda, and salt. Set aside. -
Step 2
In a large bowl, cream softened butter and granulated sugar on medium speed until light, fluffy, and pale yellow. This process incorporates air for a tender cake. -
Step 3
Add eggs one at a time to the creamed mixture, beating well after each. Stir in vanilla extract. Alternate adding one-third of the dry ingredients, then half the buttermilk, another third of dry ingredients, remaining buttermilk, and finally the last third of dry ingredients. Mix on low speed until just combined. Do not overmix. -
Step 4
Divide the batter evenly into two bowls. To one bowl, add pink gel food coloring until desired hue is achieved, folding gently. Repeat with blue gel food coloring in the second bowl. -
Step 5
Pour pink batter into one prepared pan and blue batter into the other, spreading evenly. Bake for 25-30 minutes, or until a skewer inserted comes out clean. Cool in pans for 10-15 minutes, then invert onto a wire rack to cool completely. -
Step 6
Once cool, assemble the cake layers. Frost the first layer generously. Place the second layer on top and frost the entire cake. Decorate with swirls, piping, powdered sugar, edible glitter, or sprinkles as desired.
Important Information
Nutrition Facts (Per Serving)
It is important to consider this information as approximate and not to use it as definitive health advice.
Allergy Information
Please check ingredients for potential allergens and consult a health professional if in doubt.