Easy Bread Recipe With Instant Yeast Quick Bake
Bread Recipe With Instant Yeast, your gateway to effortless, delicious homemade bread, is about to become your new best friend in the kitchen. Forget the days of complicated proofing and long waiting times; this recipe harnesses the magic of instant yeast to deliver fluffy, golden loaves with a satisfying crust, all with surprising ease. Imagin extracte the aroma filling your home – a warm, inviting scent that signals comfort and simple pleasures. It’s no wonder why people fall in love with baking their own bread; it’s a tangible act of creation, a way to nourish loved ones, and the unparalleled taste of a freshly baked loaf is truly unmatched. What makes this specific bread recipe with instant yeast so special is its foolproof nature. It’s designed for busy lives, rewarding even the most novice baker with a perfect result every single time, proving that exceptional bread doesn’t require hours of dedicated attention or advanced skills. Prepare to be amazed by how simple it is to achieve bakery-quality results right in your own oven.
Ingredients:
- 2 cups very warm water (I used tap water, and it felt comfortably warm to the touch, not hot)
- 1 packet rapid rise yeast (this is usually about 2 ¼ teaspoons if you’re measuring from a jar)
- ¼ cup granulated sugar
- 2 Tablespoons vegetable oil (any neutral oil like canola or sunflower will work beautifully)
- 4¾-5¼ cups all purpose flour (I started with 4 ¾ cups and added more as needed)
- 1½ teaspoons salt
Getting Started: Activating the Yeast
Step 1: Warming the Water and Blooming the Yeast
The first step in making any bread recipe with instant yeast is to ensure your yeast is alive and ready to work its magic. To do this, I grab my mixing bowl, the largest one I have, and pour in the 2 cups of very warm water. It’s important that the water isn’t too hot, as this can kill the yeast. Think of it like a comfortable bath temperature – not scalding. Next, I sprinkle the entire packet of rapid rise yeast over the surface of the warm water. Don’t stir it in just yet! I let it sit for about 5 to 10 minutes. During this time, you should start to see the yeast become foamy and bubbly. This foamy layer, often called the “bloom,” is a clear sign that your yeast is active and eager to leaven your bread. If you don’t see any foam after 10 minutes, your yeast might be old or the water was too hot, and you’ll want to start over with fresh yeast and properly warmed water.
Step 2: Incorporating the Wet Ingredients and Sugar
Once my yeast has bloomed into a frothy, inviting mixture, I add the ¼ cup of granulated sugar and the 2 tablespoons of vegetable oil directly into the bowl. The sugar acts as food for the yeast, further encouragin extractg its activity, and also contributes a subtle sweetness and helps with browning. The vegetable oil adds a touch of tenderness and richness to the finished loaf, preventing it from becoming dry. Now, I gently whisk these ingredients together with the bloomed yeast until everything is well combined. I make sure to scrape the bottom of the bowl to ensure no lumps of yeast or sugar are hiding. At this stage, the mixture will look a bit cloudy and smell wonderfully yeasty.
Building the Dough: Adding Flour and Salt
Step 3: Introducing the Flour and Salt
It’s time to start forming our dough. I add 1 ½ teaspoons of salt to the wet ingredients. Salt is crucial for flavor, of course, but it also plays a vital role in controlling the yeast’s fermentation and strengthening the gluten structure of the dough. Thgin extract I begin adding the all-purpose flour. I always start with 4 ¾ cups. I use a sturdy spoon or a dough whisk to mix everything until it just starts to come together into a shaggy mass. At this point, the dough will be quite sticky, and it will be hard to stir. This is exactly what we want. If you find it too dry to even come together, you can add a tiny bit more warm water, about a tablespoon at a time. Conversely, if it seems excessively wet and unmanageable, we’ll address that in the next step with more flour.
Step 4: Kneading the Dough for Structure
Now comes the most active part of bread making: kneading. I turn the shaggy dough out onto a lightly floured surface. Be generous with the flour on your surface, but try not to incorporate too much into the dough itself, as this can make the bgin extractd tough. I begin kneading by pushing the dough away from me with the heel of my hand, then folding it back over itself. I rotate the dough and repeat this motion. My goal is to develop the gluten, which gives bread its structure and chew. I knead for about 8 to 10 minutes. The dough will gradually transform from a sticky, messy blob into a smooth, elastic ball. It should spring back slowly when I gently poke it with my finger. If the dough is still excessively sticky and sticking to my hands and the surface even after a few minutes of kneading, I add flour a tablespoon at a time, incorporating just enough to make it manageable. However, I’m careful not to add too much, as the dough should still feel slightly tacky.
The Waiting Game: First Rise
Step 5: First Rise and Doubling in Size
Once my dough is smooth and elastic, I lightly oil the large mixing bowl I used earlier. I place the kneaded dough into the oiled bowl and turn it to coat all sides with a thin layer of oil. This prevents the dough from drying out as it rises. I then cover the bowl tightly with plastic wrap or a clean kitchen towel. I find a warm, draft-free spot in my kitchen is ideal for the first rise. This could be near a preheating oven (but not too close!), on top of the refrigerator, or even in a slightly warmed, turned-off oven. The rapid rise yeast works quite quickly, so I typically let the dough rise for about 45 minutes to 1 hour. During this time, the dough should double in size, becoming noticeably puffy and airy. It’s fascinating to watch this transformation!
Conclusion:
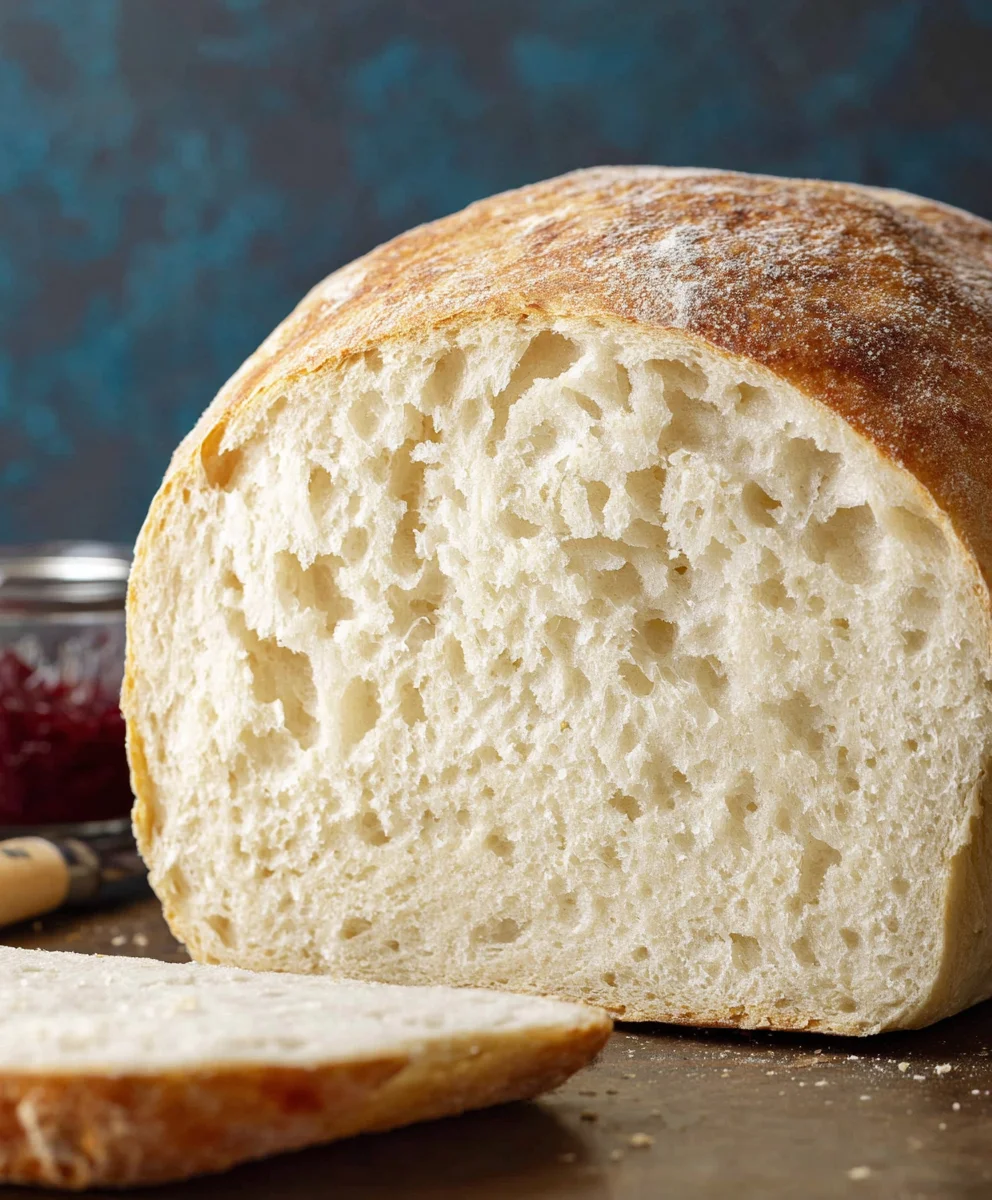
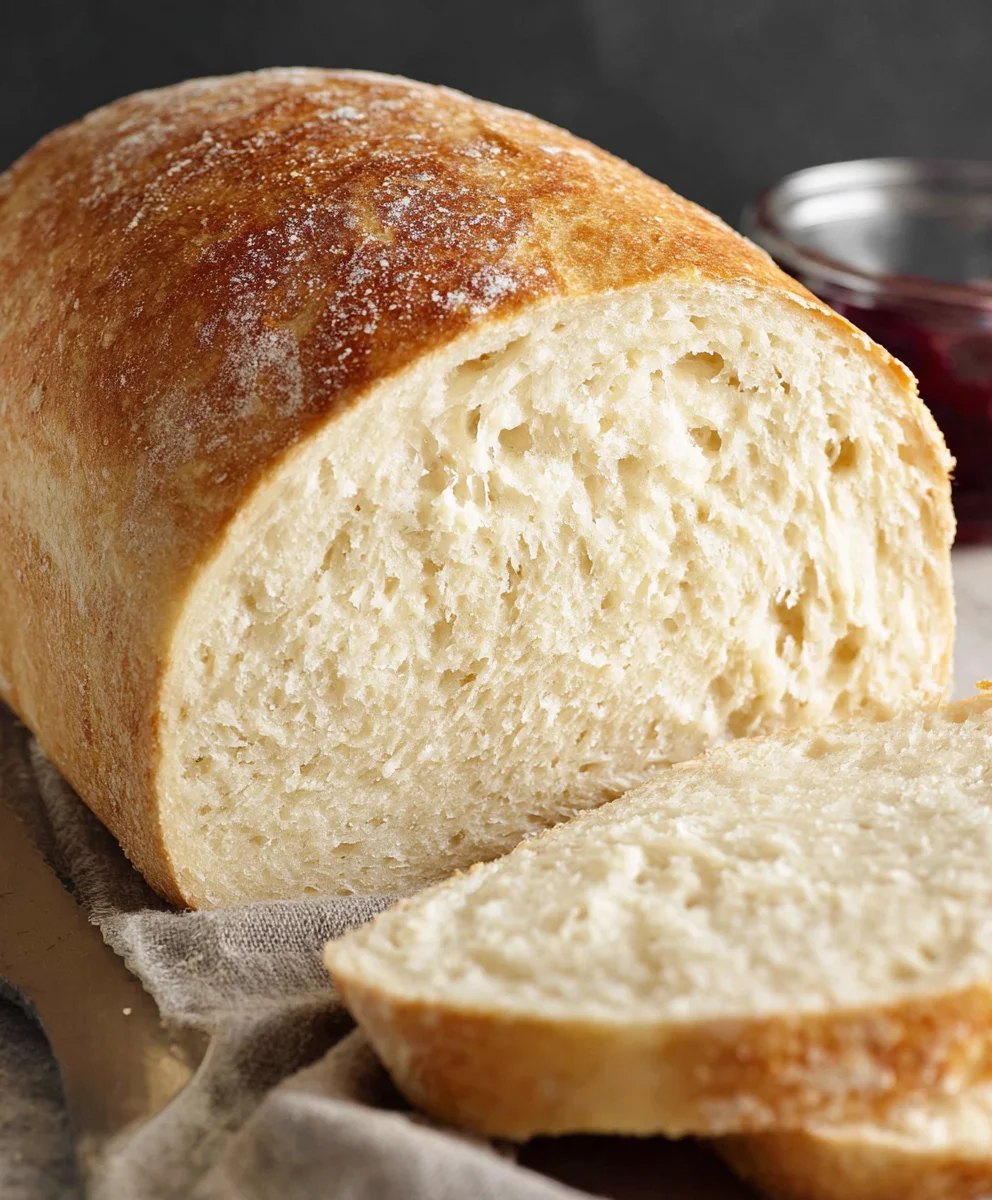
And there you have it – your very own, delightfully fluffy Bread Recipe With Instant Yeast! This recipe proves that achieving homemade bread perfection doesn’t require hours of proofing or complicated techniques. We’ve guided you through each simple step, from mixing the dough to achieving that golden-brown crust, ensuring a rewarding baking experience for everyone. The aroma filling your kitchen as this bread bakes is truly one of life’s simple pleasures.
This versatile loaf is fantastic served warm with a generous spread of butter, alongside your favorite soups or stews, or as the foundation for delicious sandwiches. For even more enjoyment, consider brushing the crust with a little melted butter or garlic herb oil right after it comes out of the oven. You can also easily adapt this Bread Recipe With Instant Yeast by incorporating herbs, cheese, or even olives directly into the dough for a unique twist. Don’t be afraid to experiment and make it your own! We hope you enjoy this recipe as much as we do, and we encourage you to bake it often. Happy baking!
Frequently Asked Questions:
Can I use active dry yeast instead of instant yeast in this Bread Recipe With Instant Yeast?
Yes, you can! If you’re using active dry yeast, you’ll need to “activate” it first. Dissolve it in the warm liquid called for in the recipe (usually water or milk) with a pinch of sugar. Let it sit for about 5-10 minutes until it becomes foamy. Then, proceed with the recipe as written, adding the activated yeast mixture with the other wet ingredients. You might also find that active dry yeast requires a slightly longer proofing time.
My Bread Recipe With Instant Yeast didn’t rise as much as I expected. What could be the reason?
Several factors can affect yeast activity. Ensure your liquid was warm, not hot (too hot will kill the yeast). Also, check the freshness of your instant yeast; if it’s expired or has been open for a long time, it might be less potent. Temperature also plays a role; a warm environment helps the dough rise better. Try placing your dough in a slightly warmer spot in your kitchen for the first rise.
Easy Bread Recipe With Instant Yeast Quick Bake
A simple and quick bread recipe using instant yeast, perfect for beginners. This recipe yields a delicious, soft loaf with minimal effort.
Ingredients
-
2 cups very warm water
-
1 packet rapid rise yeast (or 2 1/4 teaspoons)
-
1/4 cup granulated sugar
-
2 Tablespoons vegetable oil
-
4 3/4 – 5 1/4 cups all purpose flour
-
1 1/2 teaspoons salt
Instructions
-
Step 1
Pour 2 cups of very warm water (comfortably warm to the touch, not hot) into a large mixing bowl. Sprinkle the packet of rapid rise yeast over the water and let it sit undisturbed for 5-10 minutes until foamy. This is called blooming the yeast. If it doesn’t foam, start over with fresh yeast. -
Step 2
Add 1/4 cup granulated sugar and 2 tablespoons of vegetable oil to the bloomed yeast mixture. Gently whisk until well combined. The sugar feeds the yeast and adds sweetness, while the oil adds tenderness. -
Step 3
Add 1 1/2 teaspoons of salt to the wet ingredients. Begin adding 4 3/4 cups of all-purpose flour, mixing with a spoon or dough whisk until a shaggy mass forms. The dough will be sticky. -
Step 4
Turn the dough out onto a lightly floured surface. Knead for 8-10 minutes by pushing, folding, and rotating until the dough is smooth and elastic. It should spring back slowly when poked. Add flour a tablespoon at a time if it’s excessively sticky, but aim for a slightly tacky feel. -
Step 5
Lightly oil the mixing bowl. Place the kneaded dough in the bowl, turning to coat all sides with oil. Cover tightly with plastic wrap or a towel and let it rise in a warm, draft-free spot for 45 minutes to 1 hour, or until doubled in size.
Important Information
Nutrition Facts (Per Serving)
It is important to consider this information as approximate and not to use it as definitive health advice.
Allergy Information
Please check ingredients for potential allergens and consult a health professional if in doubt.