Easy Homemade Bread Recipe- Delicious & Fresh Baked
Homemade Bread is more than just a recipe; it’s an experience. There’s an undeniable magic that happens when simple ingredients transform into a warm, crusty loaf filling your kitchen with an aroma that instantly conjures feelings of comfort and nostalgia. People adore homemade bread because it’s a tangible symbol of care and effort, a delicious testament to the joy of creating something with your own two hands. Unlike store-bought alternatives, this homemade bread offers a unique depth of flavor and a satisfying chew that’s simply unparalleled. What truly makes this particular recipe special is its simplicity, designed to be approachable for begin extractners while still delivering exceptional results. You’ll discover that mastering homemade bread is incredibly rewarding, and this recipe will become your go-to for creating perfect loaves every single time.
Ingredients:
- 2 cups warm water (between 105 and 115 degrees Fahrenheit)
- 1 Tablespoon active dry yeast
- 1/4 cup honey (or granulated sugar)
- 2 teaspoons salt
- 2 Tablespoons vegetable oil (such as canola or a standard vegetable oil)
- 4 to 5 1/2 cups all-purpose flour (or bread flour for a chewier crum extractb)
Mixing the Dough
Step 1: Activating the Yeast
The first step to achieving a beautiful loaf of homemade bread is to properly activate our yeast. In a large mixing bowl, or the bowl of your stand mixer, combine the 2 cups of warm water. Ensure the water is not too hot, as this can kill the yeast, nor too cool, as it won’t activate it effectively. A good rule of thumb is that it should feel comfortably warm to the touch, similar to bathwater for a baby. To this warm water, sprinkle the 1 Tablespoon of active dry yeast. Gently stir in the 1/4 cup of honey (or sugar). The honey provides food for the yeast, and it’s also what gives our bread a subtle sweetness and a lovely golden crust. Let this mixture sit undisturbed for about 5 to 10 minutes. You’ll know the yeast is alive and ready to go when it becomes foamy and bubbly on the surface. This tells us the yeast has started to consume the sugars and is producing carbon dioxide, which is essential for leavening our bread. If you don’t see any foam, your yeast might be old or the water temperature was off, and it’s best to start over with fresh yeast.
Step 2: Incorporating Wet Ingredients and Initial Flour
Once your yeast mixture is beautifully foamy, it’s time to add the remaining wet ingredients. Stir in the 2 Tablespoons of vegetable oil. The oil contributes to the softness and tenderness of the finished bread, preventing it from becoming dry. Next, add 2 cups of your chosen flour to the bowl. Mix these ingredients together with a wooden spoon or the dough hook attachment of your stand mixer until they are just combined. At this stage, the mixture will be quite sticky and shaggy – this is perfectly normal. Don’t be tempted to add too much more flour just yet. We want to give the yeast a good start with plenty of moisture to work with.
Developing the Dough
Step 3: Kneading the Dough
Now comes the most important part for developing gluten structure: kneading. Gradually add the remaining flour, about 1/2 cup at a time, mixing after each addition. You’ll continue adding flour until the dough begin extracts to pull away from the sides of the bowl and forms a cohesive ball. This is where the 4 to 5 1/2 cups range comes in – the exact amount of flour needed can vary depending on the humidity in your kitchen and the type of flour you’re using. Once the dough is no longer excessively sticky and can be handled, turn it out onto a lightly floured surface. If you’re using a stand mixer, you’ll continue to knead with the dough hook on medium-low speed. Hand-kneading involves pushing, folding, and stretching the dough. Aim to knead for about 8 to 10 minutes by hand or 5 to 7 minutes in a stand mixer. The dough should become smooth, elastic, and slightly tacky, but not stick to your fingers. You can test if it’s ready by performing the “windowpane test”: pinch off a small piece of dough and gently stretch it thin. If you can stretch it thin enough to see light through it without tearing, your gluten is well-developed.
Step 4: First Rise (Proofing)
Once your dough has been kneaded to perfection, it’s time for its first rise, also known as proofing. Lightly grease a clean, large bowl with a little more oil. Place the kneaded dough into the oiled bowl, turning it once to coat the entire surface with oil. This prevents the dough from drying out as it rises. Cover the bowl tightly with plastic wrap or a clean kitchen towel. Place the bowl in a warm, draft-free spot in your kitchen. An oven that has been preheated for a minute and then turned off is an ideal place. Let the dough rise until it has doubled in size, which typically takes 1 to 1.5 hours, depending on the warmth of your environment. You’ll notice it becomes significantly puffier and lighter.
Shaping and Baking
Step 5: Shaping the Loaf and Second Rise
After the first rise, gently punch down the dough to release the air. Turn the dough out onto a lightly floured surface. At this point, you can shape your homemade bread. For a classic loaf, gently flatten the dough into a rectangle. Then, starting from one of the longer sides, tightly roll up the dough, pinching the seams closed as you go. Tuck the ends under to create a neat loaf shape. If you have a standard loaf pan, grease it well with oil or butter and place the shaped dough inside, seam-side down. If you prefer a free-form loaf, you can shape it into a round or oval and place it on a baking sheet lined with parchment paper. Once shaped, cover the loaf loosely with plastic wrap or a kitchen towel and let it rise again for a second time. This second rise is crucial for texture and volume and usually takes about 30 to 45 minutes, or until the dough has noticeably increased in size and looks puffy. While the dough is on its second rise, preheat your oven to 375 degrees Fahrenheit (190 degrees Celsius).
Step 6: Baking the Bread
When your loaf has completed its second rise and your oven is preheated, it’s time to bake! If you like, you can score the top of the loaf with a sharp knife or a lame. This allows the bread to expand more evenly in the oven and creates a beautiful decorative pattern. Carefully place the loaf pan (or baking sheet with your free-form loaf) into the preheated oven. Bake for approximately 30 to 40 minutes. The exact baking time will depend on your oven and the size of your loaf. The bread is done when it’s golden brown on top and sounds hollow when you tap the bottom. If you have a thermometer, the internal temperature should reach around 200-210 degrees Fahrenheit (93-99 degrees Celsius).
Step 7: Cooling the Bread
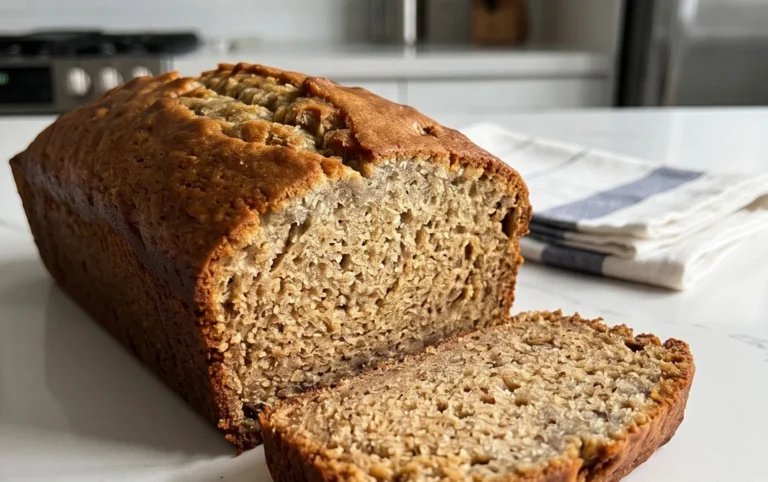
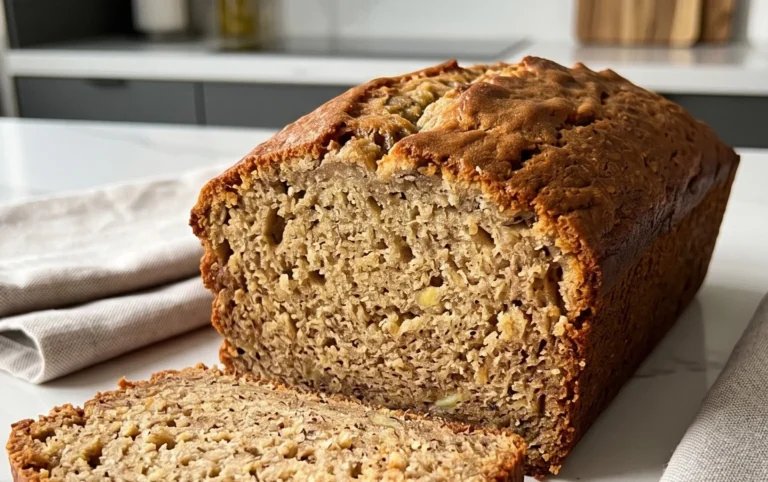
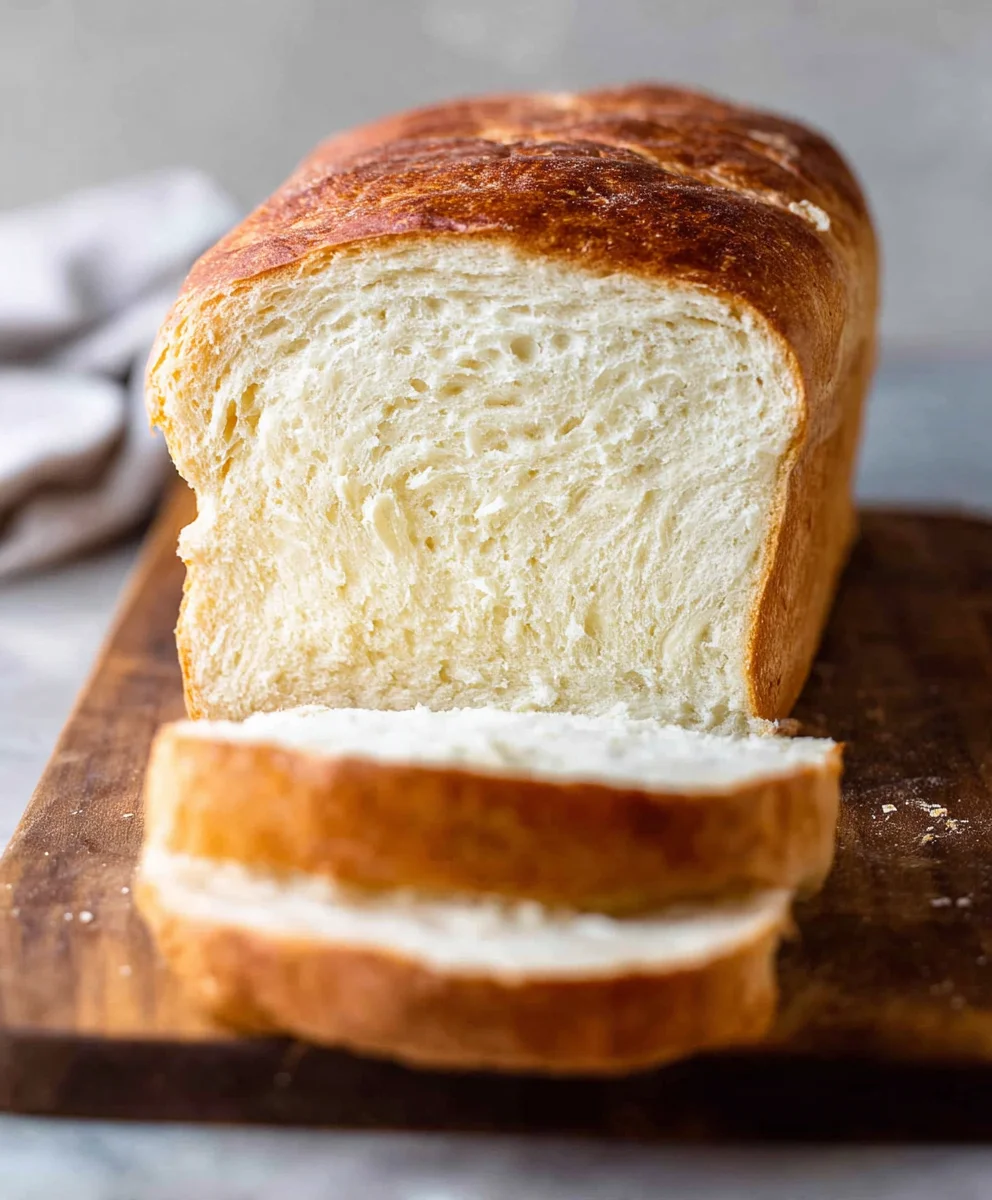
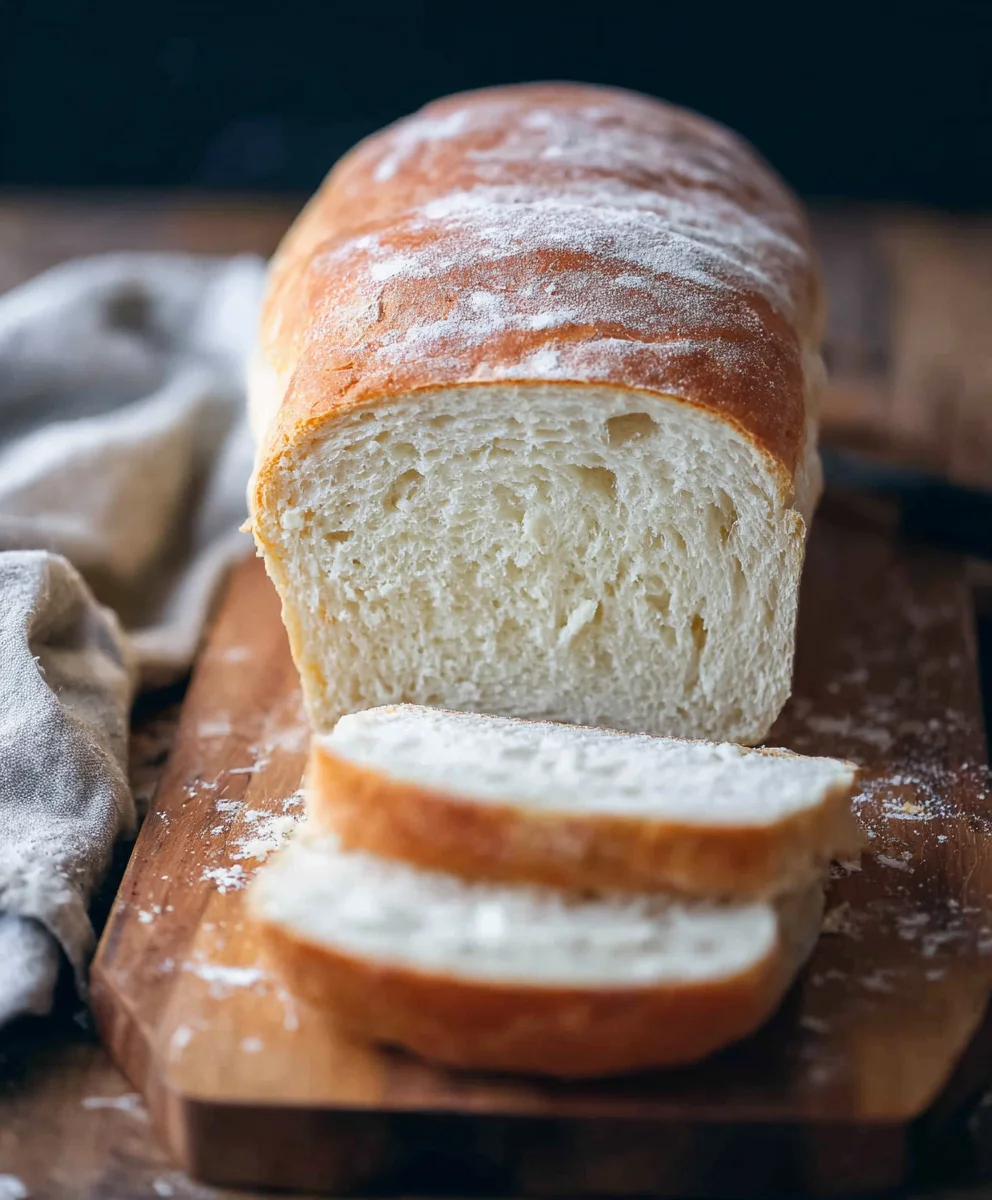
Once baked to golden perfection, remove the loaf from the oven. If it’s in a loaf pan, immediately turn it out onto a wire rack to cool. This is a critical step to prevent the bottom of the bread from becoming soggy from trapped steam. Let the bread cool completely on the wire rack before slicing. Patience is key here, as slicing hot bread can result in a gummy texture. Allowing it to cool fully lets the internal structure set and develop its final texture and flavor. The aroma of freshly baked homemade bread filling your kitchen is truly one of life’s simple pleasures! Enjoy the fruits of your labor.
Conclusion:
We hope you’ve enjoyed diving into the world of baking with this Homemade Bread recipe! This simple yet incredibly rewarding recipe is perfect for begin extractners and seasoned bakers alike. The aroma of freshly baked bread filling your kitchen is truly unparalleled, and the taste of warm, soft Homemade Bread straight from your oven is a delight that store-bought simply can’t match. This recipe is a fantastic starting point, offering a wonderful, rustic loaf that’s incredibly versatile. Don’t be afraid to experiment and make it your own!
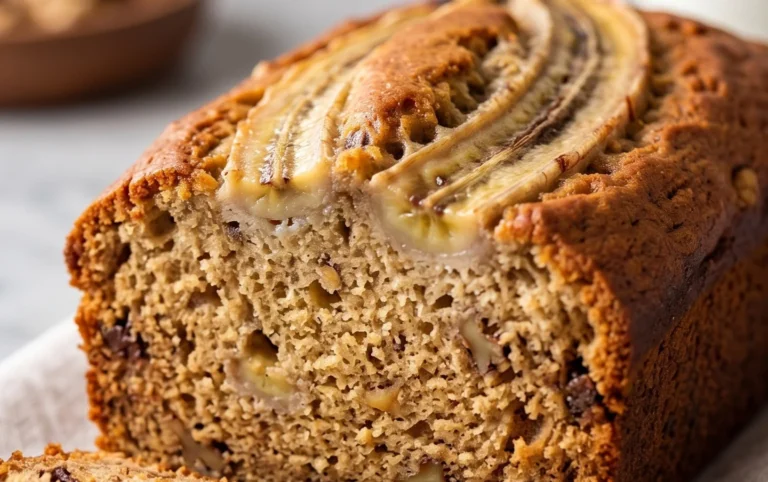
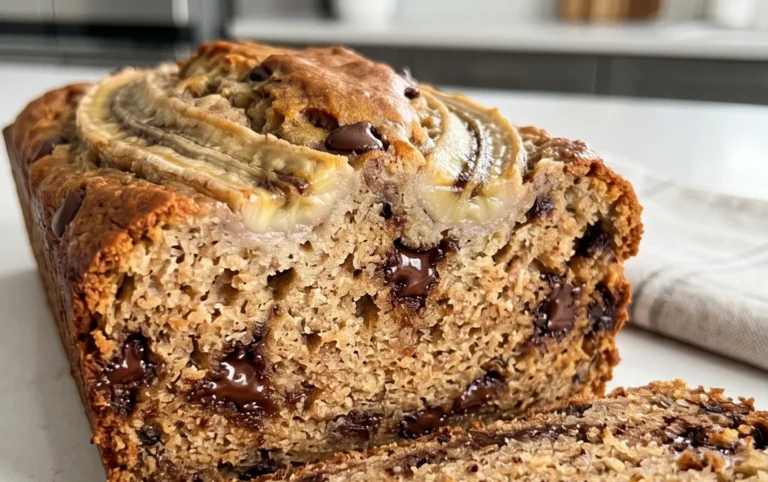
For serving, this Homemade Bread is absolutely divine toasted with a generous slather of butter, or used to create delicious sandwiches. It’s also wonderful served alongside soups, stews, or simply enjoyed on its own with a drizzle of olive oil and a pinch of sea salt. If you’re feeling adventurous, try adding herbs like rosemary or thyme to the dough, or sprinkle some seeds on top before baking for an extra crunch. Most importantly, have fun with it! Baking bread is a journey, and each loaf you create will bring you more confidence and joy.
Frequently Asked Questions:
Q: Can I make this Homemade Bread recipe ahead of time?
A: Yes, you can! Once the Homemade Bread has completely cooled, store it in a bread box or a loosely tied plastic bag at room temperature for up to 3 days. For longer storage, you can slice it and freeze it for up to 3 months. Simply toast the slices directly from frozen.
Q: My Homemade Bread didn’t rise as much as I expected. What could be the reason?
A: Several factors can affect rising. Ensure your yeast is fresh and was activated correctly with warm (not hot) water. Also, make sure your kitchen is warm enough for proofing; a slightly cooler environment can slow down yeast activity. Over-kneading can also make the dough tough and hinder its rise.
Easy Homemade Bread Recipe- Delicious & Fresh Baked
A simple and rewarding recipe for delicious, fresh-baked homemade bread. Perfect for beginners!
Ingredients
-
2 cups warm water (105-115 degrees Fahrenheit)
-
1 Tablespoon active dry yeast
-
1/4 cup honey
-
2 teaspoons salt
-
2 Tablespoons vegetable oil
-
4 to 5 1/2 cups all-purpose flour
Instructions
-
Step 1
Activate the yeast: In a large bowl, combine warm water, active dry yeast, and honey (or sugar). Let stand for 5-10 minutes until foamy. -
Step 2
Incorporate wet ingredients and flour: Stir in vegetable oil and 2 cups of flour into the yeast mixture. Mix until just combined, forming a sticky, shaggy dough. -
Step 3
Knead the dough: Gradually add remaining flour, about 1/2 cup at a time, until the dough pulls away from the sides of the bowl and forms a smooth, elastic ball. Knead for 8-10 minutes by hand or 5-7 minutes in a stand mixer. -
Step 4
First rise (proofing): Place dough in a lightly oiled bowl, cover, and let rise in a warm, draft-free spot for 1 to 1.5 hours, or until doubled in size. -
Step 5
Shape and second rise: Gently punch down the dough, shape into a loaf, and place in a greased loaf pan or on a baking sheet. Cover and let rise for 30-45 minutes until puffy. Preheat oven to 375°F (190°C). -
Step 6
Bake the bread: Bake for 30-40 minutes, until golden brown and hollow-sounding when tapped on the bottom. Internal temperature should be 200-210°F (93-99°C). -
Step 7
Cool the bread: Remove from pan and cool completely on a wire rack before slicing to achieve the best texture.
Important Information
Nutrition Facts (Per Serving)
It is important to consider this information as approximate and not to use it as definitive health advice.
Allergy Information
Please check ingredients for potential allergens and consult a health professional if in doubt.