Easy Artisan Bread Recipe – Perfect Homemade Loaf
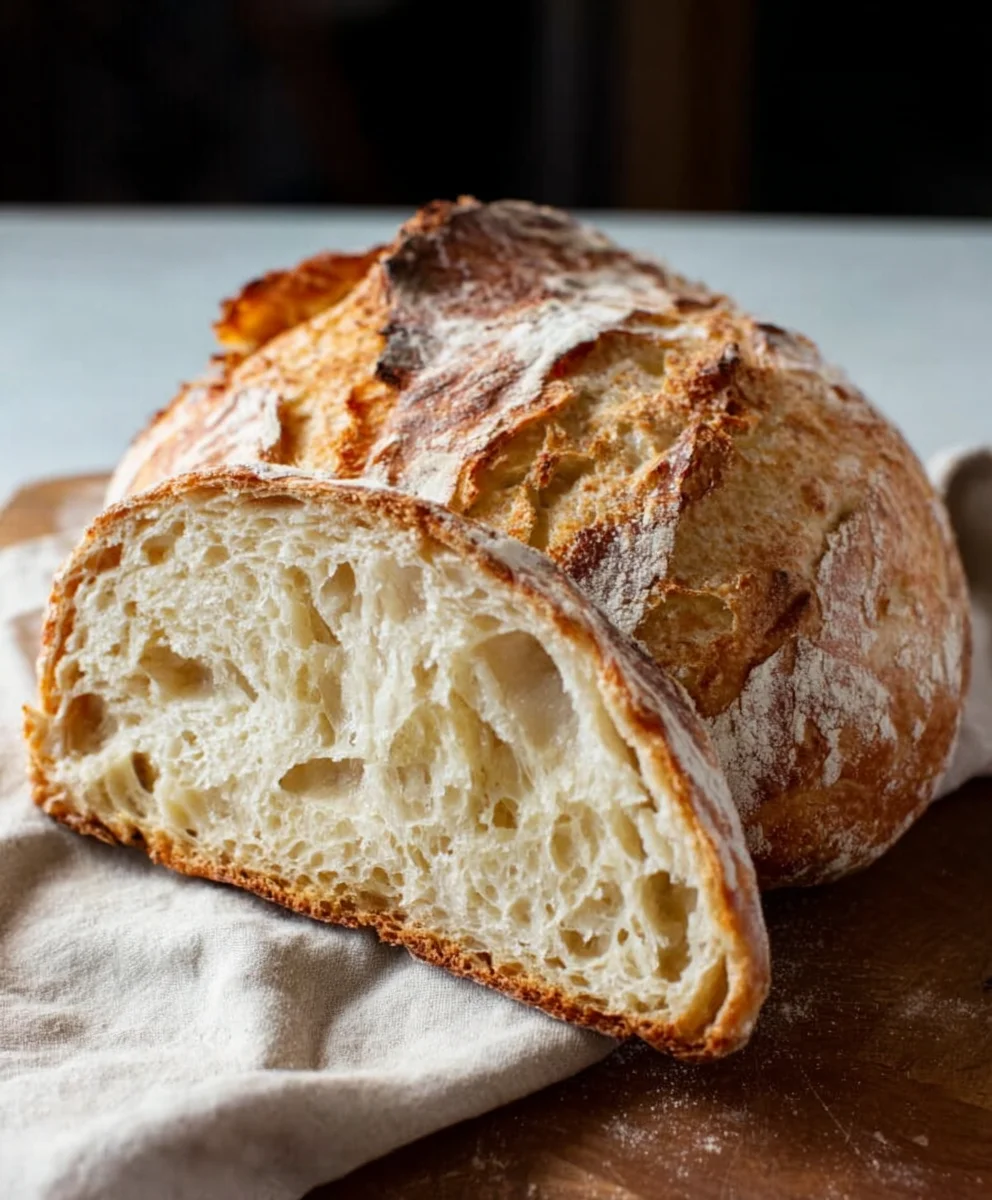
Artisan Bread Recipe: Dive into the comforting warmth and satisfying crackle of truly homemade bread with this exceptional Artisan Bread Recipe. There’s an undeniable magic to pulling a perfectly baked loaf from your own oven, its crust a testament to patience and quality ingredients. People adore this kind of bread not just for its incredible flavor and texture – that airy crum extractb and hearty, golden crust – but for the sense of accomplishment it brings. It’s a simple pleasure, yet deeply rewarding. What makes this particular Artisan Bread Recipe so special is its focus on a slow fermentation process. This technique develops a complex flavor profile and contributes to that signature chewy texture that store-bought loaves simply can’t replicate. Get ready to impress yourself and your loved ones with a bread that feels both rustic and refined, a true centerpiece for any meal.
Ingredients:
- 3 cups (395 grams) all-purpose flour or bread flour
- ½ tablespoon kosher salt
- ¼ ounce instant or active dry yeast packet (or 2 ¼ teaspoons)
- 1 ½ cups warm water (105°F)
Preparing Your Dough
Mixing the Ingredients
To begin extract our artisan bread adventure, let’s gather all our ingredients. The beauty of this recipe lies in its simplicity, relying on just a few quality components to create something truly special. First, in a large mixing bowl, combine the 3 cups of all-purpose flour or bread flour. If you have bread flour on hand, I highly recommend using it, as its higher protein content will contribute to a better gluten structure and a chewier crust. However, all-purpose flour works wonderfully too, making this recipe accessible to everyone. Next, add the ½ tablespoon of kosher salt. Kosher salt, with its larger, irregular crystals, dissolves more slowly and evenly than fine table salt, offering a more nuanced saltiness. Now, for our leavening agent, add the ¼ ounce packet of instant or active dry yeast, which is equivnon-alcoholic alent to 2 ¼ teaspoons. If you are using active dry yeast, it’s a good idea to “proof” it first by dissolving it in the warm water for about 5-10 minutes until it becomes foamy. This ensures your yeast is alive and active. Instant yeast can usually be added directly to the dry ingredients, but proofing doesn’t hurt and gives you peace of mind.
Combining and Kneading
Once your dry ingredients are in the bowl, it’s time to introduce the liquid. Pour in the 1 ½ cups of warm water. The ideal temperature for this water is around 105°F (40°C). This temperature is warm enough to activate the yeast without killing it. If the water is too hot, you risk inactivating the yeast, leading to a dense, flat loaf. Too cold, and the yeast will be sluggish, resulting in a longer proofing time and potentially a less airy crum extractb. Stir everything together with a wooden spoon or your hands until a shaggy, rough dough forms. There’s no need for precise mixing at this stage; we just want to ensure all the flour is hydrated. Now comes the satisfying part: kneading. Turn the dough out onto a lightly floured surface. This is where we develop the gluten, the protein network that gives bread its structure and chew. Knead the dough for about 8-10 minutes. The technique is to push the dough away from you with the heels of your hands, then fold it back over on itself, rotate it a quarter turn, and repeat. Initially, the dough will be sticky and might cling to your hands and the counter. Resist the urge to add too much extra flour – a little bit is fine, but too much will make the bread tough. As you continue to knead, the dough will gradually become smoother, more elastic, and less sticky. You’ll know it’s ready when it’s smooth to the touch and springs back slowly when gently poked. Another test is the “windowpane test”: take a small piece of dough and gently stretch it. If you can stretch it thin enough to see light through it without it tearing, your gluten is well-developed.
First Rise (Bulk Fermentation)
Preparing for the Rise
Now that our dough has been kneaded to perfection, it’s time for its first rest and rise, also known as bulk fermentation. This is a crucial step for developing flavor and creating an airy texture. Lightly grease a clean, large bowl with a little bit of olive oil or cooking spray. This prevents the dough from sticking as it expands. Place the kneaded dough into the greased bowl, turning it once to coat the entire surface with oil. This oil coating helps to keep the surface of the dough from drying out during the rising period. Cover the bowl tightly with plastic wrap or a clean, damp kitchen towel. A tight seal is important to maintain a consistent environment and prevent air circulation that could dry out the dough.
The Waiting Game
Find a warm, draft-free place for your dough to rise. This could be a slightly warmed oven (turned off, of course, with just the oven light on if it generates a little warmth), a sunny windowsill, or simply a quiet corner of your kitchen. Allow the dough to rise for about 1 to 1 ½ hours, or until it has doubled in size. The exact time will depend on the ambient temperature of your kitchen. On a cooler day, it might take longer; on a warmer day, it will rise more quickly. Patience is key here. Resist the urge to poke and prod the dough too much during this time. Once it has visibly doubled, gently poke the side of the dough with a floured finger. If the indentation remains, it’s ready. If it springs back immediately, it needs a little more time.
Shaping and Second Rise
Deflating and Shaping
Once your dough has achieved its first rise and doubled in volume, it’s time to gently deflate it and prepare it for shaping. Uncover the bowl and gently punch down the dough to release the accumulated gases. This process is often referred to as “degassing” and helps to redistribute the yeast and even out the temperature within the dough, which will contribute to a more consrum extractent crumb structure. Turn the dough out onto a lightly floured work surface. At this point, you can shape your bread. For a classic rustic loaf, gently pat the dough into a round or oval shape. Avoid overworking the dough at this stage; we want to preserve some of the airiness we’ve developed. If you are making rolls or smaller loaves, divide the dough accordingly.
The Final Proof
After shaping, place your dough onto a baking sheet lined with parchment paper or into a well-greased loaf pan. This is the final rise, or proofing stage, before baking. Cover the shaped dough loosely with plastic wrap or a light kitchen towel. Allow it to rise for another 30-45 minutes, or until it looks noticeably puffy and has increased in size by about 50-75%. It shouldn’t necessarily double again, but it should look plump and have a good amount of volume. During this time, preheat your oven to 425°F (220°C). If you are using a baking stone or steel, place it in the oven during the preheating phase so it gets nice and hot. A hot baking surface is crucial for achieving a great crust.
Conclusion:
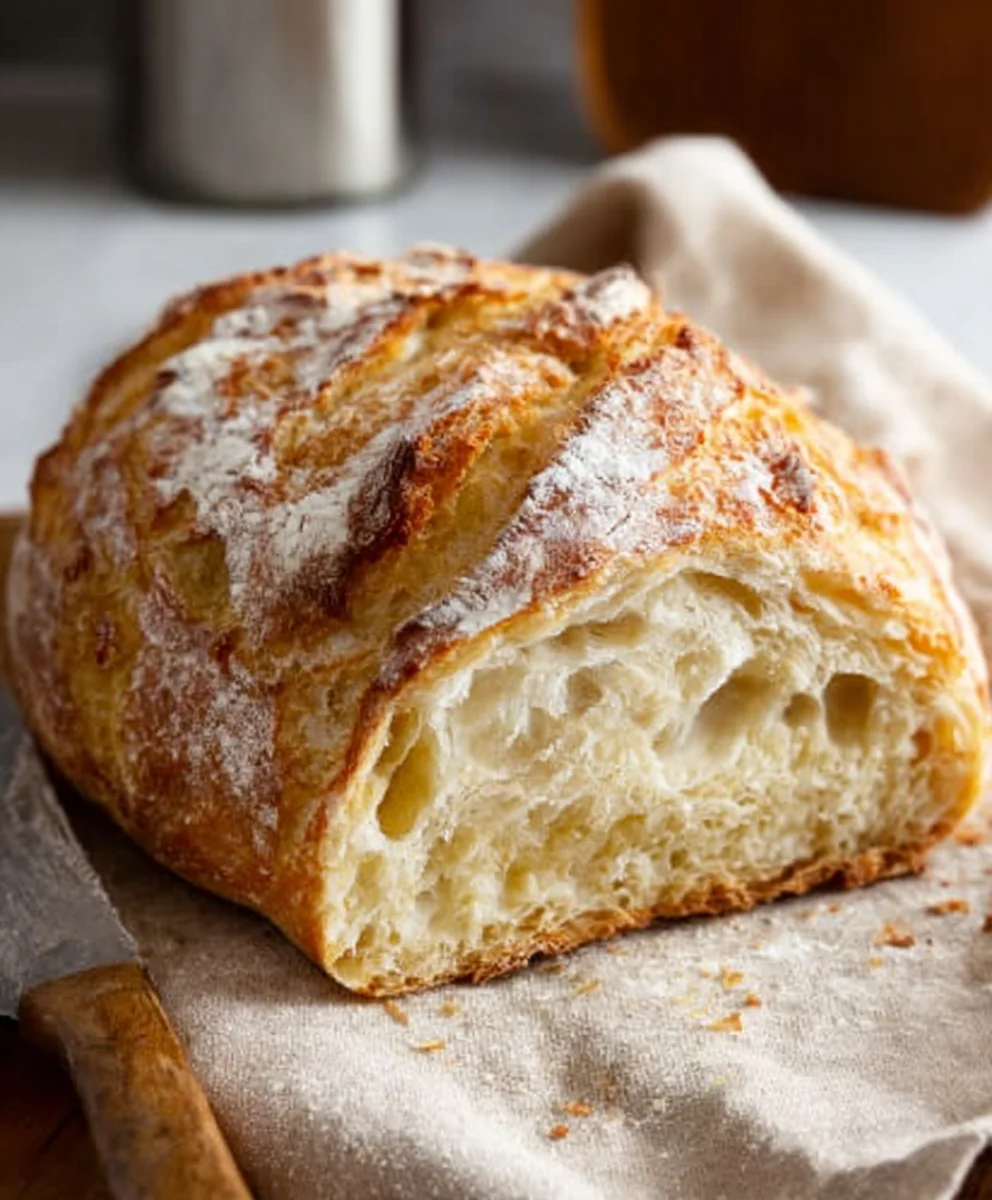
You’ve now got the knowledge and confidence to bake your very own delicious Artisan Bread Recipe! This recipe is a labor of love, but the rewarding aroma and incredible taste of freshly baked bread are well worth the effort. The simple ingredients combine to create a crusty exterior and a soft, airy interior that is simply irresistible. Don’t be intimidated by the process; each step builds upon the last, and the result is truly magical.
This Artisan Bread Recipe is incredibly versatile. Serve it warm with a generous spread of butter, alongside hearty soups or stews, or use it to make the most amazing sandwiches you’ve ever had. For a touch of elegance, sprinkle some sea salt or fresh herbs onto the dough before baking.
Feel free to experiment with variations! You can add seeds like poppy or sesame to the dough, or incorporate dried herbs and spices for a flavorful twist. For a slightly sweeter note, a touch of honey can be added to the dough. Embrace your creativity and make this recipe your own. Happy baking!
Frequently Asked Questions:
What if my dough doesn’t rise enough?
Ensure your yeast is fresh and active by proofing it in warm water with a pinch of sugar before adding it to your dry ingredients. Also, make sure your kitchen is warm enough; a consistent temperature around 75-80°F (24-27°C) is ideal for rising.
Can I make this Artisan Bread Recipe ahead of time?
Yes, you can. After the first rise, you can refrigerate the dough for up to 24 hours. This slow fermentation actually enhances the flavor. Bring it to room temperature for about 30-60 minutes before shaping and baking as usual.
Easy Artisan Bread Recipe – Perfect Homemade Loaf
A simple and foolproof recipe for creating a delicious, crusty artisan bread at home. Perfect for beginners!
Ingredients
-
3 cups (395 grams) all-purpose flour or bread flour
-
½ tablespoon kosher salt
-
¼ ounce instant or active dry yeast packet (or 2 ¼ teaspoons)
-
1 ½ cups warm water (105°F)
-
Olive oil or cooking spray, for greasing
Instructions
-
Step 1
In a large mixing bowl, combine flour, salt, and yeast. If using active dry yeast, proof it in warm water (105°F) for 5-10 minutes until foamy. Instant yeast can be added directly. -
Step 2
Add the warm water to the dry ingredients. Stir with a spoon or hands until a shaggy dough forms. Turn onto a lightly floured surface and knead for 8-10 minutes until smooth and elastic. The dough should spring back slowly when poked. -
Step 3
Lightly grease a clean bowl with oil. Place the dough in the bowl, turning to coat. Cover tightly with plastic wrap or a damp towel and let rise in a warm, draft-free place for 1 to 1 ½ hours, or until doubled in size. -
Step 4
Gently punch down the dough to release gases. Turn out onto a lightly floured surface and shape into a round or oval loaf. Avoid overworking. -
Step 5
Place the shaped dough on a parchment-lined baking sheet or in a greased loaf pan. Cover loosely and let rise for another 30-45 minutes until noticeably puffy. Preheat oven to 425°F (220°C). If using a baking stone/steel, place it in the oven to preheat. -
Step 6
Bake for 30-35 minutes, or until the crust is golden brown and the internal temperature reaches 200-210°F (93-99°C). Let cool on a wire rack before slicing.
Important Information
Nutrition Facts (Per Serving)
It is important to consider this information as approximate and not to use it as definitive health advice.
Allergy Information
Please check ingredients for potential allergens and consult a health professional if in doubt.