Easy Homemade Fruit Leather Recipe- Sweet Treat
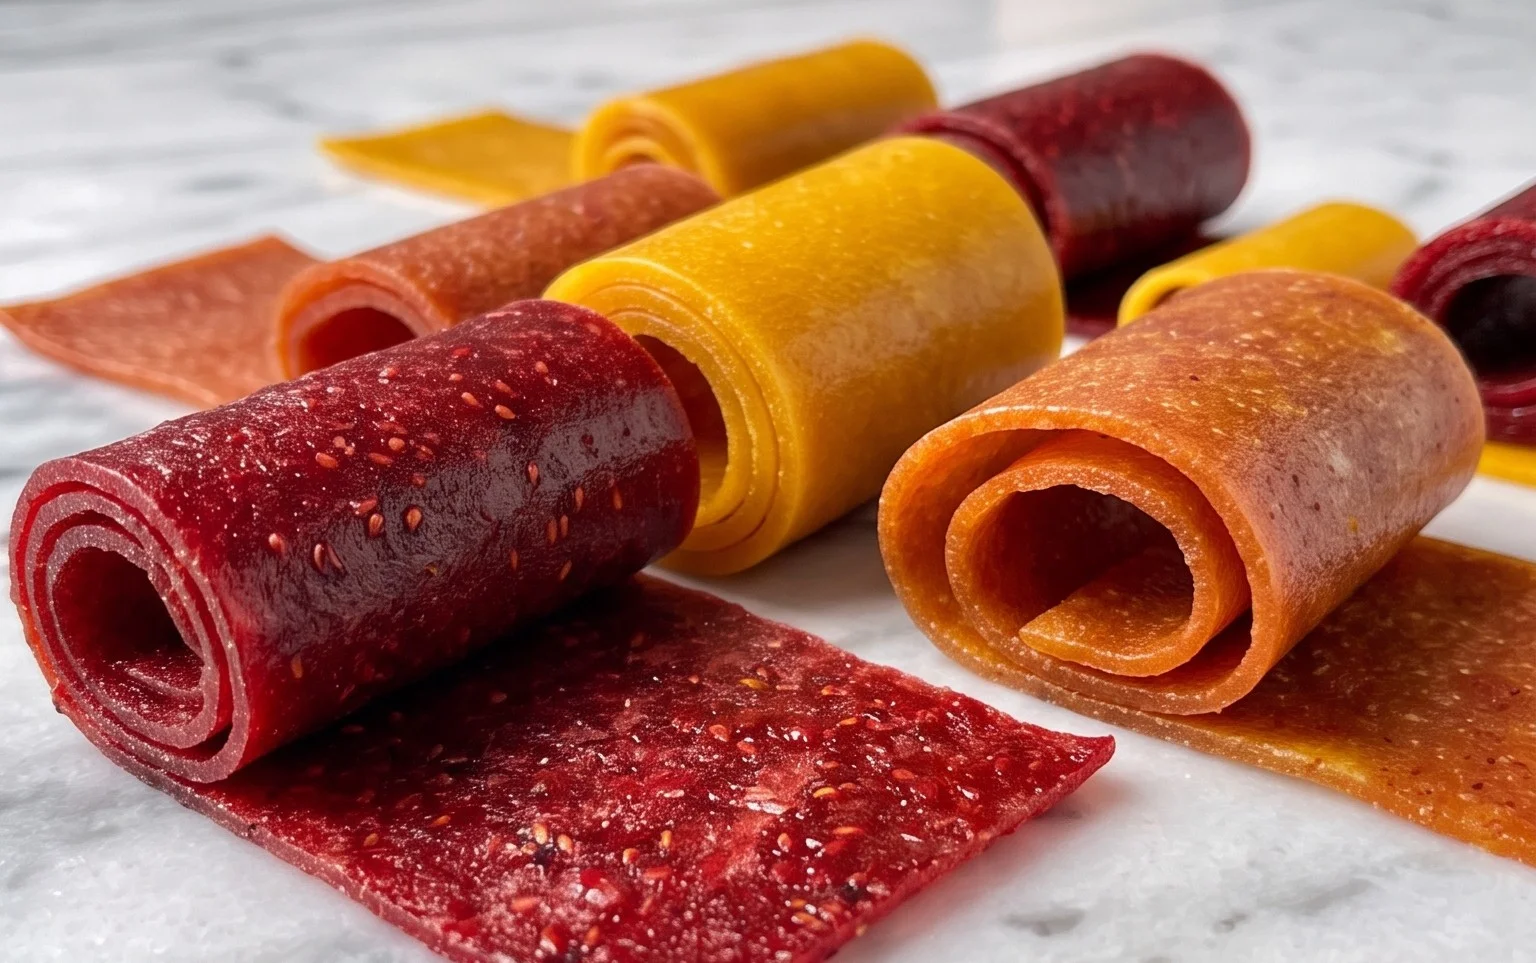
Homemade fruit leather recipe brings back so many fond childhood memories for me, and I bet it does for you too! There’s something truly magical about those chewy, intensely flavored strips of fruit that we used to beg for at the store. But guess what? Making your own homemade fruit leather is surprisingly simple, incredibly rewarding, and tastes infinitely better than any store-bought version. Imagin extracte vibrant colors, a burst of natural sweetness, and a satisfyingly chewy texture – all made with just a few fresh ingredients and a little bit of love. What makes this homemade fruit leather recipe so special is the sheer control you have over the ingredients. You can use your favorite fruits, experiment with delicious combinations, and skip all the artificial colors and preservatives often found in commercial options. It’s a healthy and fun snack that the whole family will adore.
Let’s dive into creating your own perfect homemade fruit leather!
Homemade Fruit Leather Recipe
There’s something incredibly satisfying about making your own snacks, and fruit leather is a perfect example. It’s a delightful, chewy treat that’s bursting with natural fruit flavor and far healthier than most store-bought candies. Plus, it’s surprisingly easy to whip up a batch, making it an ideal project for a weekend afternoon or a fun activity to do with kids. The beauty of homemade fruit leather is its versatility; you can use almost any fruit you have on hand, from vibrant berries to sweet stone fruits. Today, we’re focusing on a simple yet delicious recipe that highlights the pure taste of fruit, enhanced just a touch by a bit of sugar and the zing of fresh lemon. Get ready to impress yourself and your family with this wonderfully addictive snack!
Ingredients:
Instructions:
1.
Prepare Your Fruit
The first step is to get your chosen fruit ready. If you’re using berries, give them a quick rinse and pick out any stems or bruised bits. For larger fruits like peaches, apples, or mangoes, you’ll want to peel them, remove the pits or core, and then chop them into roughly 1-inch pieces. The size doesn’t have to be exact, as everything will be blended down into a smooth puree. The key is consistency so they cook evenly. If you’re using apples or other fruits that tend to brown, you can toss them with a tiny bit of the lemon juice immediately after chopping to prevent oxidation, though it’s not strictly necessary as the lemon juice in the recipe will help with preservation. Ensure you have exactly 2 cups of chopped fruit. This amount is crucial for achieving the right consistency for your fruit leather.
2.
Cook the Fruit
Once your fruit is prepped, it’s time to soften it up. You can do this in a saucepan on the stovetop or in the microwave. For stovetop cooking, place the chopped fruit in a medium saucepan. Add the 3 tablespoons of white sugar and the juice from half a lemon. Stir everything together. Then, cover the saucepan and cook over medium-low heat for about 10-15 minutes, stirring occasionally, until the fruit has softened and started to release its juices. The sugar will help draw out the natural moisture from the fruit. If you’re using the microwave, place the fruit, sugar, and lemon juice in a microwave-safe bowl. Cover and microwave on high for 5-7 minutes, stirring halfway through, until the fruit is tender. The goal here is to break down the fruit’s cell walls so it can be easily pureed.
3.
Puree the Mixture
After the fruit has softened, you’ll want to create a smooth consistency for your fruit leather. Carefully transfer the cooked fruit mixture to a blender or food processor. If you don’t have either, you can use an immersion blender directly in the saucepan (just be sure to remove it from the heat first). Blend until the mixture is completely smooth and no fruit chunks remain. You’re aiming for a thick puree, similar to applesauce. If the mixture seems too thick and your blender is struggling, you can add a tablespoon of water at a time, but be cautious not to add too much, as this can make the fruit leather take longer to dry and could result in a less chewy texture. You want it thick enough to spread evenly.
4.
Prepare for Drying
Now, let’s get ready to transform this delicious puree into fruit leather. Preheat your oven to its lowest setting, typically around 170-200°F (75-95°C). If your oven doesn’t go that low, you can often use a convection setting on a slightly higher temperature or even leave the oven door slightly ajar to allow for more air circulation and prevent overheating. Line a baking sheet with parchment paper or a silicone baking mat. It’s crucial to use parchment paper or a silicone mat as plastic wrap will melt in the oven. Pour your fruit puree onto the prepared baking sheet. Use a spatula to spread the puree into a thin, even layer, about 1/8 to 1/4 inch thick. Try to get the edges as smooth as possible, and avoid leaving any thick spots or thin spots, as this will ensure even drying. A good tip is to spread it out as far as you can while maintaining an even thickness; the larger the surface area, the faster it will dry.
5.
The Drying Process
Place the baking sheet in the preheated oven. The drying time will vary depending on your oven, the thickness of your fruit leather, and the humidity in your kitchen. It can take anywhere from 4 to 8 hours, or even longer. You’re looking for the fruit leather to be firm to the touch and no longer sticky. It should peel away cleanly from the parchment paper. Periodically check on the fruit leather, especially after the first few hours. If you notice any areas drying faster than others, you can rotate the baking sheet. Once it feels leathery and pliable but not wet, carefully remove the baking sheet from the oven. Let the fruit leather cool completely on the baking sheet. This is important because it will continue to firm up as it cools. Once cooled, you can peel it off the parchment paper.
6.
Cutting and Storing Your Fruit Leather
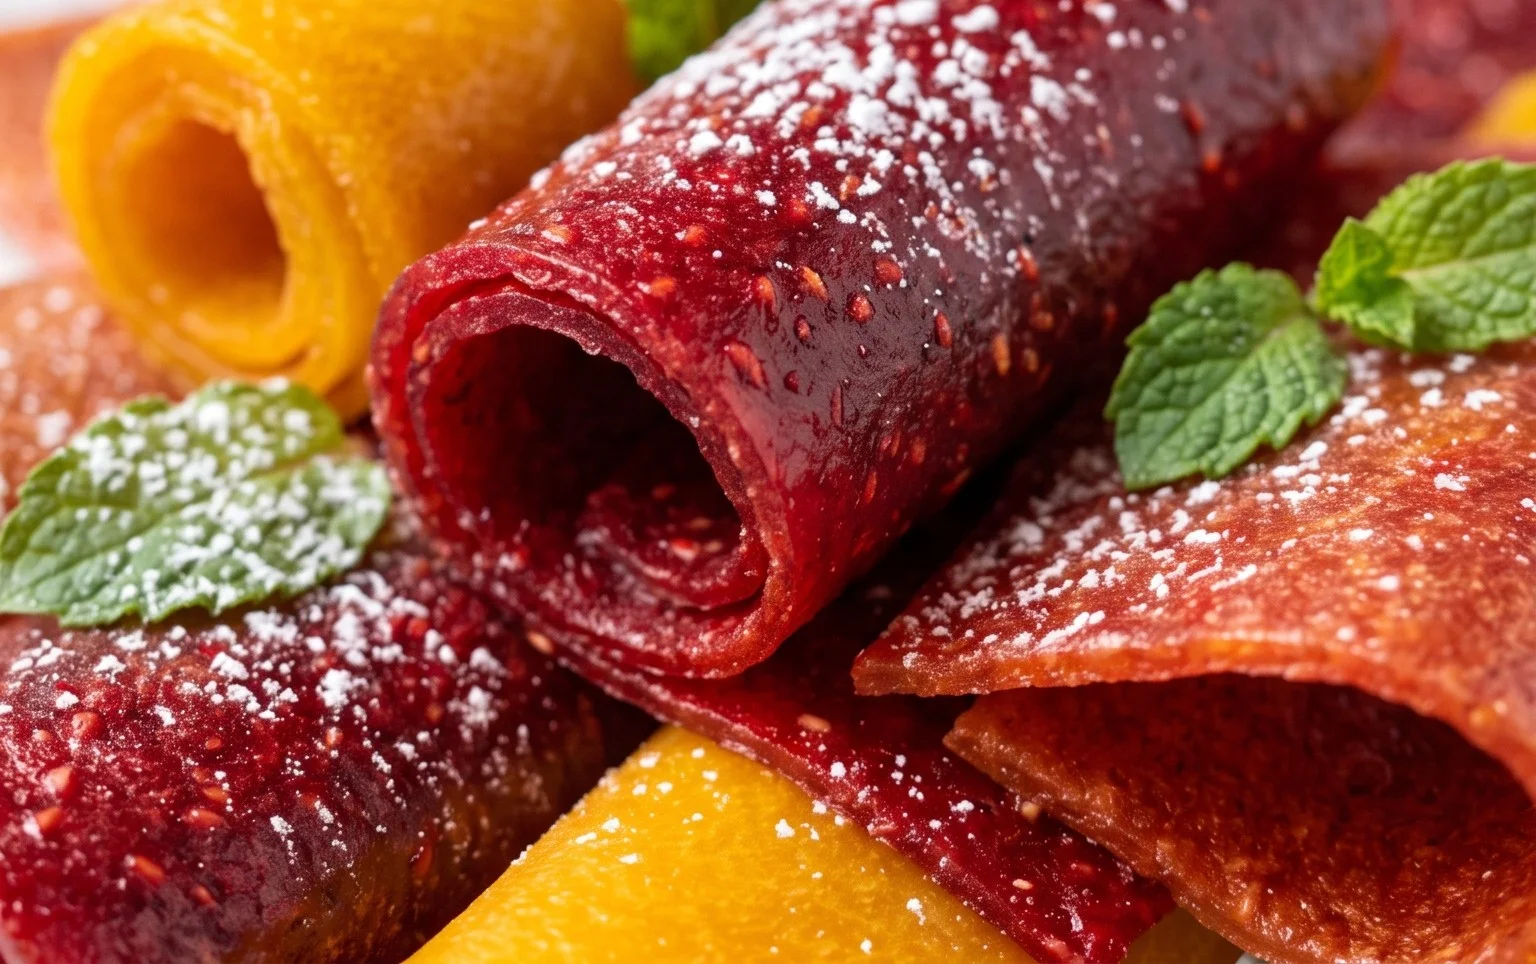
Once your fruit leather is completely cooled and has peeled off easily, you can cut it into your desired shapes and sizes. You can cut it into strips, squares, or even use cookie cutters for fun shapes. To prevent the pieces from sticking together, you can lightly dust them with a tiny bit of cornstarch or powdered sugar, though this isn’t always necessary. Roll up your fruit leather strips or squares and store them in an airtight container at room temperature for up to a week, or in the refrigerator for longer storage. You can also wrap individual pieces in wax paper or parchment paper for easy grab-and-go snacks. Enjoy your delicious, homemade fruit leather!
Conclusion:
Crafting your own fruit leather is such a rewarding and delicious endeavor! This Homemade Fruit Leather Recipe is fantastic because it allows you to control exactly what goes into your snacks – no added sugars or artificial ingredients here, just pure, vibrant fruit flavor. It’s an incredibly versatile treat that’s perfect for lunchboxes, after-school snacks, or even a guilt-free dessert. I truly encourage you to give this a try; the satisfaction of biting into your own homemade creation is unparalleled!
Serving suggestions abound! Enjoy your fruit leather as is, or get creative. Roll it up with a smear of cream cheese, dip it in yogurt, or use it as a colorful edible ribbon for cakes and cupcakes. For variations, don’t be afraid to experiment with different fruit combinations. Try a tropical blend of mango and pineapple, a classic berry mix, or even a tart apple and cinnamon version. The possibilities are truly endless with this simple yet spectacular treat.
FAQs:
Can I make fruit leather without a dehydrator?
Absolutely! While a dehydrator is convenient, you can easily make fruit leather in your oven. Simply spread the fruit puree thinly on a parchment-lined baking sheet and bake at the lowest oven temperature (usually around 140-170°F or 60-77°C) for several hours, until the fruit leather is no longer sticky to the touch. You’ll need to keep a close eye on it to prevent burning.
How long does homemade fruit leather last?
When stored properly, your homemade fruit leather can last for several weeks. Make sure it’s completely dry and cool before wrapping it tightly in parchment paper or plastic wrap and storing it in an airtight container at room temperature. For longer storage, you can also keep it in the refrigerator.
What’s the best way to cut fruit leather?
Once your fruit leather is fully dried and cooled, you can cut it into strips, squares, or any fun shapes you desire using a sharp knife or a pizza cutter. For cleaner cuts, especially with slightly stickier leathers, you can lightly dampen your cutting tool with water.
Homemade Fruit Leather Recipe
Create delicious and healthy homemade fruit leather with this simple recipe.
Ingredients
-
2 cups fruit, chopped
-
3 tbsp white sugar
-
½ whole lemon, just the juice
-
1 cup unsweetened applesauce
-
1 tsp vanilla extract
-
Pinch of cinnamon
Instructions
-
Step 1
Preheat oven to the lowest setting, around 170°F (75°C). Line a baking sheet with parchment paper or a silicone baking mat. -
Step 2
Combine the chopped fruit, white sugar, and lemon juice in a blender or food processor. Blend until smooth. -
Step 3
Stir in the unsweetened applesauce, vanilla extract, and cinnamon until well combined. -
Step 4
Pour the fruit mixture onto the prepared baking sheet and spread it evenly into a thin layer (about 1/8 inch thick). -
Step 5
Bake for 4-6 hours, or until the fruit leather is no longer sticky to the touch and peels easily from the parchment paper. The exact time will depend on your oven and the thickness of the leather. -
Step 6
Once cooled, peel the fruit leather off the parchment paper and cut into desired strips or shapes.
Important Information
Nutrition Facts (Per Serving)
It is important to consider this information as approximate and not to use it as definitive health advice.
Allergy Information
Please check ingredients for potential allergens and consult a health professional if in doubt.